DIY
Upgrading Tesla Model X lighting with Ultra-Bright LEDs
Tesla’s Premium Upgrade Package for the Model X and Model S includes an assortment of technology advancements including the Bio Weapons air filtration system, and what the company describes as “Soft LED ambient interior lighting”.
Illumination from the interior LED lighting is quite subtle and dim enouabgh that one could argue that it provides little more than just a faint glow. The same applies for the trunk and front trunk (“frunk”) lighting which I find hardly useable especially during the dead of night when I pull into a dimly lit destination charging location, and fumble my way through a mix of bags full of mystery items that my wife and kids packed, makeshift trash bags, and other roadtrip related goodies, before finally locating the correct overnight bags. And even then, I’m able to find the right items simply because I unearthed everything else from frunk and located it via process of elimination. True story by the way. (Times 10)
#FirstWorldProblems
That said, please don’t get me wrong, Tesla’s factory ambient lights adds a nice accent point to the footwell and interior door panels, however there’s also been times where I wish I could have more visible light when entering or exiting the car, but without turning on the overhead light. Why? Well, for one, the interior dome lights are bright, especially inside a glass bubble that is the Model X front cockpit. Turning on the interior lighting in essence illuminates my entire face and the faces of all family members traveling with me for neighboring fellows and passersby to see. Call me self-conscious or protective Dad – the X alone solicits enough eyeballs – but more often than not I’m thinking, man, everyone can see us. It’s either too bright or too dark – I need an in-between.
That’s when I reached out to Abstract Ocean who I knew made an Ultra-Bright LED lighting kit for the Model S, but unsure if they had a similar kit for the Model X. Rob had previously reviewed the Ultra-Brights on his Model S and absolutely loved it so I figured I’d give it a shot as well, assuming they had ones that fit the X and it will serve my purpose of only lighting up the lower half of the car.
I contact Pete from Abstract Ocean and ask him if I can “try out a set” for the Model X. He tells me he’s unsure if they’ll fit but there’s a good chance they will given that the Model S and Model X share a lot of the same interior components. I somehow convince Pete that I would be the perfect person to help him do some test fitting if he were to send me a set. (I had a long roadtrip coming up and the sheer thought of me glowing inside the Model X cockpit like a goldfish inside an aquarium with dome lights overhead, and fumbling through darkness while searching for belongings packed into the frunk, struck fear in me.)
“They’re sold out, but we should be getting a new shipment in three weeks”, says Pete. What! Uh, OK, didn’t realize they were this popular, I’m thinking. I later find out that it’s one of Abstract Ocean’s best sellers, and rightfully so.
A month passes by and a bubble-lined padded envelope appears at the office, and inside is – you guessed it – Ultra-Bright LEDs!
Ultra-Bright LED Lighting Kit for Tesla Model X
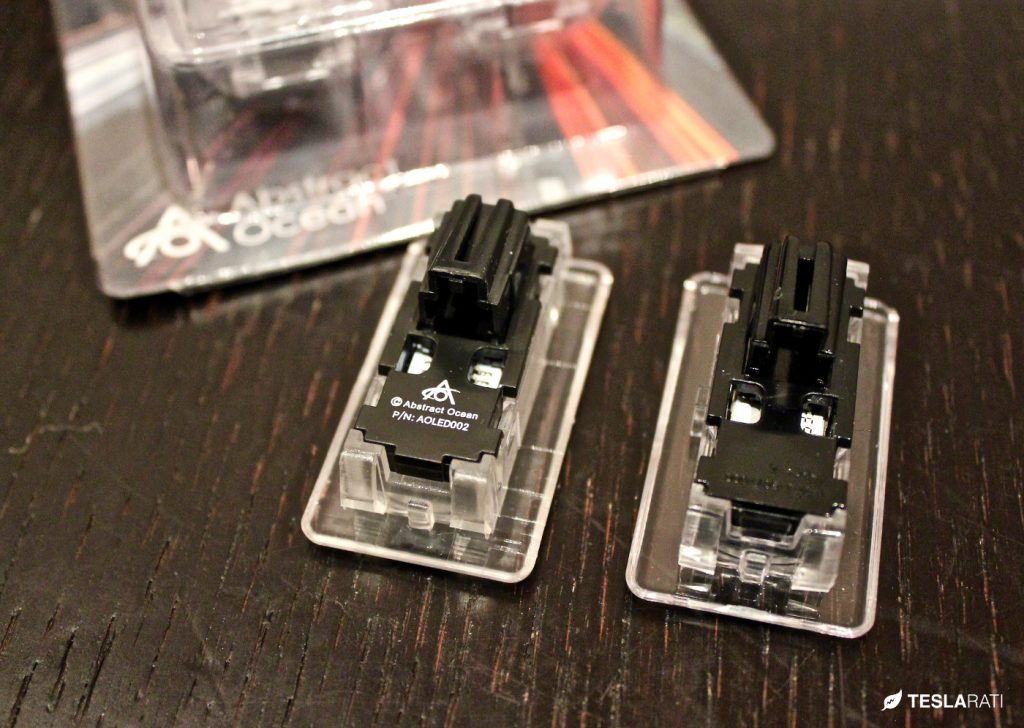
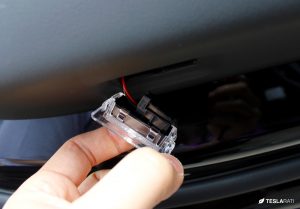
Side by side comparison of the Abstract Ocean Ultra-Bright LED assembly (left) and the factory Tesla Model X LED assembly (right)
I’ll cut straight to the chase. The Model S and Model X LED interior light assemblies are identical. The Model X has 11 rectangular white LEDs (seen in the photo above) positioned across the doors, trunk, frunk and footwells. 2 LEDs are red with each one located on the outer edge of the front door. The level of difficult to install them varies ranging from a quick and easy direct pop-out that takes no longer than 2 minutes, to more difficult light assemblies that are hard pressed into rigid plastic.
Model S and Model X LED interior light assemblies are identical
Instead of going into detail on how to install these lights, since they’re truly just plug-n-play and self explanatory to install, I’ll just highlight a few tips for each area along with my perception of the result. Also note that I will not provide before and after photos. Just after. It was near impossible to get a great nighttime before shot since, well, it’s nighttime and photos don’t capture well in darkness. Using flash would have defeated the purpose and not give a true depiction of the area pre-Ultra-Bright LED.
Where are the interior Model X LEDs located?
As mentioned earlier, the Model X has a total of 11 rectangular shaped white LEDs not including the 2 red ones on the outer edge of the front doors.
Frunk – QTY: 2
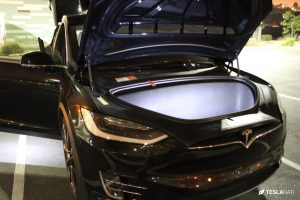
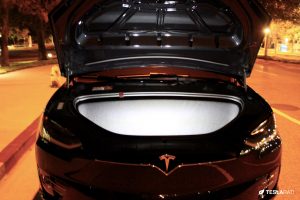
The frunk has 2 LEDs on the side closest to the hood latch. These lights are one of the easiest to install and should be attempted first as the “practice run”. The entire process can be completed in less than 4 minutes since the light assembly itself simply presses into the carpet lining and easily removable without the use of tools. Once the assembly is dislodged, the connectors can be easily disconnected from the assembly and plugged directly into the replacement Ultra-Bright LED. This same procedure will apply to all subsequent lights being installed.
The results are drastic as the Ultra-Bright LEDs are significantly brighter than the factory LEDs. Of all of the lights I installed into the car, these provide the most useful value.
Front Dash (footwell) – Qty: 2
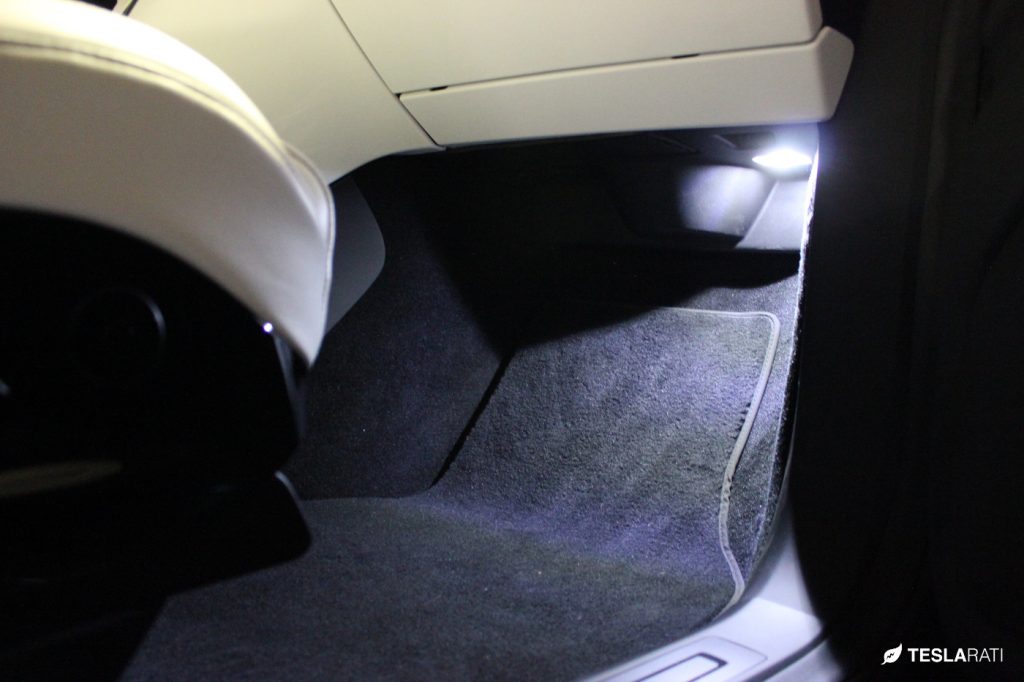
The lights rest beneath the front dashboard and on each side of the driver and passenger footwell. The light assembly is pressed into the thin plastic covering that lines the bottom of the dashboard.
Removing the LED assembly takes a little more strength to remove and requires that you use either a spudger tool or a thin pry tool that you can wedge in-between the plastic lining and LED assembly. Once you’re able to gently pry the assembly away from the plastic trim, you can use 2 fingers to firmly grip and pull the assembly from the trim. Because of the location of the light, I found the easiest way to access it is by laying on your back while looking up at the light assembly.
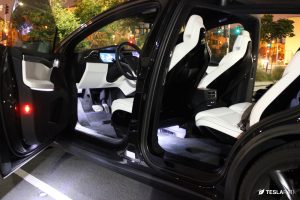
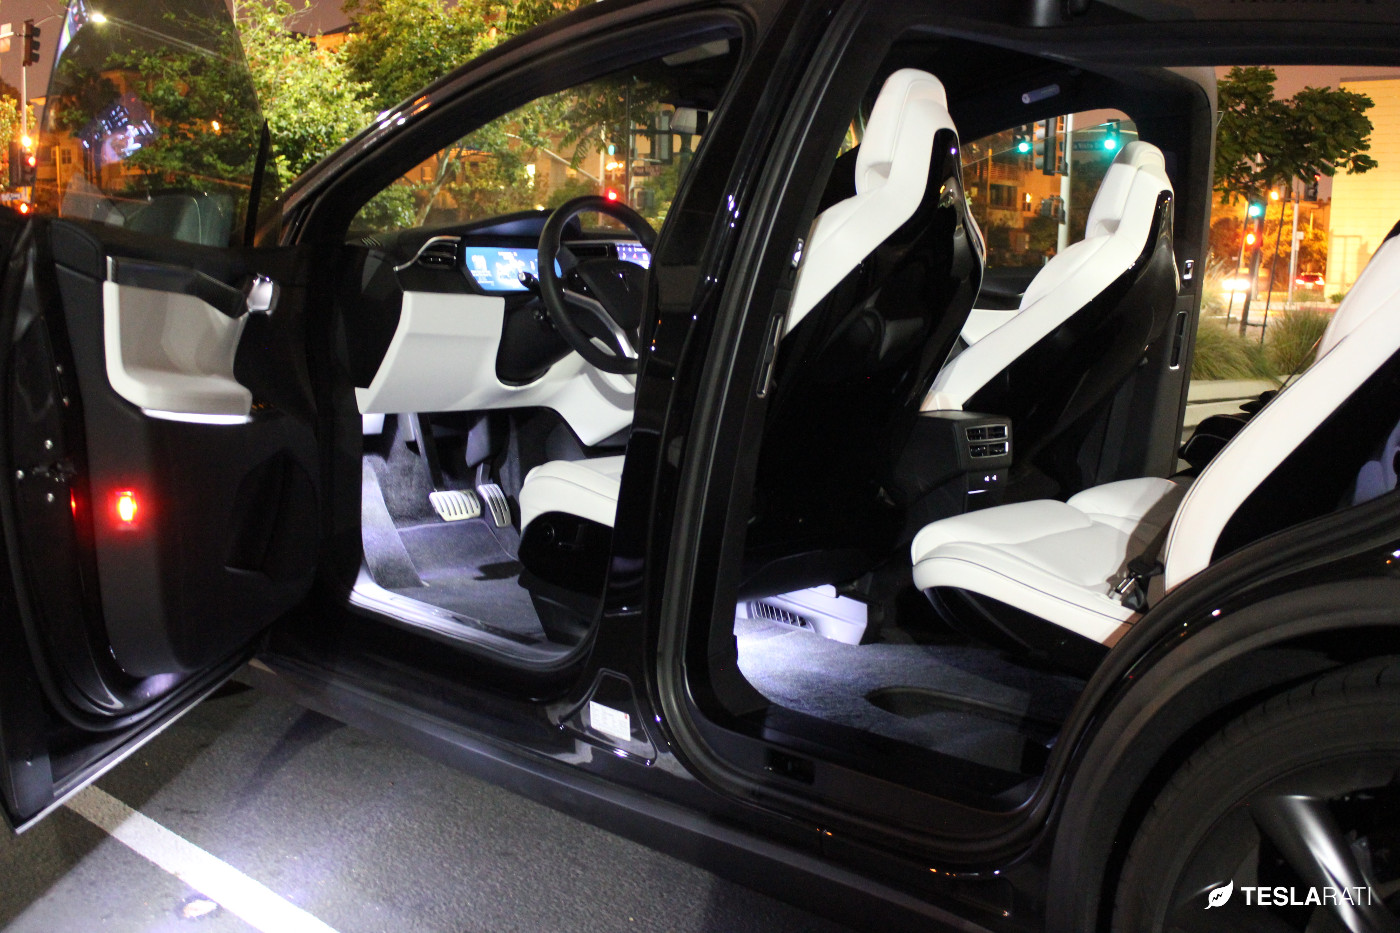
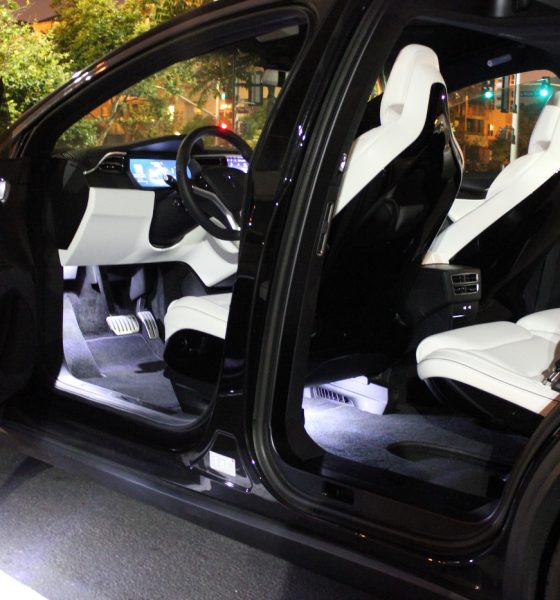
The lighting effect is stunning especially when combined with the lighting upgrade beneath the second row seating. It’s just bright enough to provide useful lighting for ease of entry and exit, but not bright enough to cast light anywhere above the seat. No goldfish effect.
Front Seat (underneath) – Qty: 2
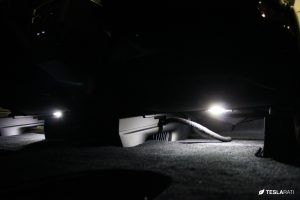
Below each of the front seats is an LED attached to a plastic LED housing secured to a thin mesh cloth. Popping the LED out was simple and can be done without the use of tools. The most difficult part about this 5 min install is being able to access the light nestled deep beneath each seat.
- Abstract Ocean Tesla Model X-Ultra-Bright LED Footwell
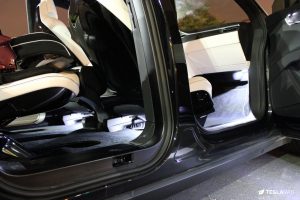
These lights provide the most dramatic effect. With falcon wing doors up and the self-presenting doors open, the entire car looks and feels like a majestic spacecraft.
Front Door (puddle lights) – Qty: 2
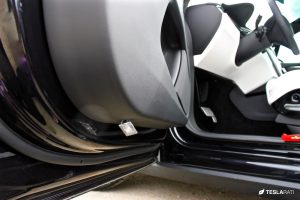
Beneath each of the front doors is a puddle light that illuminates the area directly below each door. Applying the same techniques used on the other areas, gently pry the light assembly from the plastic door panel using a spudger or other pry tool of choice – just enough so you can get a firm grip on each corner of the light with your fingers. Pull the assembly away from the door, disconnect the connector, and plug it into the new Ultra-Bright LED.
The power of these bulbs and the direction in which it’s pointed creates a bright cloud of white beneath each front door making for a great look. The puddle lights also serve as very useful lighting especially in darker areas where one might not be able to see where they might be walking.
Note that each door also has a red LED which I chose not to replace. I personally don’t see a need to make these brighter.
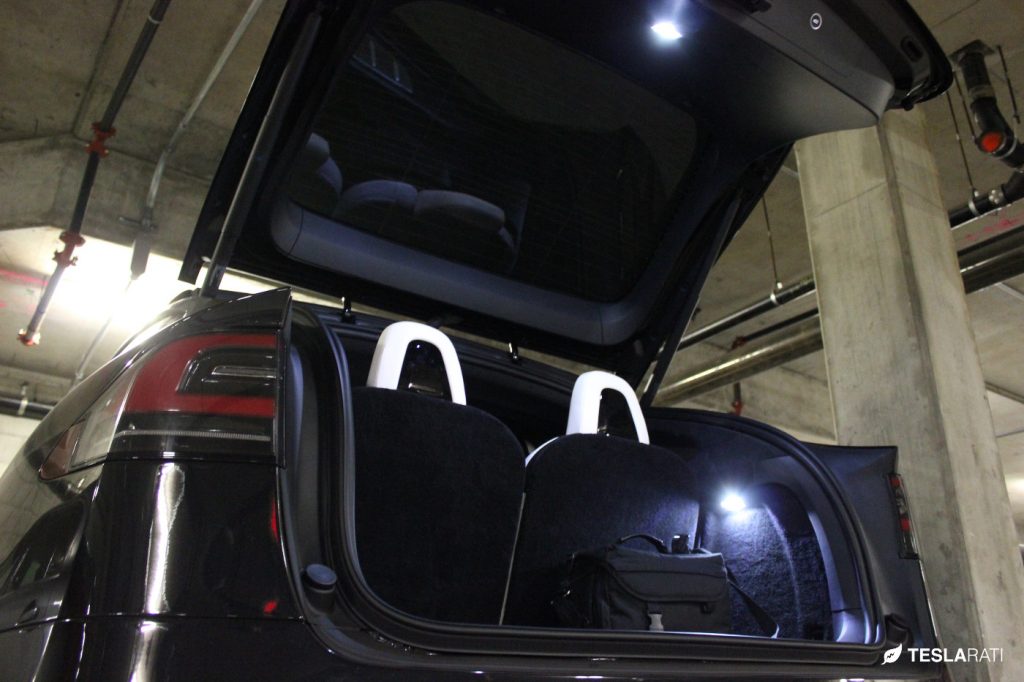
Trunk – Qty: 2
This is by far the most difficult install of them all. I’m not sure if it was isolated to my particular Model X or all, but the light assembly mounted to the rear hatch is extremely difficult to dislodge from the plastic panel.
It’s a tight fit and the assembly is wedged so tightly into the plastic that prying with a spudger tool will only break the tip of the tool. I ended up using a tiny flathead screwdriver to pry my way around the light assembly, but even with that it took many attempts, and a lot of accidental scraping against the plastic trim before I was able to muscle the assembly out of the rear hatch.
It also helps if you fold the third row seats down and sit inside the trunk while facing outwards. This will give you a better view and access to the hatch-mounted LED assembly. The other LED in the trunk can’t be easier to remove since it’s simply pressed into the carpet lining on the right of the trunk.
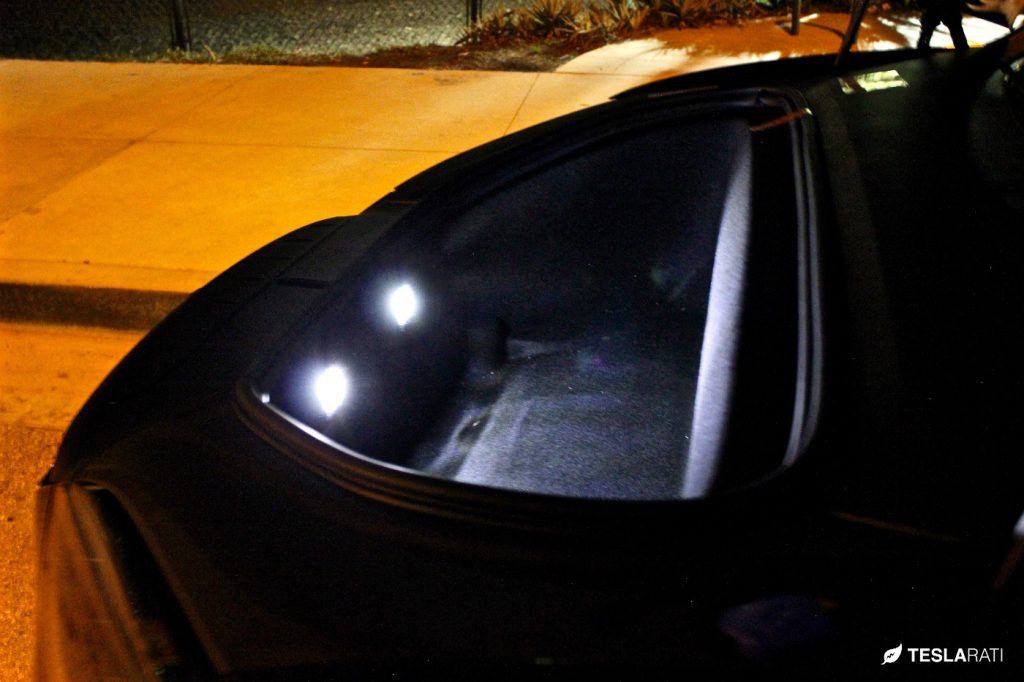
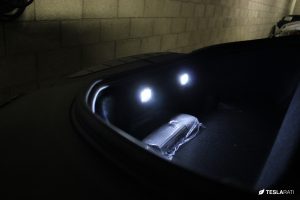
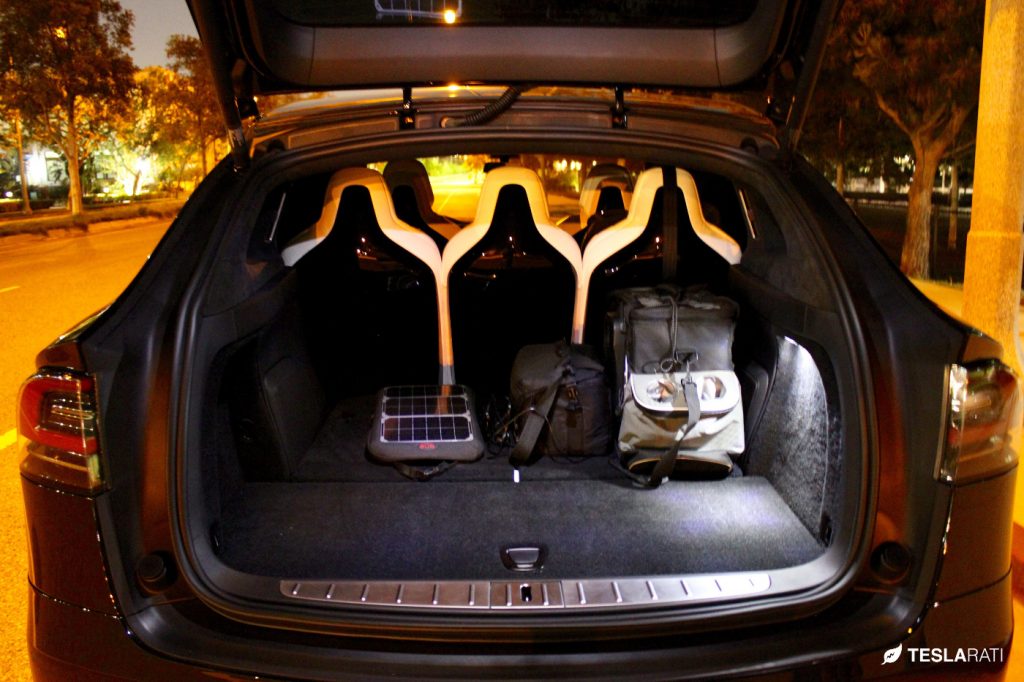
I’d have to say that the upgraded trunk lighting did not have as significant of an impact on overall usefulness than the frunk lighting had. This is primarily because there’s only one LED mounted to the right of the trunk. The painfully difficult to install hatch light provides little value in my opinion due to the angle in which the light shines, and also the LED’s distance from the surface of the trunk.
Glove Box – Qty: 1
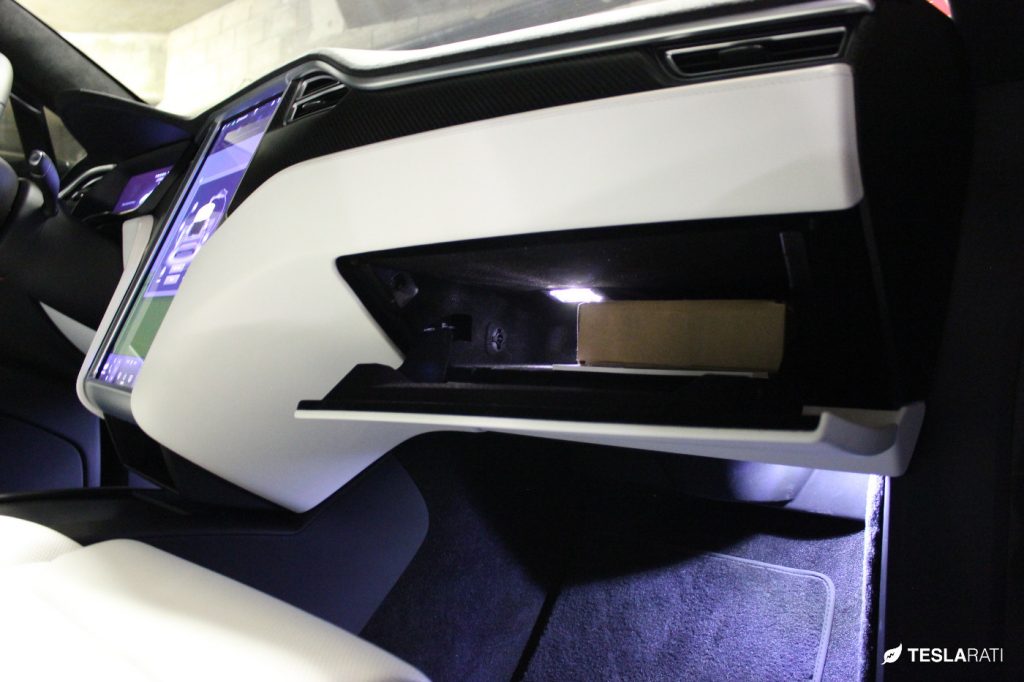
Last but not least, there’s the single LED inside the top of the glovebox. Given that I rarely use the glovebox and the level of difficulty to access this light, I decided to skip it. Plus, with items stowed inside a glovebox and occupying most of the glovebox space, there’s really no value to have a brighter light within such a confined area.
How much, where and why?
Abstract Ocean markets its Ultra-Bright LEDs as being 16x brighter than Tesla’s factory interior LED lights, but from a non-scientific and just eyeballin’ it perspective, it looks as if it’s half of that, and thankfully so. Anymore and it might as well illuminate the entire car. Again, non-scientific, but the lighting from the LEDS are drastic enough that it makes for a huge improvement in useable light.
I upgraded a total of 10 white LED bulbs (though there are 11) on the Model X which can be obtained for $45.99 for a pack of 4 via Amazon, it’s a small price to pay for better useable lighting when getting into and exiting the car. And of course the reassurance that you’ll be able to finally see what you’re really taking out of the frunk and trunk.
Updated: Here’s a good video showing the installation of the Ultra-Brights on a Model X.

DIY
Tesla Model 3 pickup “Truckla” gets updates and a perfectly wholesome robot charger
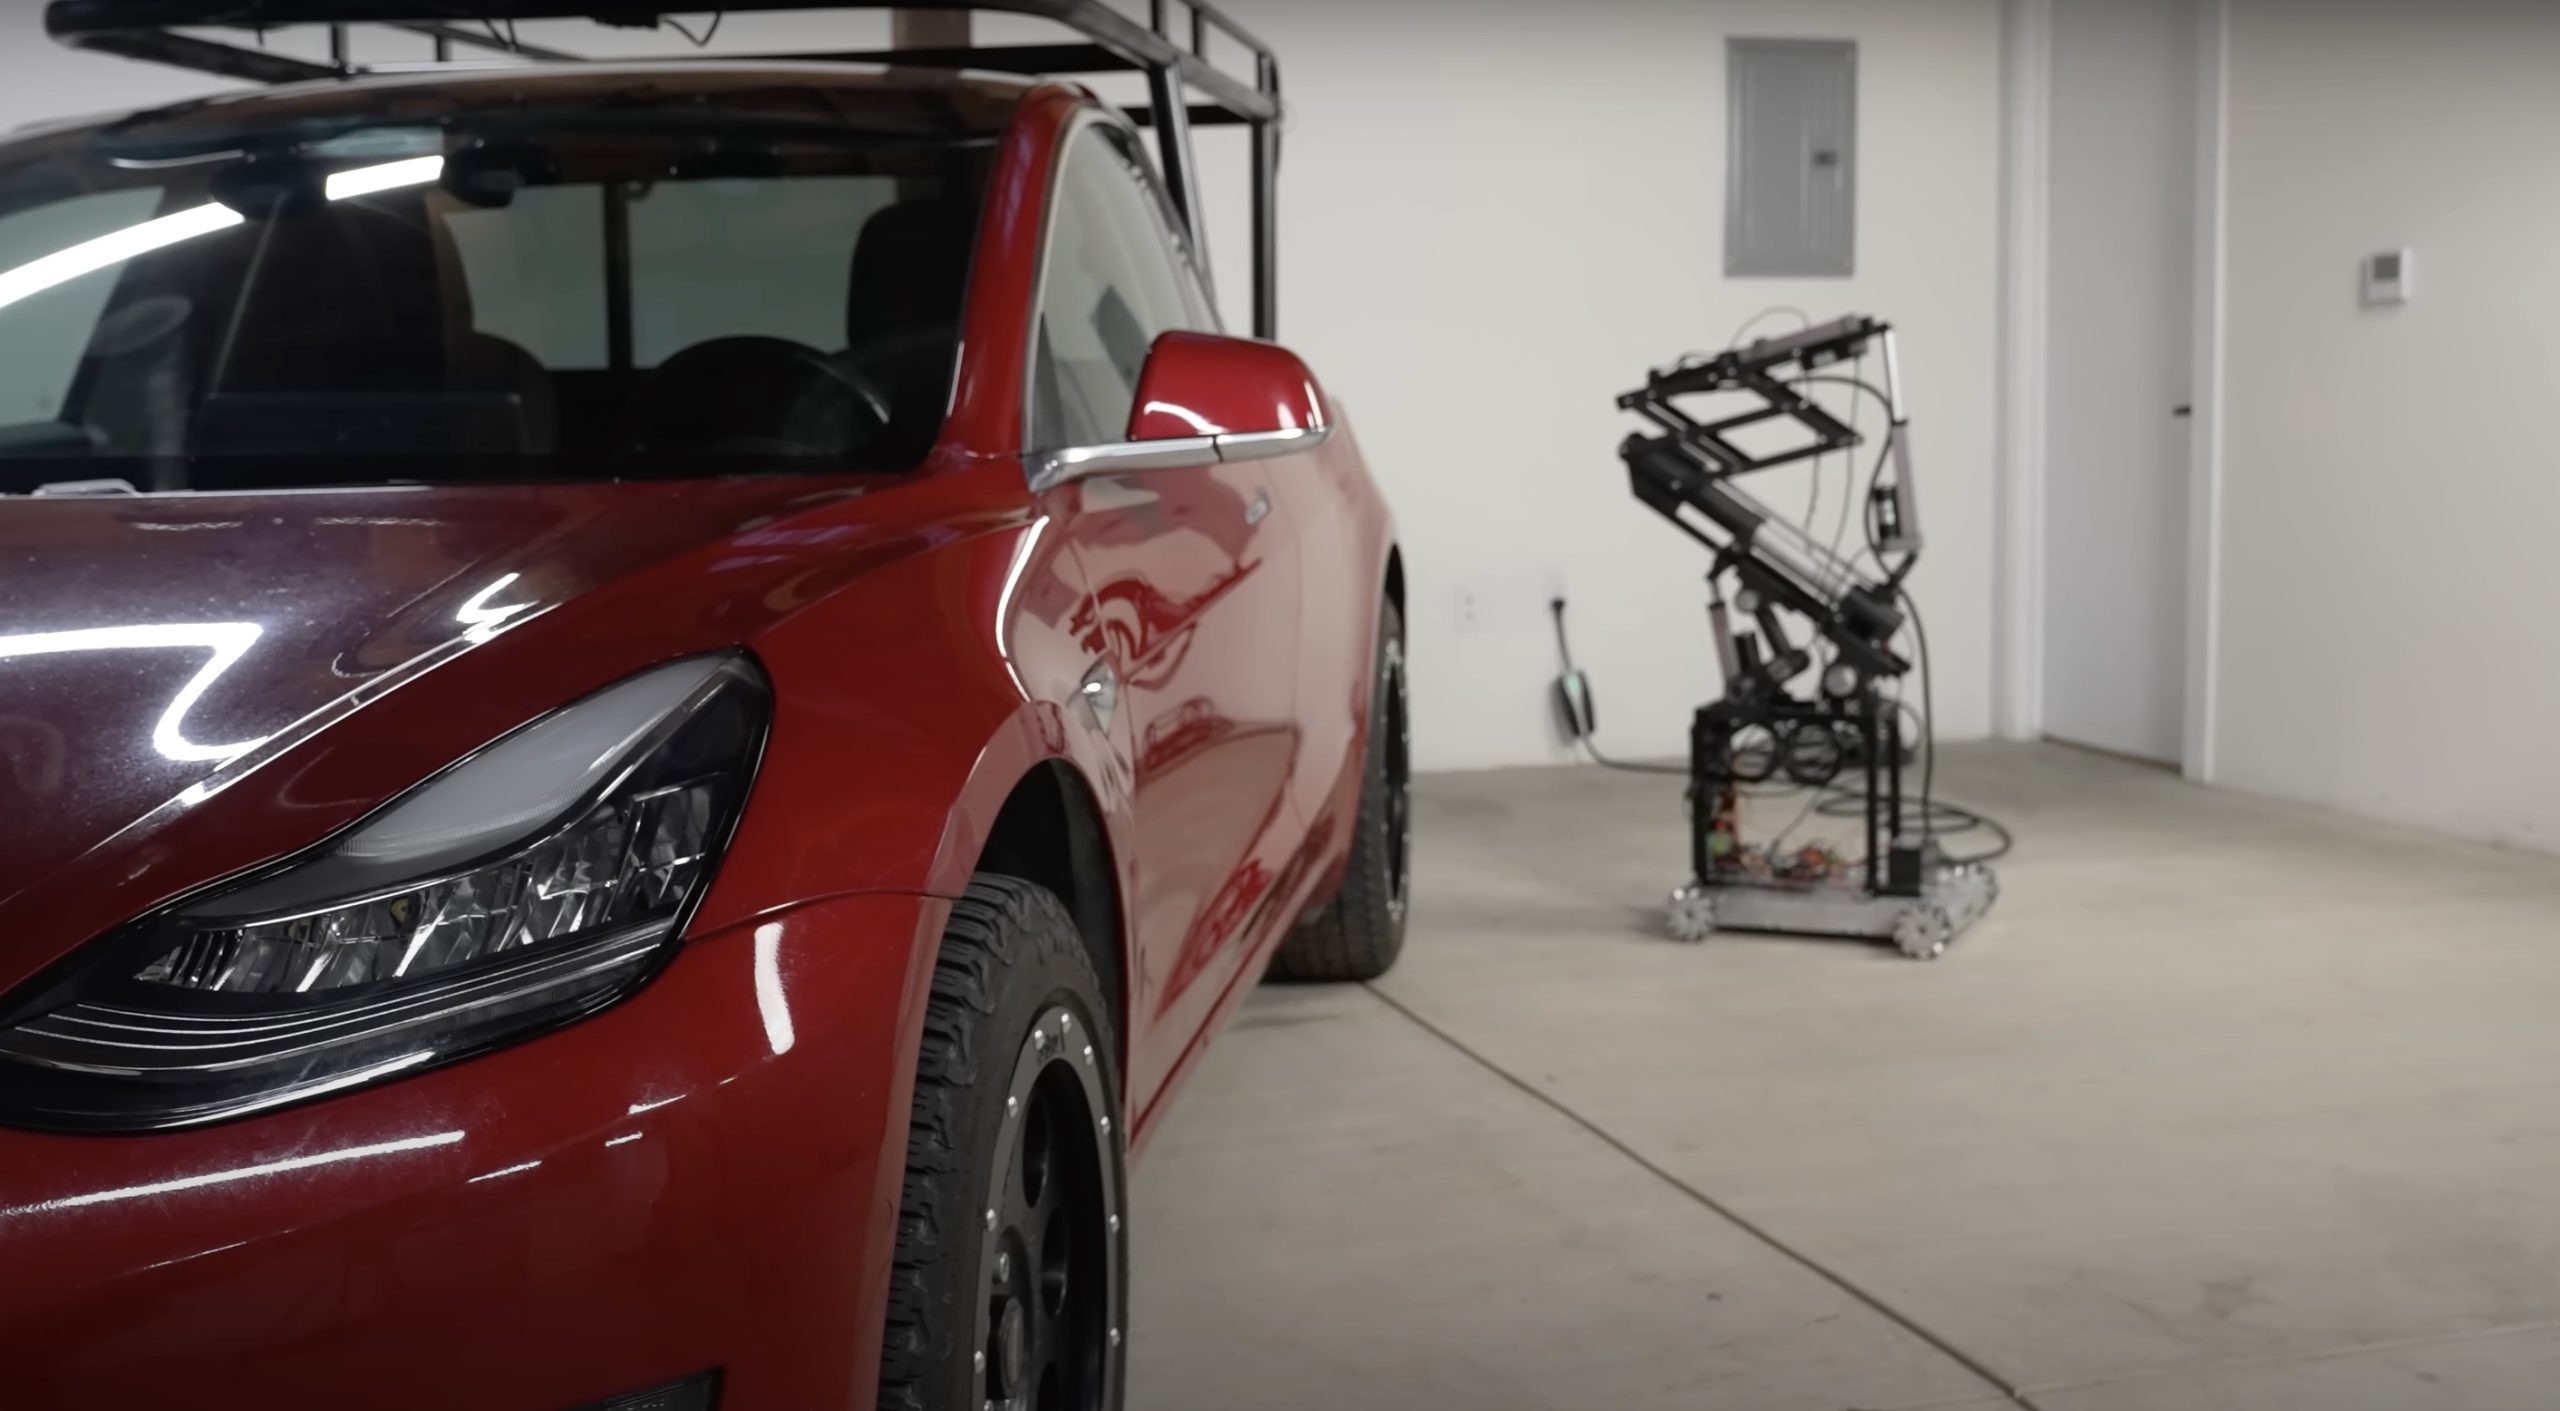
Back in 2019, YouTuber Simone Giertz, the self-proclaimed “Queen of Sh*tty Robots,” created a one-off Tesla Model 3 build that took the automotive world by storm. Fondly dubbed as “Truckla,” Giertz noted that the vehicle was actually her dream car — as crazy as that may sound.
Now almost four years later, the YouTuber posted an update on Truckla. And just like every other big project that one probably started, Giertz stated that she actually stopped working on Truckla when the vehicle was about 80% complete. The car is driving though, but a lot of stuff was not really working very well.
Thus, for her Truckla update, Giertz shared how most of her Model 3 pickup truck conversion was essentially completed. Truckla got a lot of detailing done, she got a slight lift, and she now has a functional tailgate. One has to admit, Truckla’s tailgate is pretty darn cool.
The “Queen of Sh*tty Robots” also opted to give Truckla a friend in the form of an automatic robot charger. Unlike Tesla’s rather interesting snake charger from years past, Truckla’s charger would come in the form of a rover, thanks to her friends at robotics platform Viam. Giertz aptly named Truckla’s robot charger friend “Chargela,” which is an appropriate name for such an invention.
Also true to form for Giertz, Chargela’s first encounter with Truckla was just a tiny bit awkward. One could say that Chargela may have just been a little bit nervous on his first try without human hands helping him. Most importantly, the system did work, so Giertz would likely keep using Chargela for her Model 3 pickup.
Teslas are very tech-heavy vehicles, so projects like Giertz’s Truckla are always remarkable. The fact that the Model 3 works perfectly fine despite having a good chunk of it cut off and turned into a pickup truck bed is mighty impressive any way one looks at it. Overall, Truckla will always be one of the coolest Tesla DIY projects to date, so any updates about the vehicle are always appreciated.
Truckla’s nearly four-year update can be viewed below.
Don’t hesitate to contact us with news tips. Just send a message to simon@teslarati.com to give us a heads up.
DIY
Tesla fan creating ‘CyberRoadster’ using Model 3 Performance parts in epic DIY build
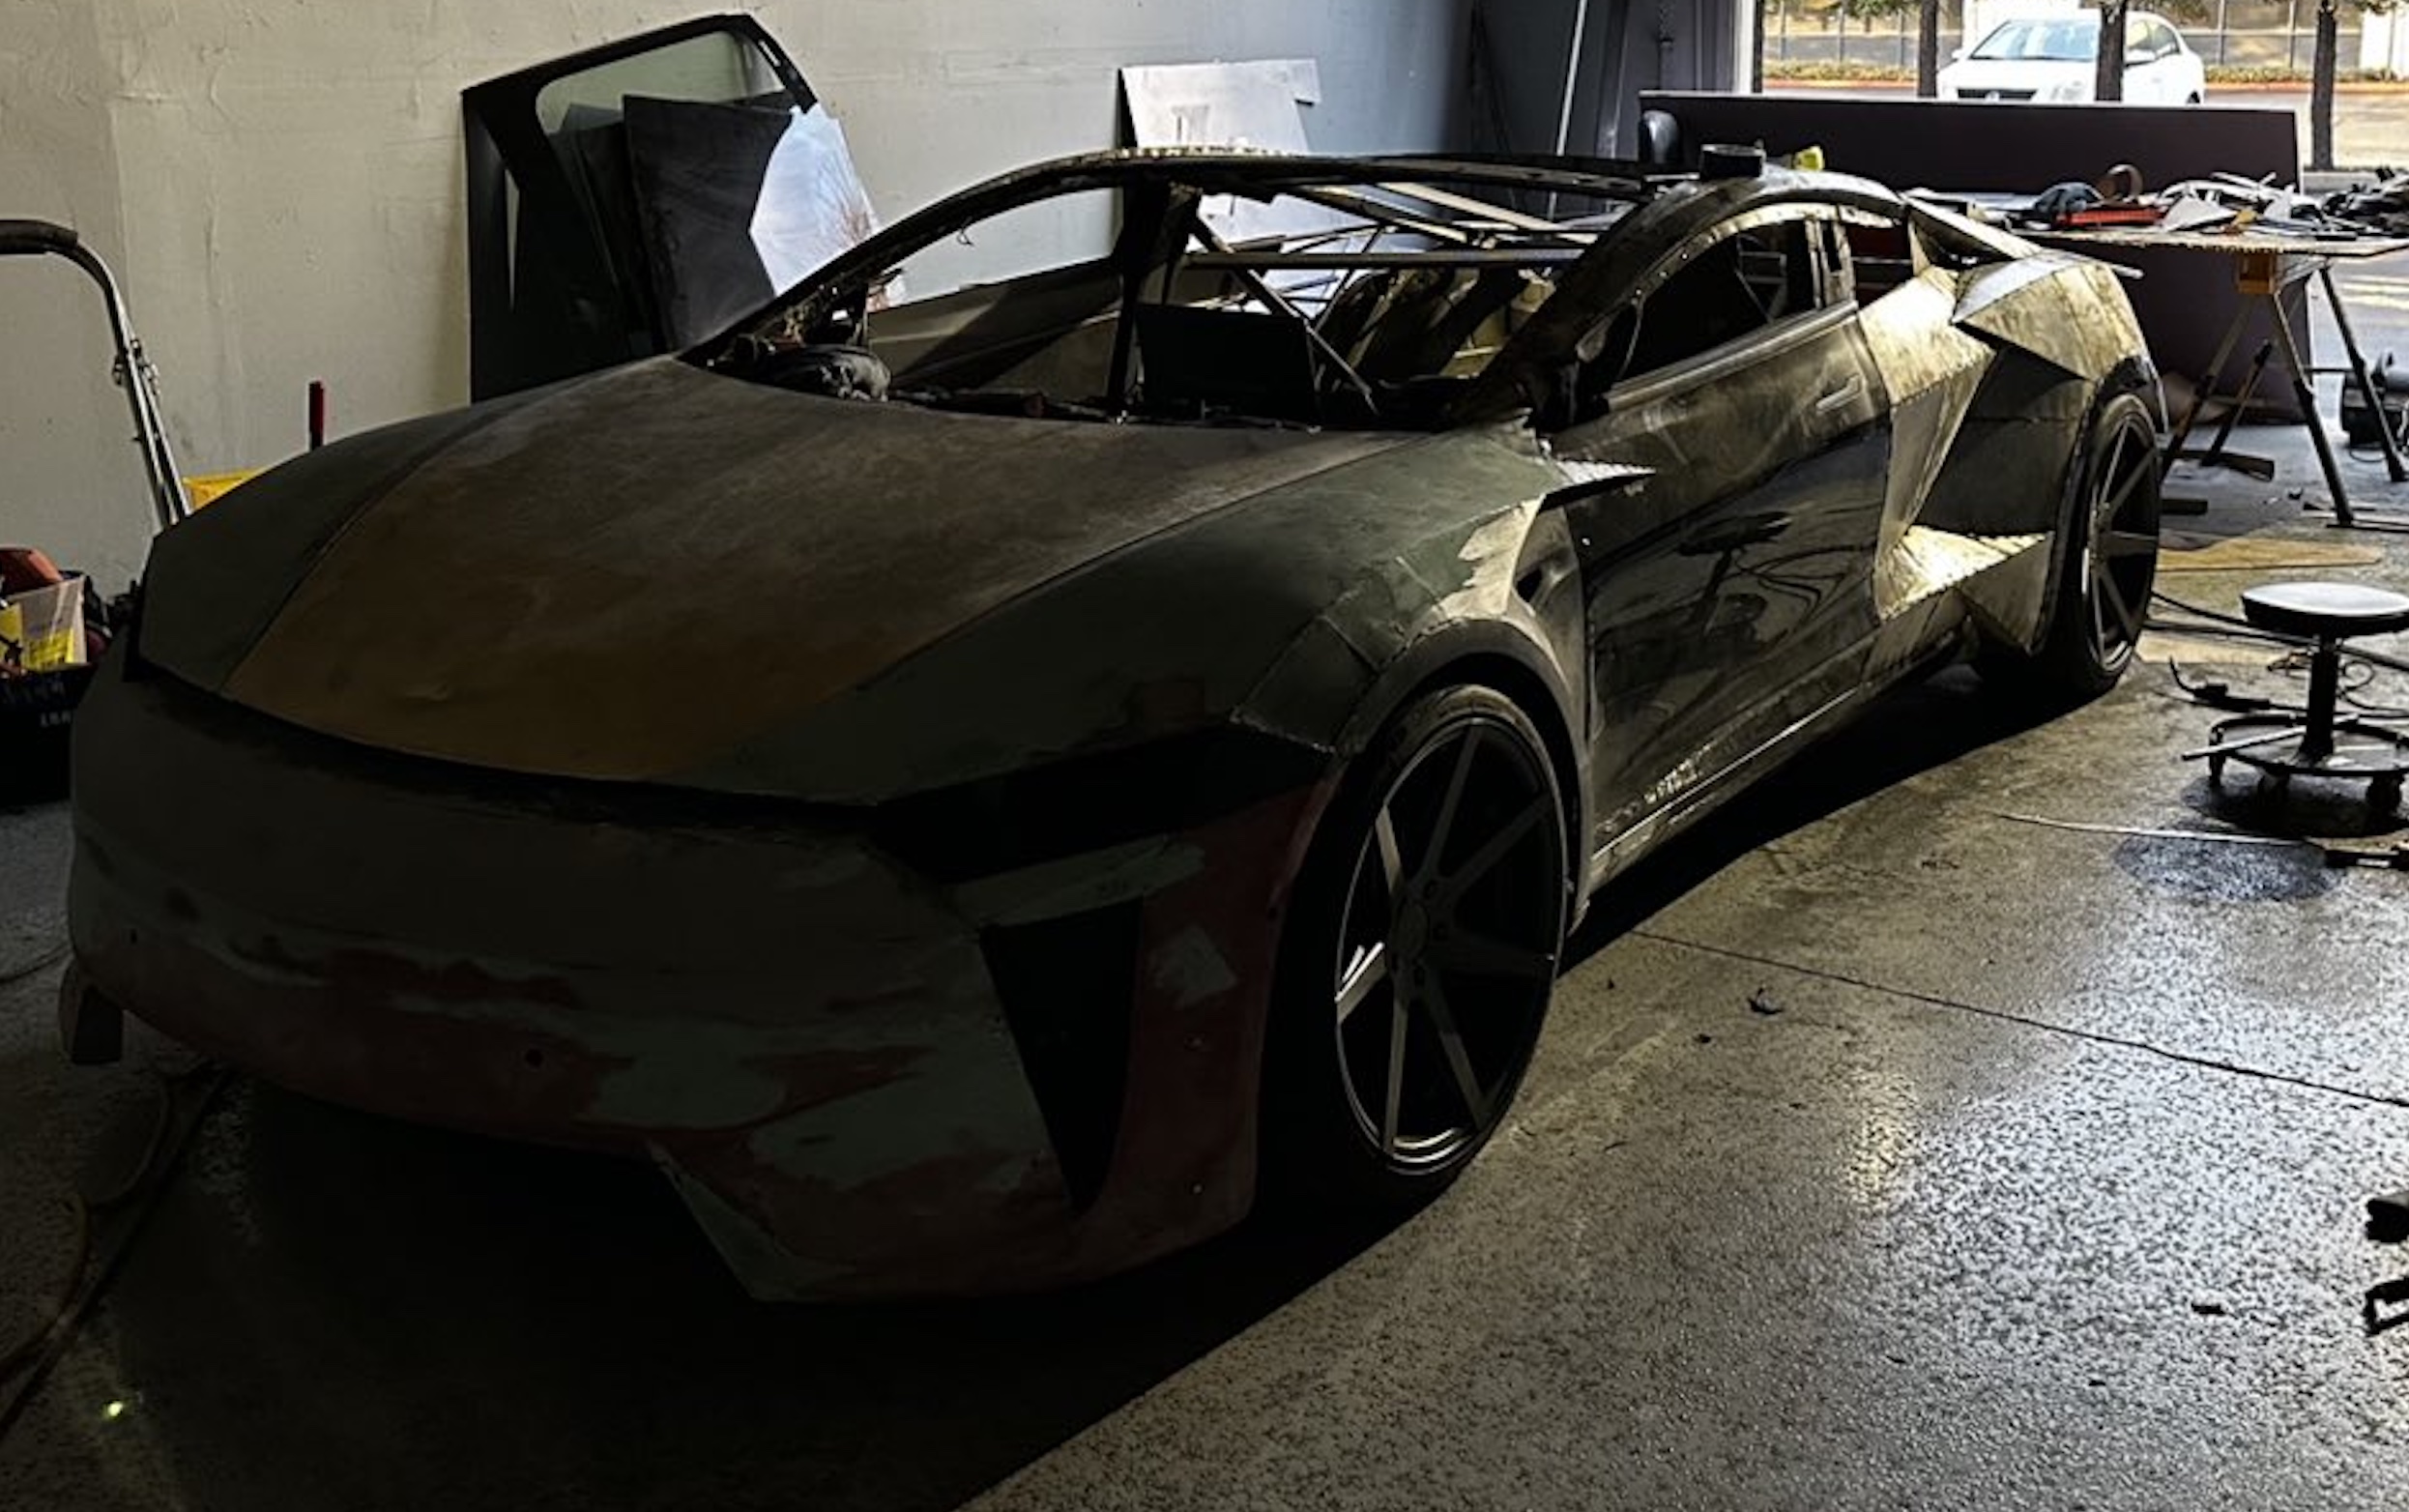
A Tesla owner is taking his hobby and love for electric vehicles to new levels by creating what could only be described as one of the coolest EV-related DIY projects to date. The idea for the project is simple: what happens when you cross a supercar with the Cybertruck? You end up with a two-seater CyberRoadster.
Tesla owner David Andreyev, who goes by the username @Cyber_Hooligan_ on Twitter, has spent the last few months creating a Cybertruck-inspired version of the next-generation Roadster made from a salvaged Model 3 Performance. Starting with a Model 3 Performance is an inspired choice, considering that it is Tesla’s first vehicle that has a dedicated Track Mode.
A look at Andreyev’s YouTube channel, which can be accessed here, shows the meticulous build that the Tesla owner has implemented on the project car. What’s particularly cool about the CyberRoadster is the fact that it’s being built with parts that are also from other Tesla vehicles, like its front bumper that came from a new Model S. Recent videos suggest that the project car’s rear bumper will be from a new Model S as well.
The journey is long for Andreyev, so the completion of the CyberRoadster will likely take some more time. Despite this, seeing the Tesla owner’s DIY journey on such an epic build is more than satisfying. And considering that the CyberRoadster is evidently a labor of love from the Tesla owner, the final results would likely be extremely worth it.
There’s a lot of crazy Tesla modifications that have been done as of late. But some, as it is with a lot of things on the internet these days, have become more silly gimmicks than serious automotive projects. Fortunately, car enthusiasts like Andreyev, who just happen to also love electric vehicles, are taking it upon themselves to create one-of-a-kind EVs that would surely capture the attention of anyone on the road.
Check out the latest video in the CyberRoadster’s creation below.
Don’t hesitate to contact us with news tips. Just send a message to simon@teslarati.com to give us a heads up.
DIY
Tesla owner ‘charges’ Model 3 with homemade solar panel trailer
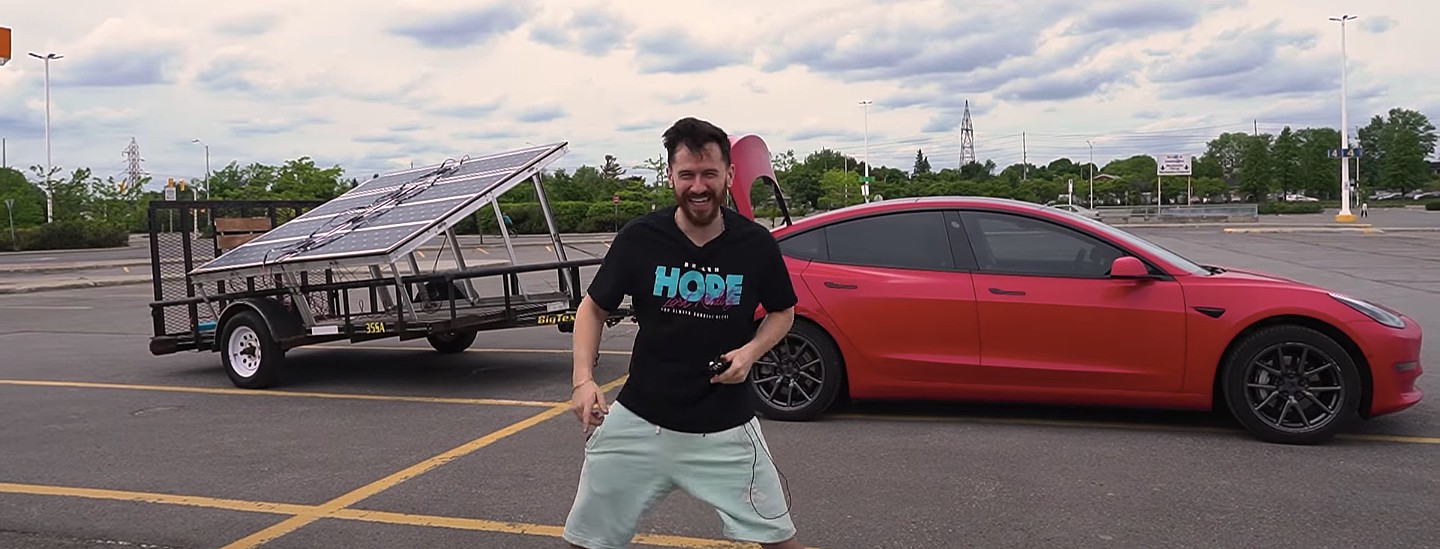
A Tesla owner has demonstrated a rather novel way to charge his Model 3. In a recent video, Sean Callaghan of the ItsYeBoi YouTube channel opted to use a series of off-the-shelf solar panel sheets onto a towable trailer to create a mobile charging unit for his all-electric sedan.
Callaghan planned to use only the sun and the solar sheets purchased from e-commerce platform Wish to charge his Model 3. The solar panel sheets would collect energy from the sun and transfer it to a control panel. The control panels were connected to batteries that would hold the energy—the batteries connected to an inverter, which would then charge the Tesla Model 3.
The entire assembly would provide the Model 3 with about 800 watts of energy on a completely sunny day. However, Callaghan shot the video when weather was overcast, so the entire solar panel trailer build only managed to provide around 300 watts throughout the YouTube host’s test.
To put this into perspective, a 100 volt home wall outlet provides 1.4 kilowatts of power, or 1,400 watts. Therefore, the 300-watt solar panel assembly built by Callaghan was producing less than 25% of the energy of a typical wall outlet. This is pretty marginal compared to Tesla’s 250-kilowatt V3 Superchargers, which provides 250,000 watts, or about 833 times as much power as the makeshift solar panel build.
However, Callaghan’s goal was not to charge the vehicle quickly. He explained the idea came from a previous video where he used a $5,000 Wish-purchased wind turbine to charge his Model 3. He wanted to test the effectiveness and efficiency of the system, which was questionable due to the time it would take to charge the battery fully.
The Model 3 battery pack is 78 kWh, and with Callaghan’s 300-watt system charging his electric vehicle, it would take 260 hours to supply the Tesla’s battery to full capacity.
In the past, electric vehicle enthusiasts have asked Tesla CEO Elon Musk why the company’s vehicles do not contain solar glass roofing, which would charge the car while the owner is driving. Musk has explained that the efficiency of this idea is challenging and likely would not provide an ample amount of range.
When asked about the idea of putting solar panels on the top of Tesla’s vehicles in 2017, Musk responded that the idea was “Not that helpful, because the actual surface of the car is not that much, and cars are often inside. The least efficient place to put solar is on the car.” It also would not be cost-effective for Tesla because “the cost of the panels and electronics, R&D and assembly would never pay for itself in the life of the vehicle, compared to charging from the wall in your garage,” Quartz noted.
That being said, Tesla plans to implement solar panels onto the motorized tonneau of the upcoming Cybertruck. The idea was discussed on Twitter when Musk stated that the optional feature would add “15 miles per day, possibly more” when parked in the sunlight. Also, fold-out solar wings could help capture enough solar energy for 30 to 40 miles a day.
Watch Sean Callaghan’s video of his makeshift solar panel trailer below.
