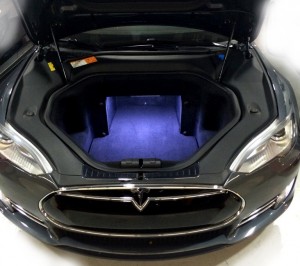
Various sources report that there are over 400 individual lights in the Tesla Model S. My mid 2013 production model came with door panel ambient lights which today are part of a premium lighting upgrade. Yet with all those points of illumination, Tesla did not adequately, in my opinion, light the frunk or trunk. In particular the microwave, the square opening set deep in the frunk, is a particular problem since the carpeting and side linings are finished in black. It’s very difficult to see with the factory provided light affixed to the front inside of the cavity.
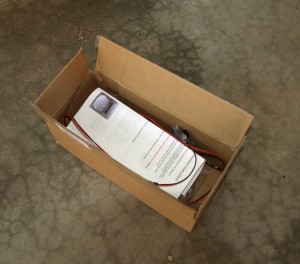
Here is where the ELLuminer Trunk + Frunk Lighting Kit sold by EVannex comes in.
ELLuminer Initial Impressions
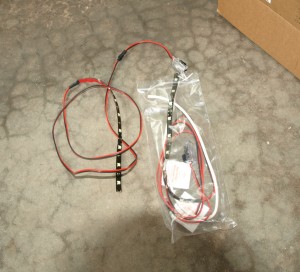
The ELLuminer kit includes two lighting strips that are the source of additional light, plus two very clever replacement light housings that is the key to simple installation. Essentially you replace the existing light housing in the trunk or frunk of your Model S with the ones provided in the kit and plug the light strip into the new housing. Peel off the self adhesive protection from the strip and press it on the surface where you want additional light.
With aftermarket items quality and function can vary greatly. I was impressed with the thought that went into this item, especially the exact fit of the light housing back into the Tesla cavity. The connectors were easy to remove, but snapped together tightly. I have no worries that they could come loose over time or under driving vibration. I do wonder how the adhesive will hold up in our harsh Chicago winters and hot summers. Only time will tell.
Tesla Model S Frunk Lighting
The frunk light strip adheres to the ceiling of the microwave. In the trunk it is mounted under the shelf support on either the driver or passenger side.
The light strips work well to provide additional ambient light, not direct or task light. The additional light in the frunk is very effective in illuminating the microwave section, which is impossible to see into at night or inside a covered space or garage. The trunk was always less of a problem due to the the rear glass panel, wide opening and relatively flat surface. The strip makes peering into the space to find smaller items easier.
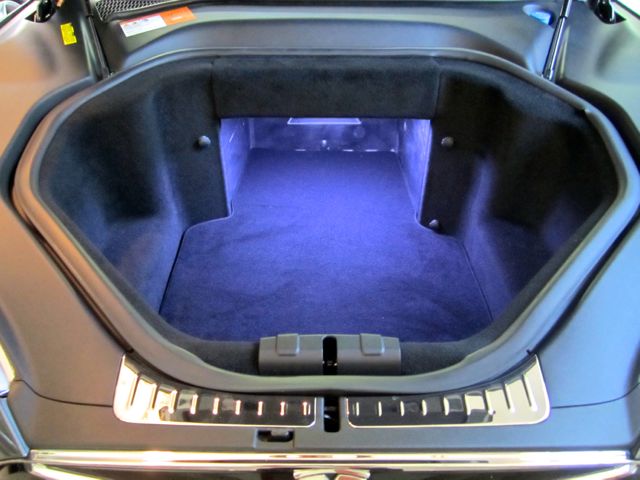
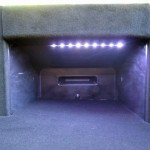 Where to mount the light strips is pretty straightforward. Just inside the microwave the lining stops and aluminum is exposed.
I placed the strip on the aluminum about an inch or so in. Installing it here hides the strip from view as you look into the frunk from a standing position.
You can easily see inside the microwave. This illumination solution works extremely well.
Trunk Lighting
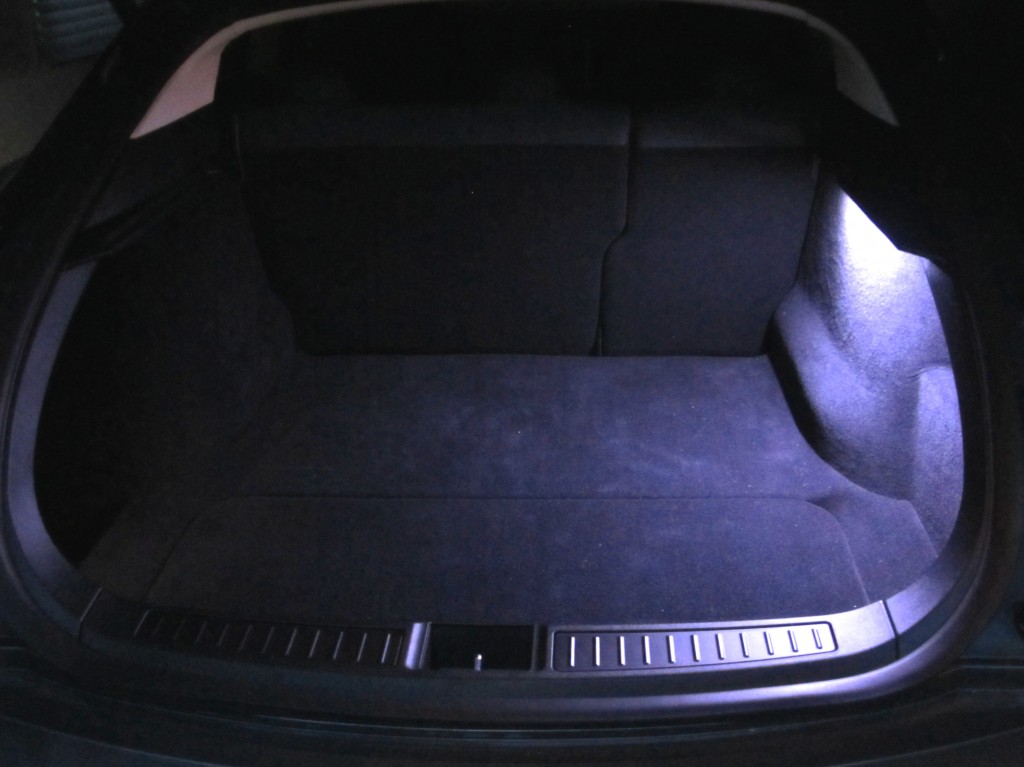
For the trunk, I installed the strip on the plastic support that holds up the optional shelf on the passenger side. Once again, when you are standing looking into the trunk the light strip cannot directly be seen.
“The ELLuminer kit includes … two very clever replacement light housings … key to simple installation”
The strip provides nice lighting but having one on each side would make it exceptional. For most situations one will do nicely.
Summary
Installation of the Tesla Trunk + Frunk Lighting Kit took me less than 20 minutes total for both the trunk and frunk. The kit includes a stiff fish wire and even a postage paid envelope to recycle the light housings that were removed. One thing to keep in mind is that this kit will only work in the trunk if your interior lights are embedded in the back panels facing forward. Ensure your lights are located there before you buy.
Overall I’d say this product performs as advertised and if you want additional lighting in your trunk and frunk, you will likely be satisfied with this choice. The price for this ELLuminer lighting kit is $189.00. Sounds a bit high once you see what comes in the box, but If Tesla provided them they would likely be more.


