DIY
DIY Tesla Dash Cam Installation
There is no doubt that when the first cat video was posted on YouTube it was a watershed moment for mankind. Prior to that the internet was merely a way of sharing chain letters from Nigerian businessmen, Chuck Norris jokes and dirty pictures. It’s since become so ingrained in our daily life it is hard to believe that YouTube was created in just 2005; both of my children are actually OLDER than YouTube!
 While no other single clip can match Psy’s “Gangnam Style” view count, as a group the subculture of Russian dashcam videos garners a huge slice of this digital pie. I’ll admit they’re my own guilty pleasure. Nothing makes me smile at the end of a long day quite like a Russian sawing at the wheel to avoid an errant tire flung off a fellow motorist’s poorly maintained car as he rockets through a tight snowy urban street at night going a reasonable 85mph. Watch out for that bus!
Looking for the BlackVue HD Front + Rear Camera?
Follow our Step-by-step Tesla Model S BlackVue HD Dashcam Installation Guide
The Russian obsession with dashcams may have started a means of warding off insurance scams but the insanity they’ve since captured puts them up there on the same pedestal as Rick Rolling. Ever wished you could share the meteor shower you saw while driving? Or brag about your rescue of a wayward kitten by preserving it for future generations? Get a dashcam! I did. And a decent dashcam is a lot less expensive than you’d think.
Tesla Dash Cam (Wide Angle + Full HD)
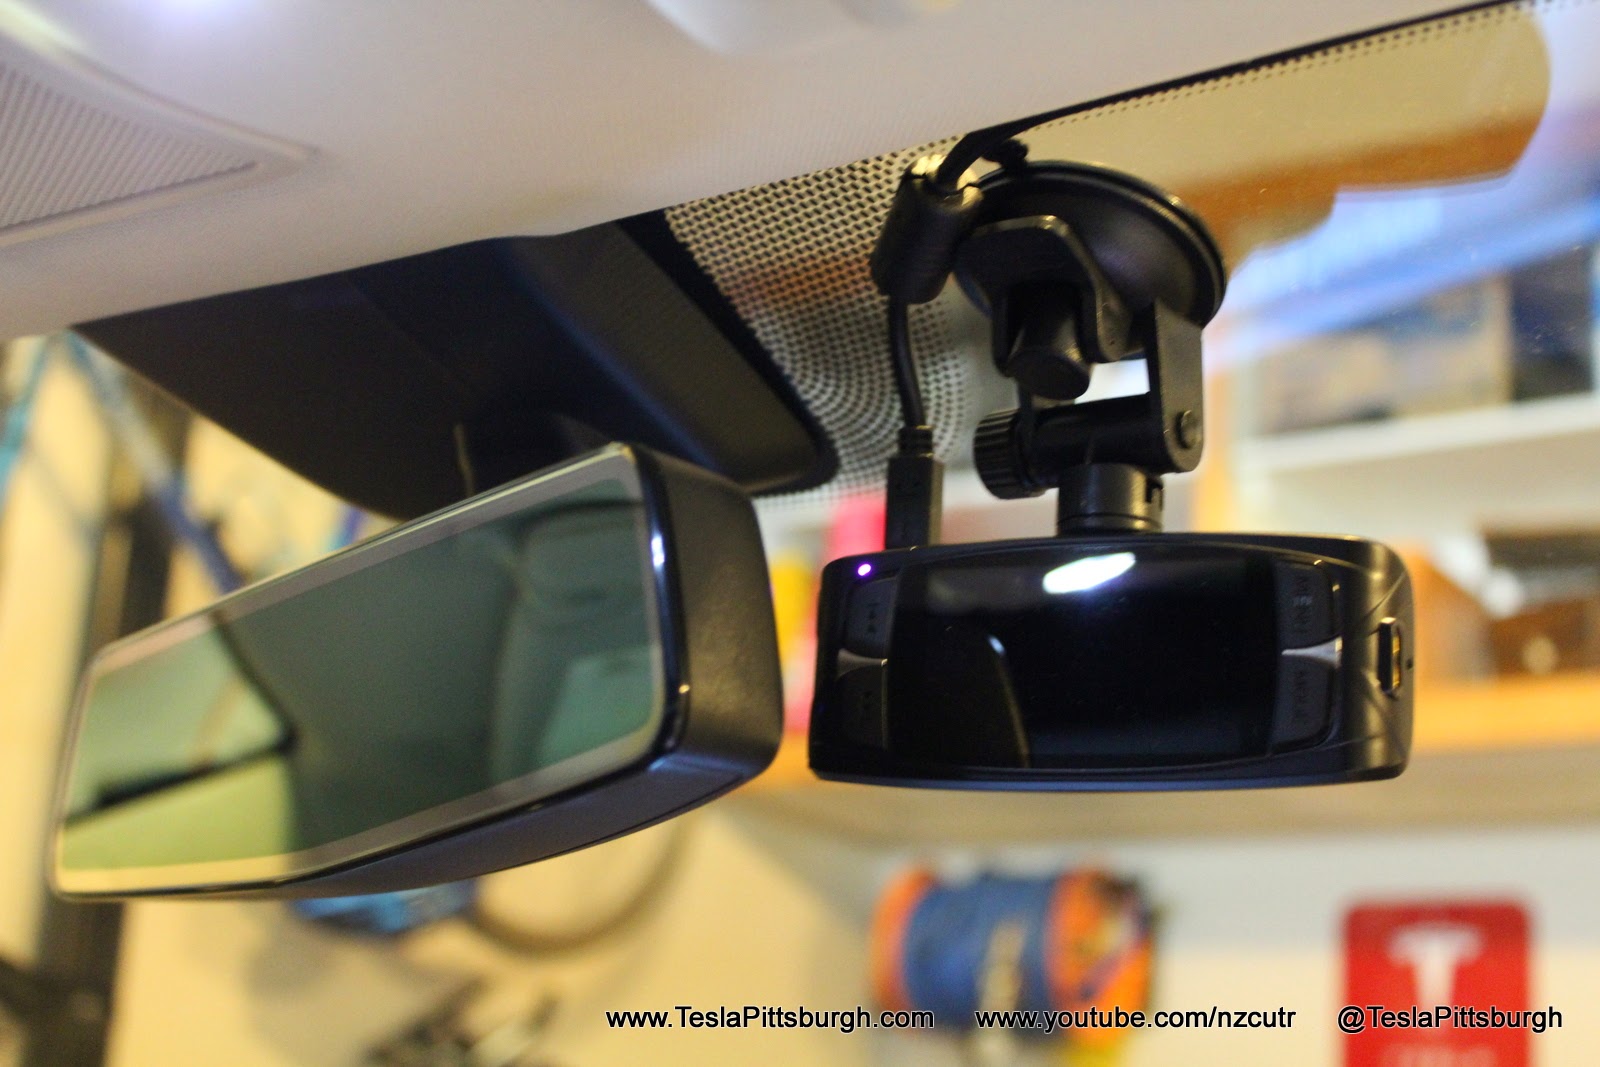
Since we have 3 cars, naturally I have 2 dashcams (eh– yeah… my math skills also torpedoed my automotive engineering ambitions). The cameras were purchased about 2 months apart and one purports to be an updated version but honestly, I see no significant difference between them. The newer camera is all black but I recommend getting whatever is on sale at the time as the difference between them appears to only be a chrome ring around the older one’s lens. I painted the chrome lens surround black in the interest of being discrete. The camera in the Tesla is the newer one… of course!
Prices can vary wildly but at the time of my purchases each was about $50 shipped from Hong Kong to the US. You can find them all over the place online. The first one I bought through eBay and the second one here on Amazon (though I believe it was the same seller for both). Just wait for a sale and beware of clones. I recommend you make sure it has a Novatek chipset as this spec in particular seems to weed out the worst of the knock offs. When you’re spending all of $50 on a camera, you want every dollar to shout QUALITY!
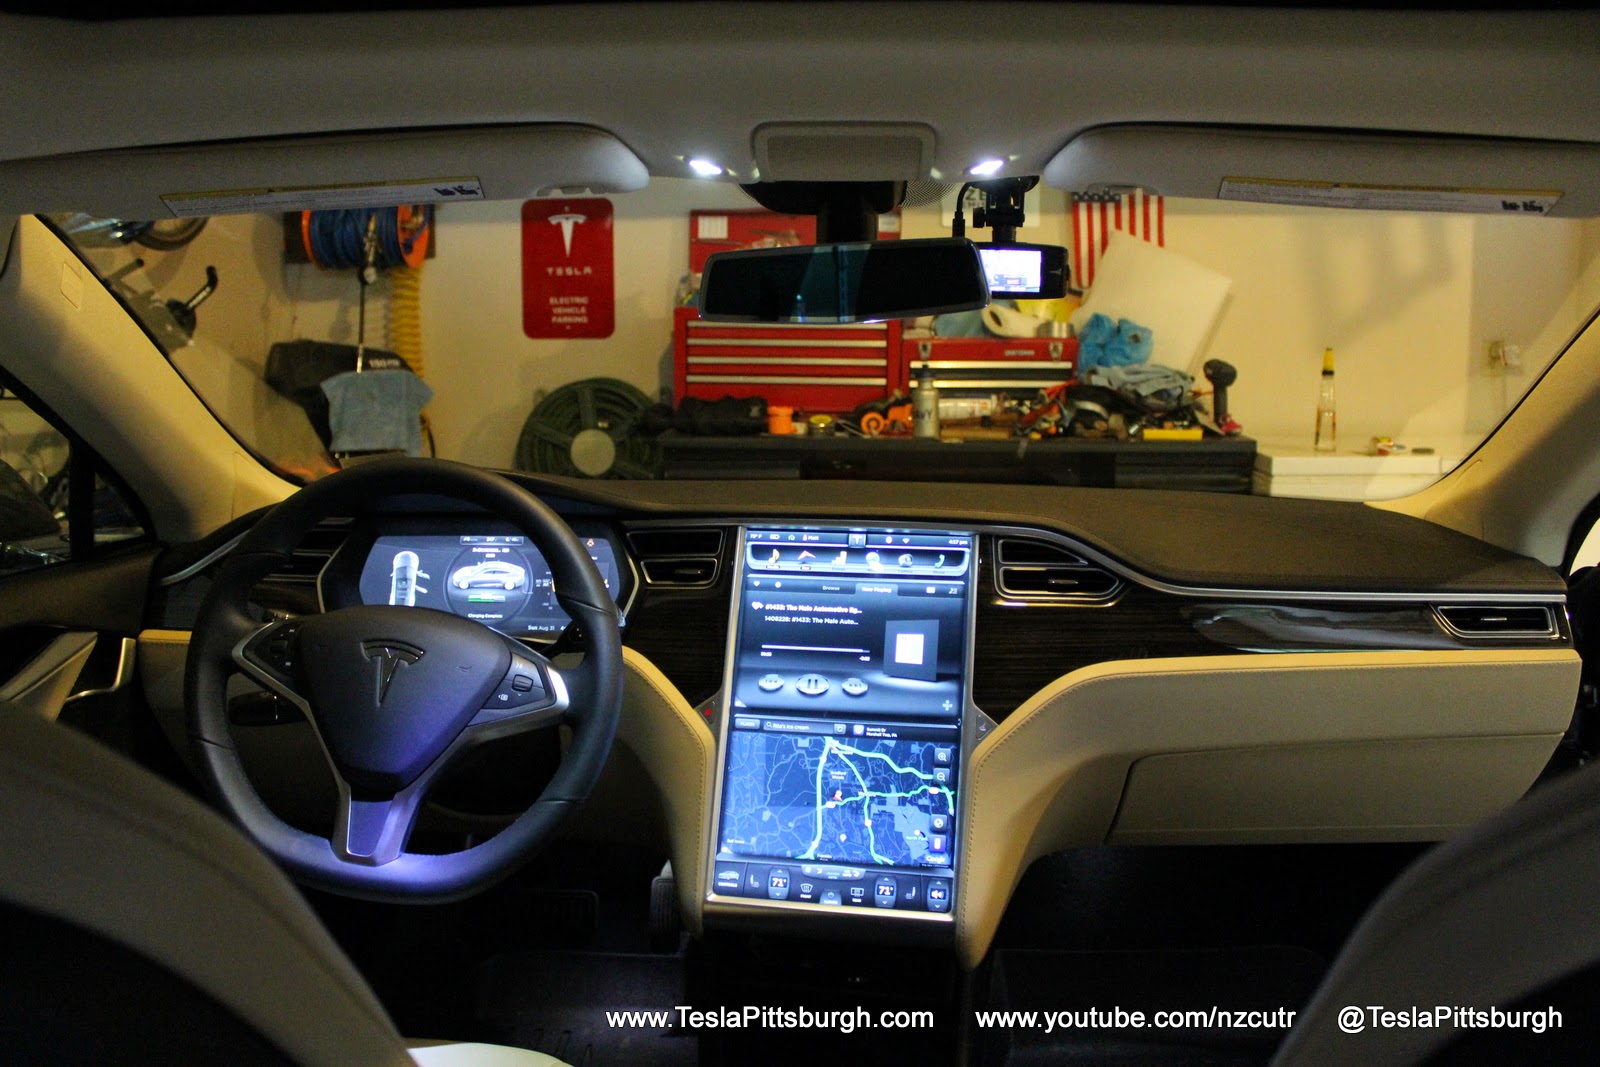
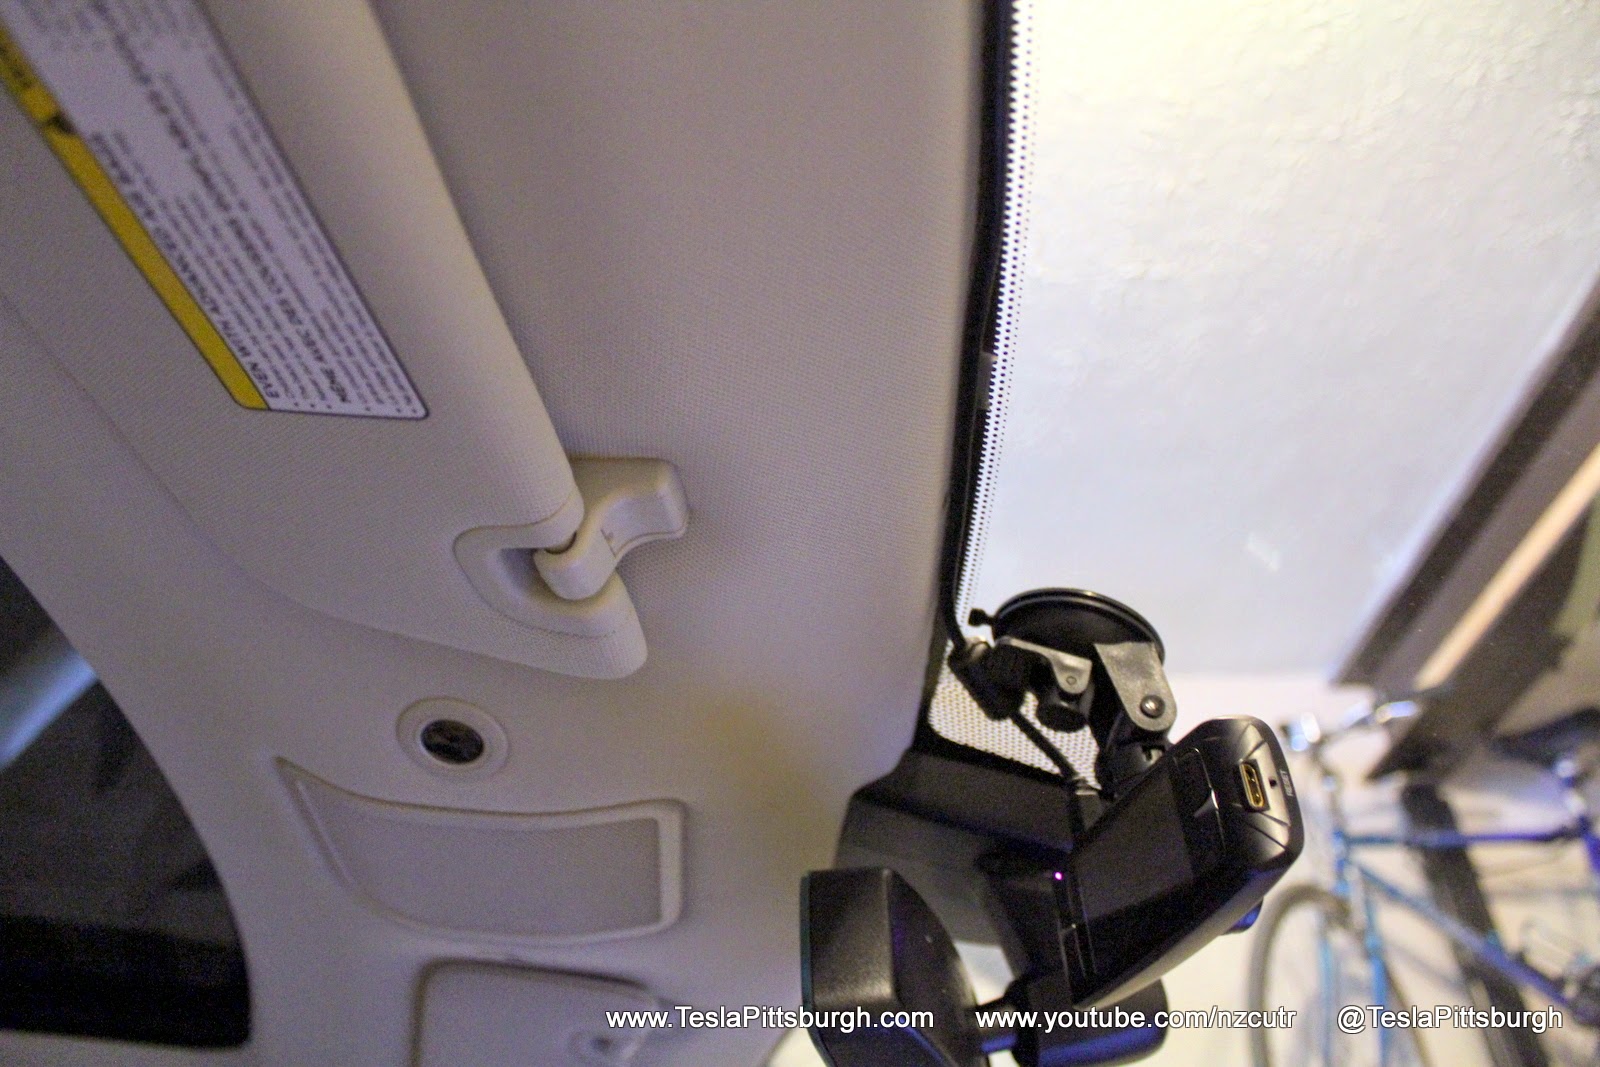
On the Tesla I have it mounted just to the right of the transponder “zone” behind the rearview mirror as the included suction cup won’t attach to the dotted glass. The cups are quite good too– I’ve never had either camera fall off and they’ve been in use for a combined 2 years or so.
RELATED: Where to Install EZ Pass on the Tesla Model S
The cameras will record HD video on a loop. Simply insert a microSD card into the camera and format it. The files will be numbered in sequence with the date (assuming you program one in) and in 10 minute segments. Each segment is about 1 GB, so a 16 GB card will record about 160 minutes of driving before overwriting the oldest files. Note that these cameras will record audio but I have disabled the microphone because of legalities where I live (PA is a 2-party consent state). Be sure to check your local laws to avoid any awkward conversation about your conversations later.


The glass cockpit of the Model S already has a lot of screen power– closest thing to a Boeing Dreamliner that’ll fit in my garage– so you can’t really complain about a forward camera screen being distracting. Would the space shuttle have gone faster with a third booster rocket? What if Usain Bolt had three legs? Perhaps in this case more isn’t better either and, fortunately enough, our far flung Chinese manufacturers agree. The camera screen can be disabled also or set on a timer. I have mine set to display for the first minute of driving (a good visual confirmation it is working) and then it goes black except for a barely perceptible steady LED.
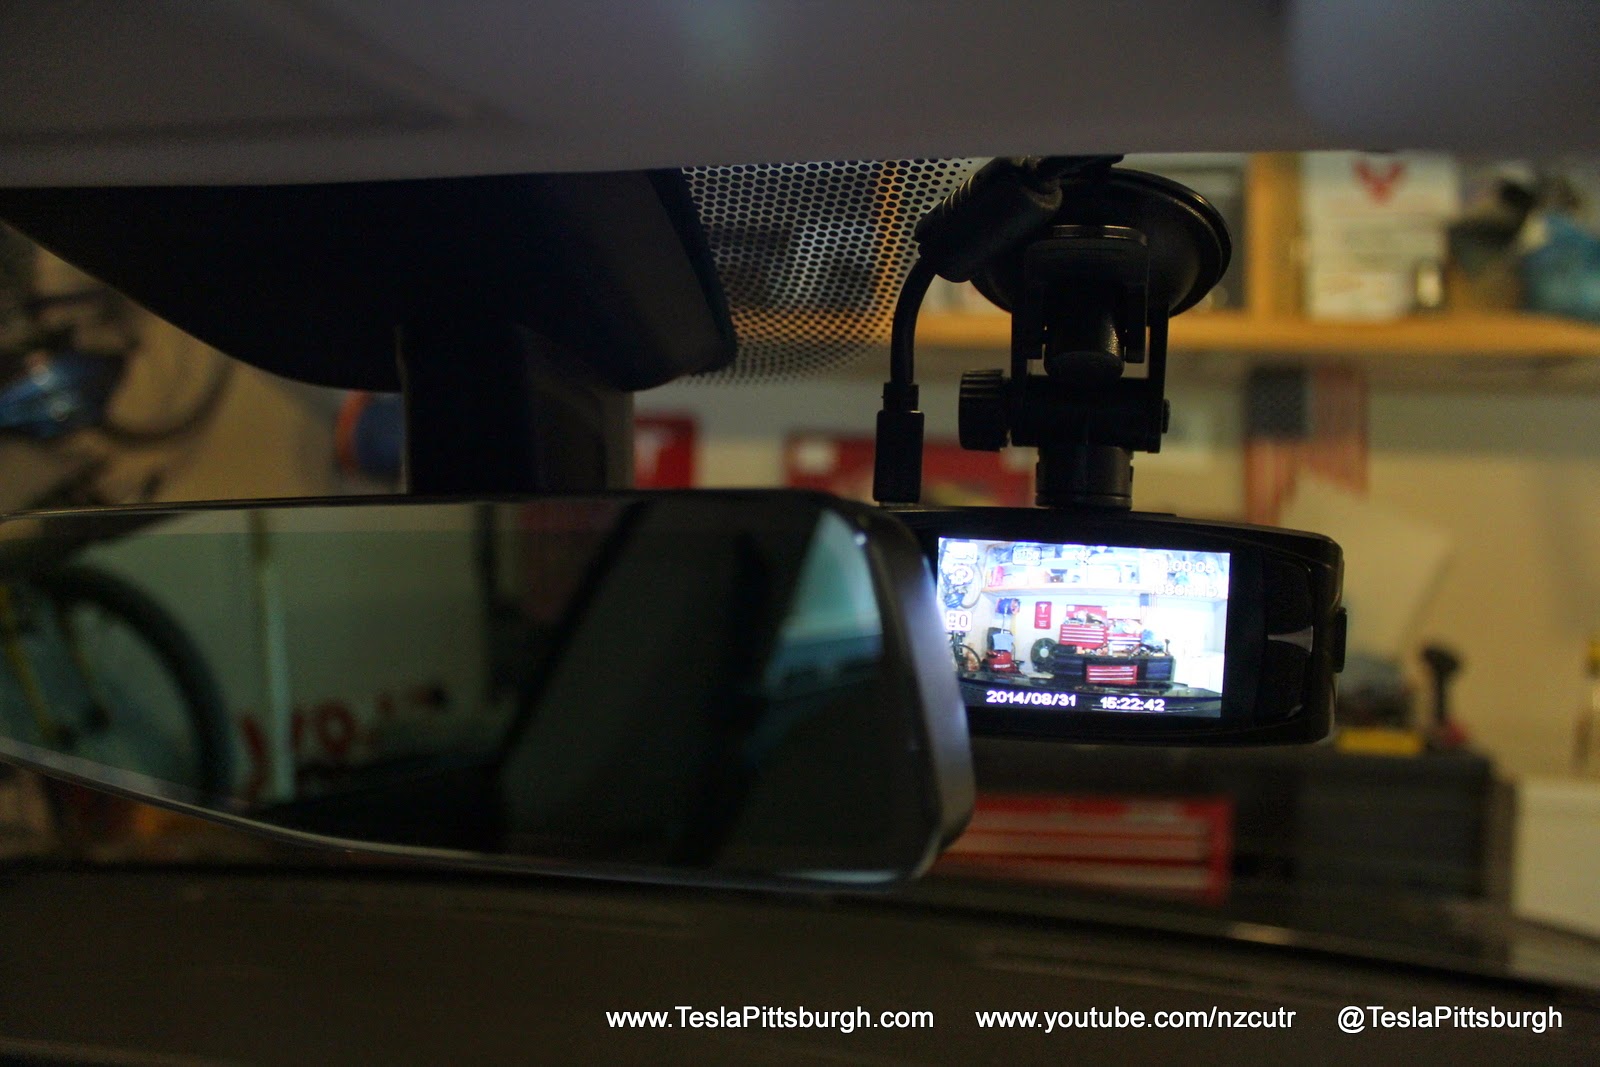
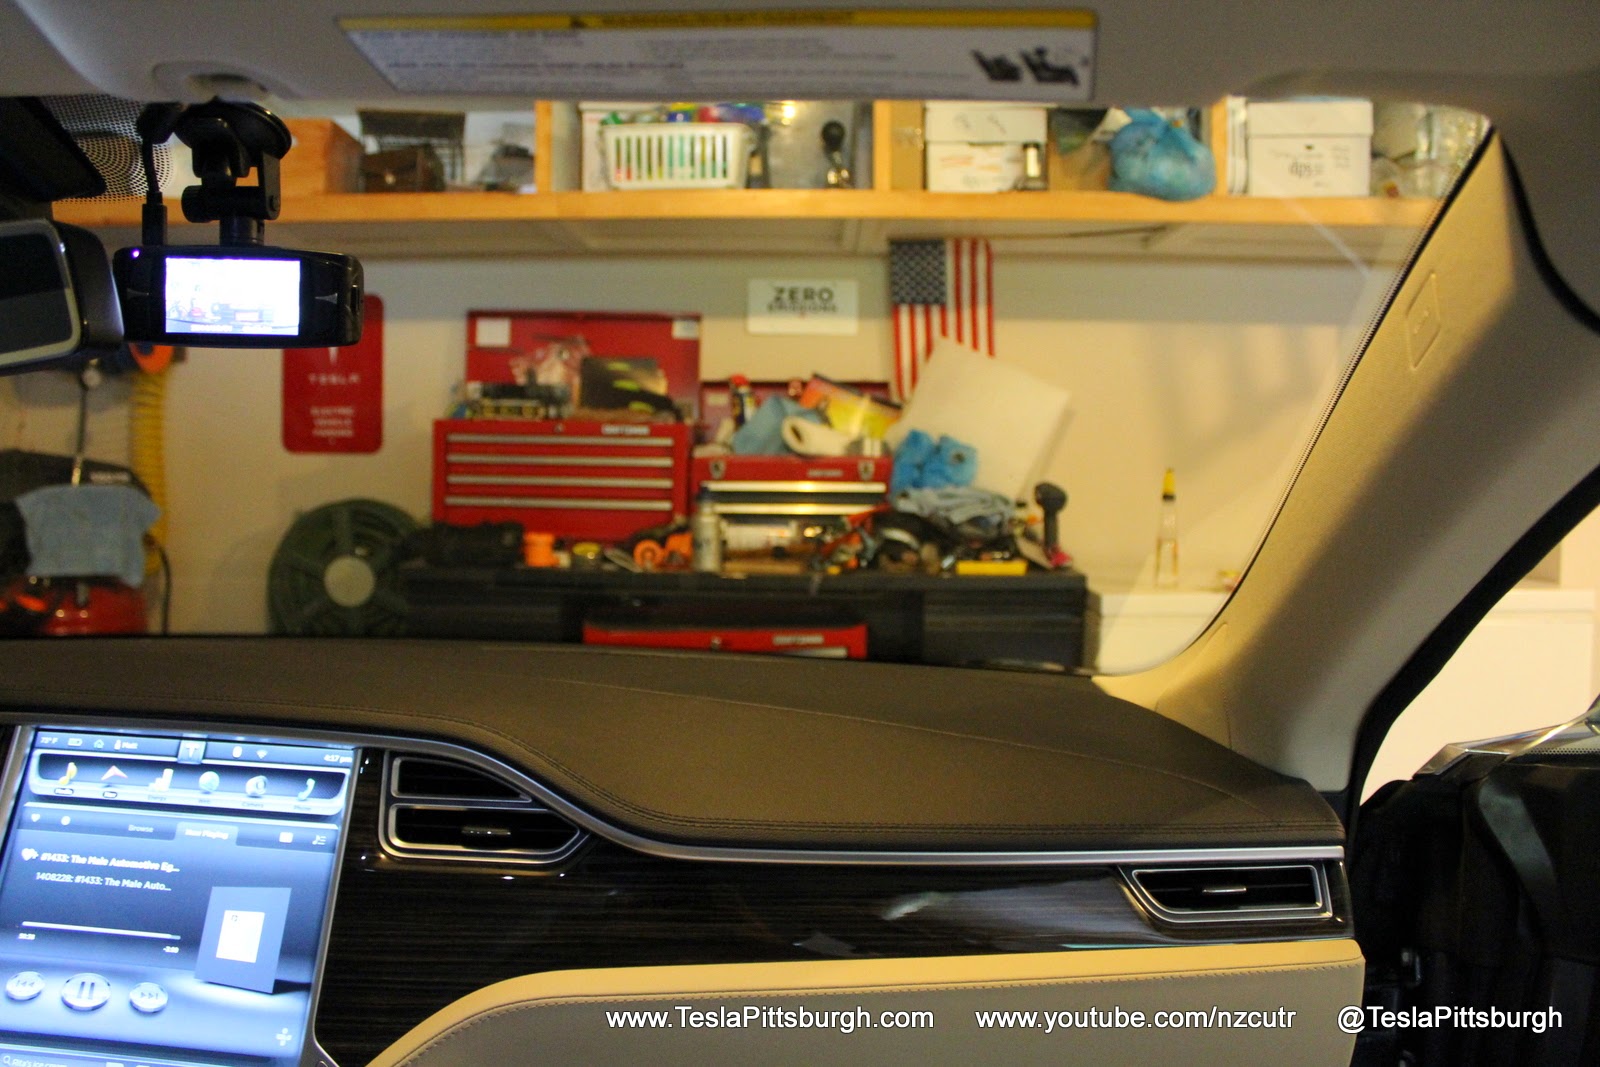
Being shifted to the right of center by the windshield coating, the camera does enter the passenger’s field of view. It isn’t overly distracting or large and pretty much disappears once the screen goes off. Here you can see how it’s perched from that point of view.
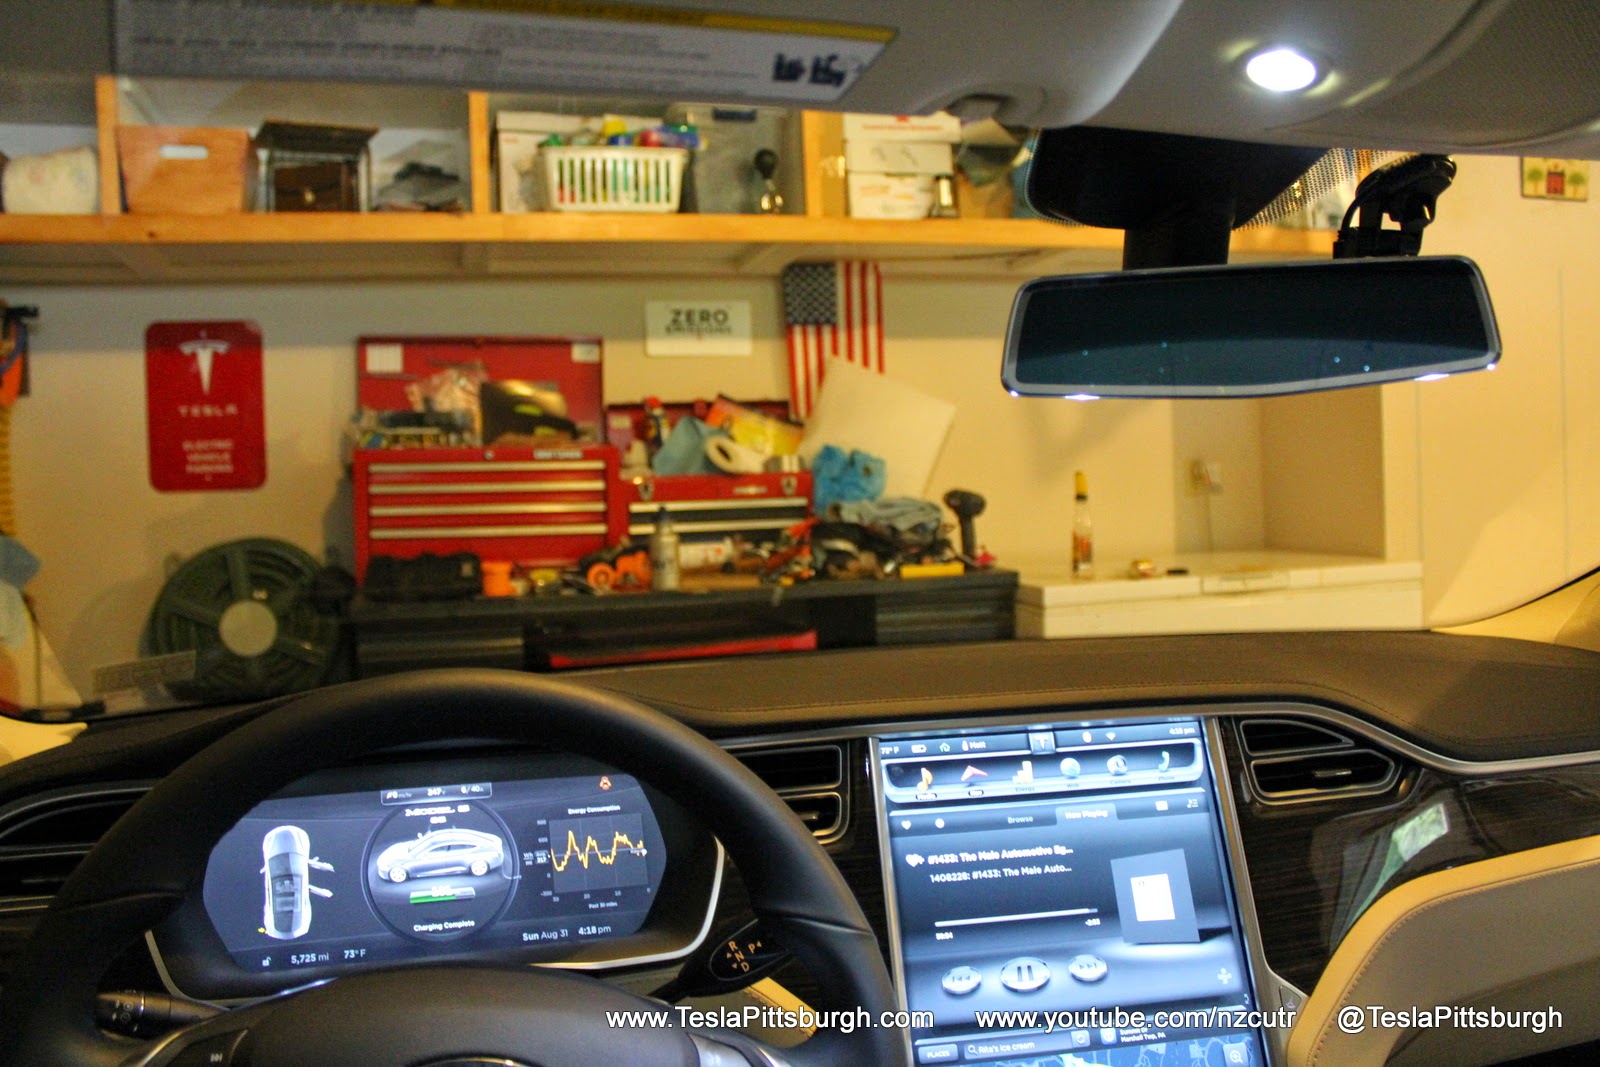
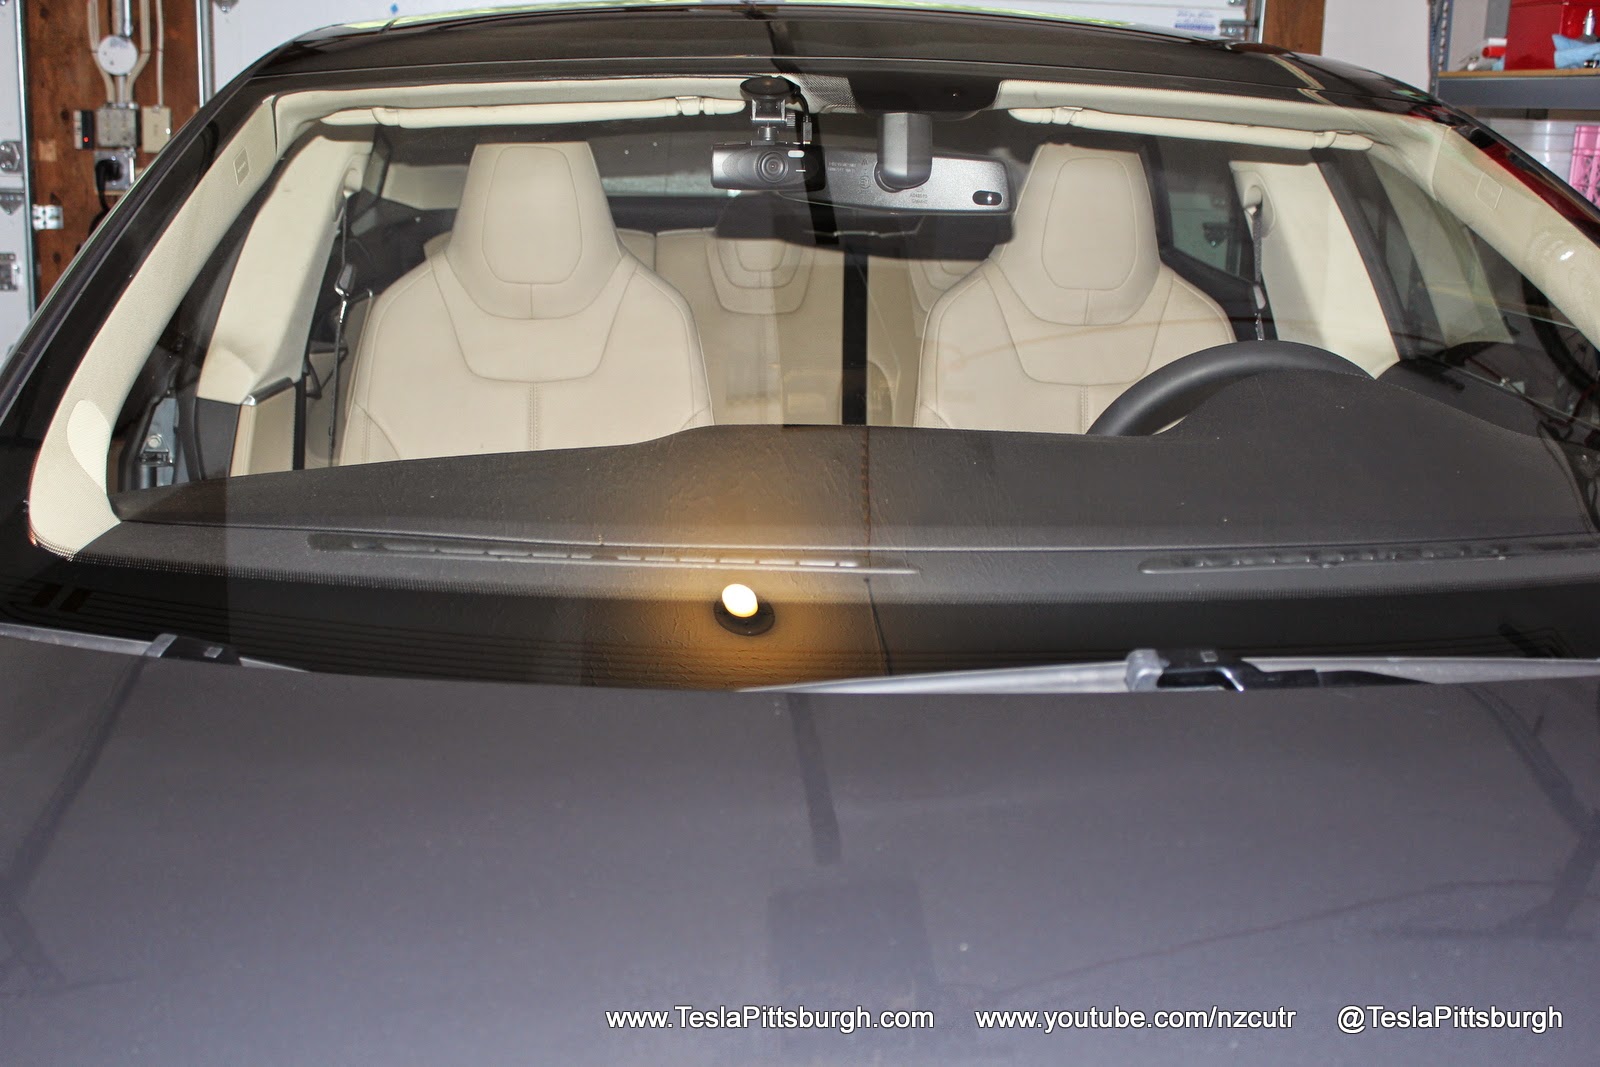
From the driver’s perspective the camera is nearly invisible. The entire display is obscured by the mirror whether it is lit or not and only the suction cup can be seen. Once installed you need never touch the camera again– it’ll power on and off with the car and record its loops happily until the day you need it. Pulling video off the camera is as simple as removing the card from its side slot and inserting it in your computer. Be sure to cut power to the camera first, however, or you could corrupt the currently recording file. The files aren’t anything weird or exotic (they’re Quicktime .MOV) so they can be quickly edited with the program of your choice and uploaded to YouTube for some good old fashioned (since 2005) internet shaming. (Bonus points for the Tesla parking sign?)
Tesla Dash Cam Installation
Professionally installed cameras can cost big bucks and tap into the car’s circuitry. I’m not that wealthy or clever so I’ve done this a lot more cheaply. While you CAN sloppily drop the power cord included with the camera down between the seats.. please don’t. Let’s have some pride in our work, people, we’re driving the best car in the world here! You’ll need to get power to the camera and the included power cord is not long enough to reach ALL THE WAY back to the Model S 12 volt plugs without tempting your backseat Tarzans (are my kids the only ones who will test yank every cable they find??)
Components
- Black Box Dash Cam (1920×1080P HD, 30fps, 160 deg wide angle)
- 32GB MicroSD card
- Power Hub Extension Cord
- 15′ USB Cable
- Clear Mounting Tape
- Wire Grab (optional)
 For my installation I bought a power hub extension cord to live under my front passenger seat and a 15′ long USB cable to meander the distance from there to the camera. Note that you CAN NOT plug the camera directly into the car’s USB ports– even though the cable may be long enough to do so–because the Model S will recognize the microSD card in the camera as removable storage and that prevents the camera from recording on it. Instead, you’ll plug the USB cable into the power hub’s USB port (for power only, no data confusion) and the hub will plug into the Model S 12 volt plug. The upside of this method is that you won’t use up the USB ports on the car and, in my case, I gained another USB power source and an additional 12 volt. Supplies needed consist only of a small snake/wire grabber and some exterior mounting tape (clear preferably).
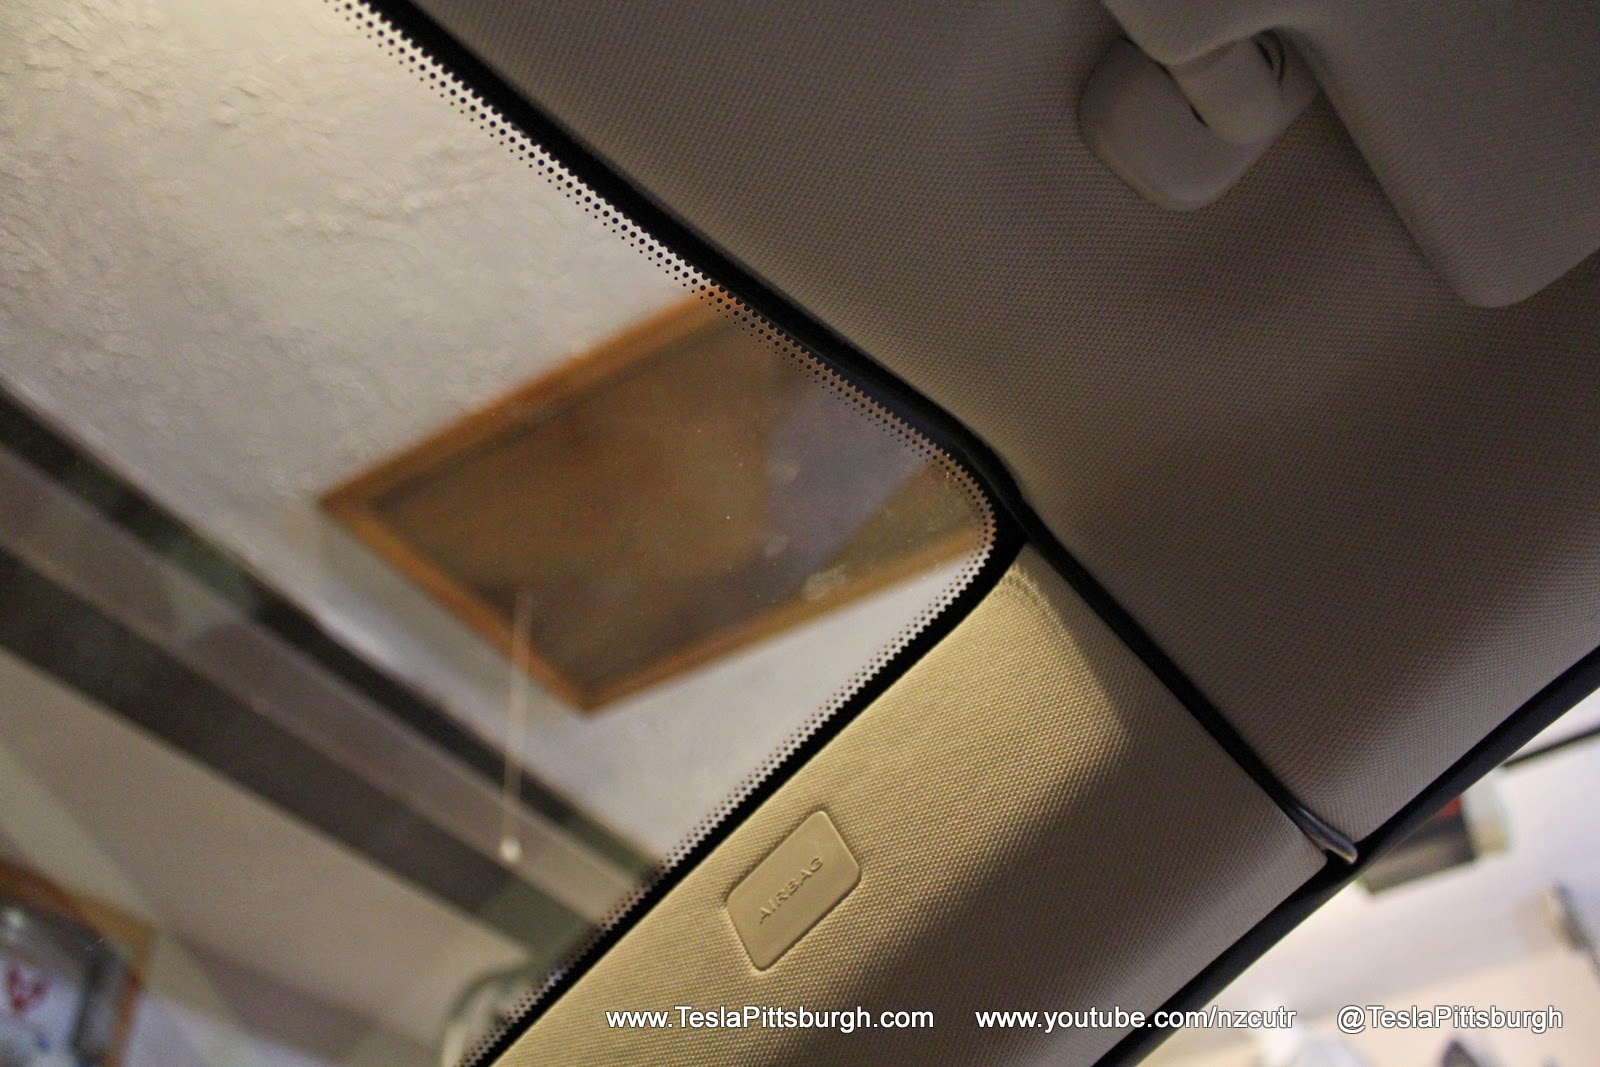
There are lots of brands making mounting tape and lots of types of these tape. Since the headliner of the Model S fits so tightly to the windshield, there isn’t a lot of room for hooks and conduit. The headliner is also adhered to the roof, not clipped, so I was concerned about breaking that adhesive while hiding the cable and then not having it stick back. No one wants to see a Tesla with a droopy headliner– save that for the post-apocalyptic movies where they’ll also– no doubt– add faux rust to the body panels and a sooty diesel engine.
The tape is a real soft plastic/rubber type consistency with a peel off backing. Not the foam backed kind. I cut chunks off that were about the width of the cable itself. Attached them to the cable–pulled snug– and pressed it all along the black border. It is nearly invisible there.
Rounding the A-pillar, the last piece of tape is in the corner of the glass. The nice thing about this tape is that it is strong enough to hold the cable in place without having to wrap around it, so you never actually see the tape. The cable just looks like part of the windshield. You could pry off the A-pillar cover and hide the cable behind it but, again, I was concerned about it not sticking back in place properly once the seal was broken. Besides, there’s already a panel line here between the cover and headliner so it wasn’t like I was breaking up a seamless part of the interior.
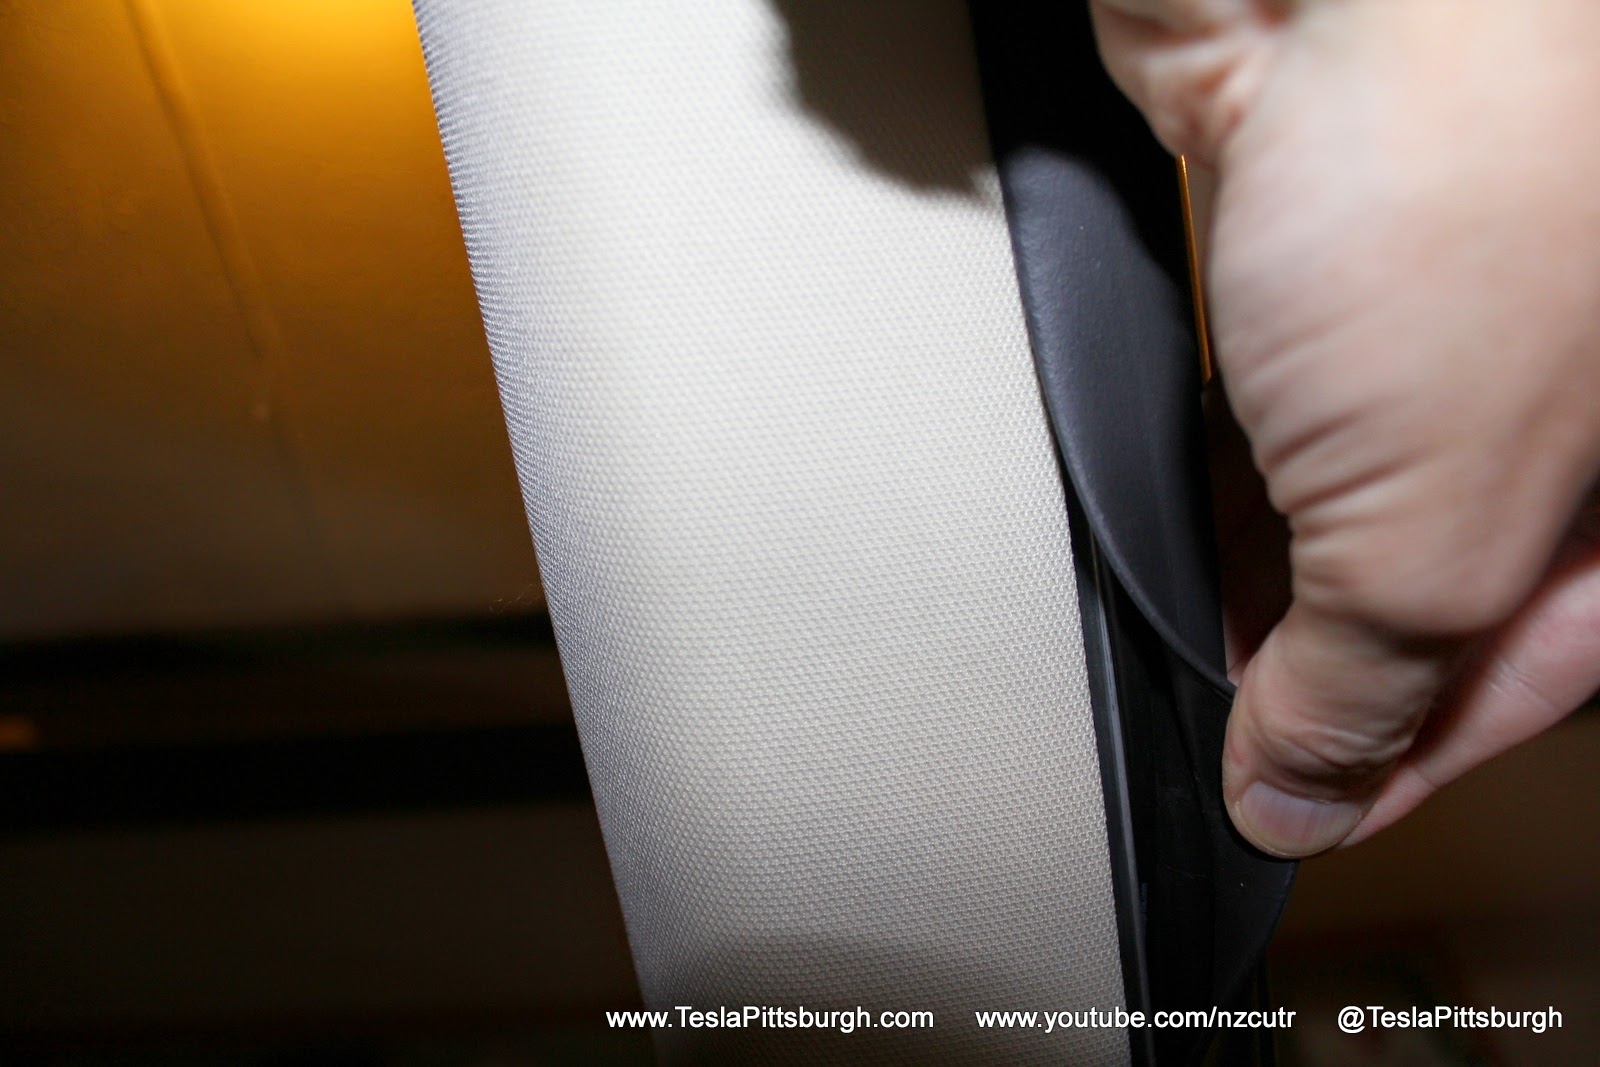 Pulling back the door seal you’ll find a metal strip that helps anchor it in place. Along that metal strip and behind the seal there is enough of a void to run the USB cable without affecting the seal. I ran the cable behind that seal from the top of the A-pillar all the way down the door frame to the knee area of the passenger compartment. A credit card makes for easy prying if the you’re having trouble getting a hold of the seal.
I popped the cable out of the door seal where the upper and lower black trim panels meet. There’s actually already a channel there between the pieces. I used to have a piece of black gaffer’s tape hiding the cable even better but took it off for these pictures. Unlikely I’ll add it back because, really, no one is ever going to see this 1″ worth of cabling.
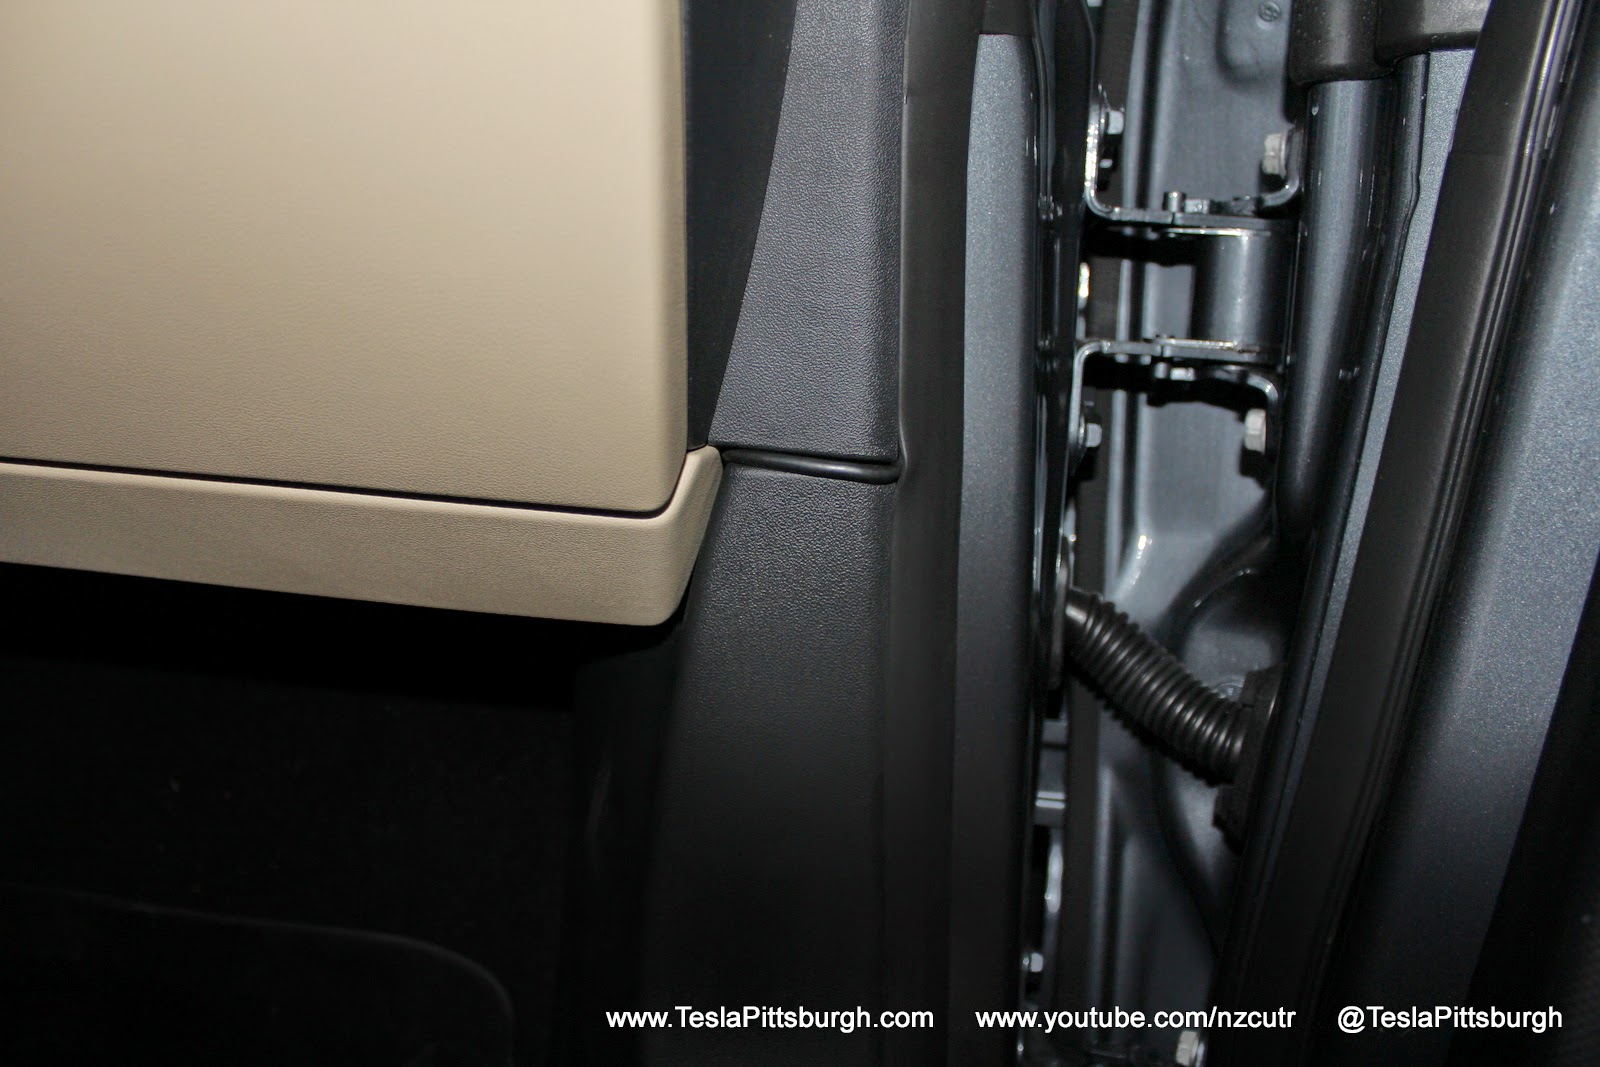
Now we come to the trickiest part of the installation. The lower panel has an opening at the top underneath the glove box. Behind that panel are all sorts of electronics for the vectored landing thrusters or some such wizardry. Fortunately there’s lots of extra room in there and the panel is very loose to the carpet on the bottom– but not loose or roomy enough to simply fish down a fat USB connector. If you do this, you need to be careful and push your cable grabber/snake (or even a chunk of wire like a coat hanger– being careful not to mar the panels) up from the bottom to that opening in the top. I used a grabber, attached the cable and firmly pulled it back down to the floor of the cabin.
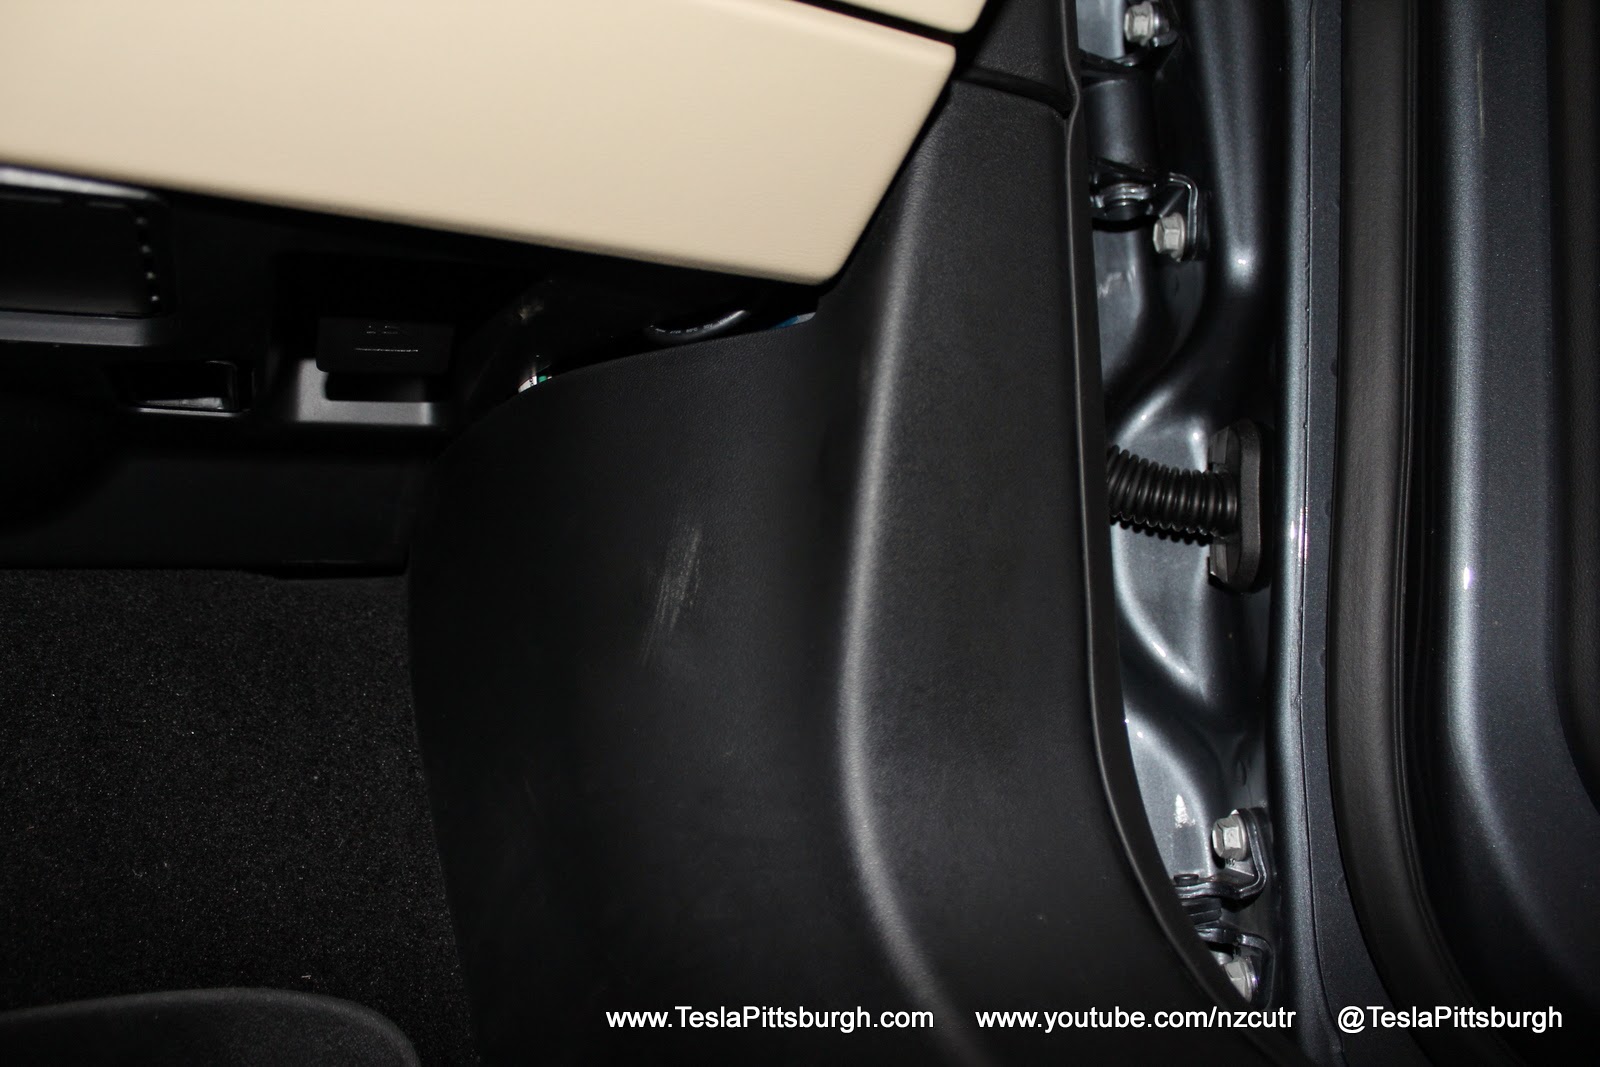
Running the cable along the door sill was easy. The sill trim panel is also very loose to the carpet and has a lip along the inside bottom edge. With the delicacy of a back alley surgeon I just jammed the cable up inside the panel until it reached the far end by the passenger’s hip area. Next I threaded the cable UNDER the seat tracks (there is room) to the middle of the space under the seat.
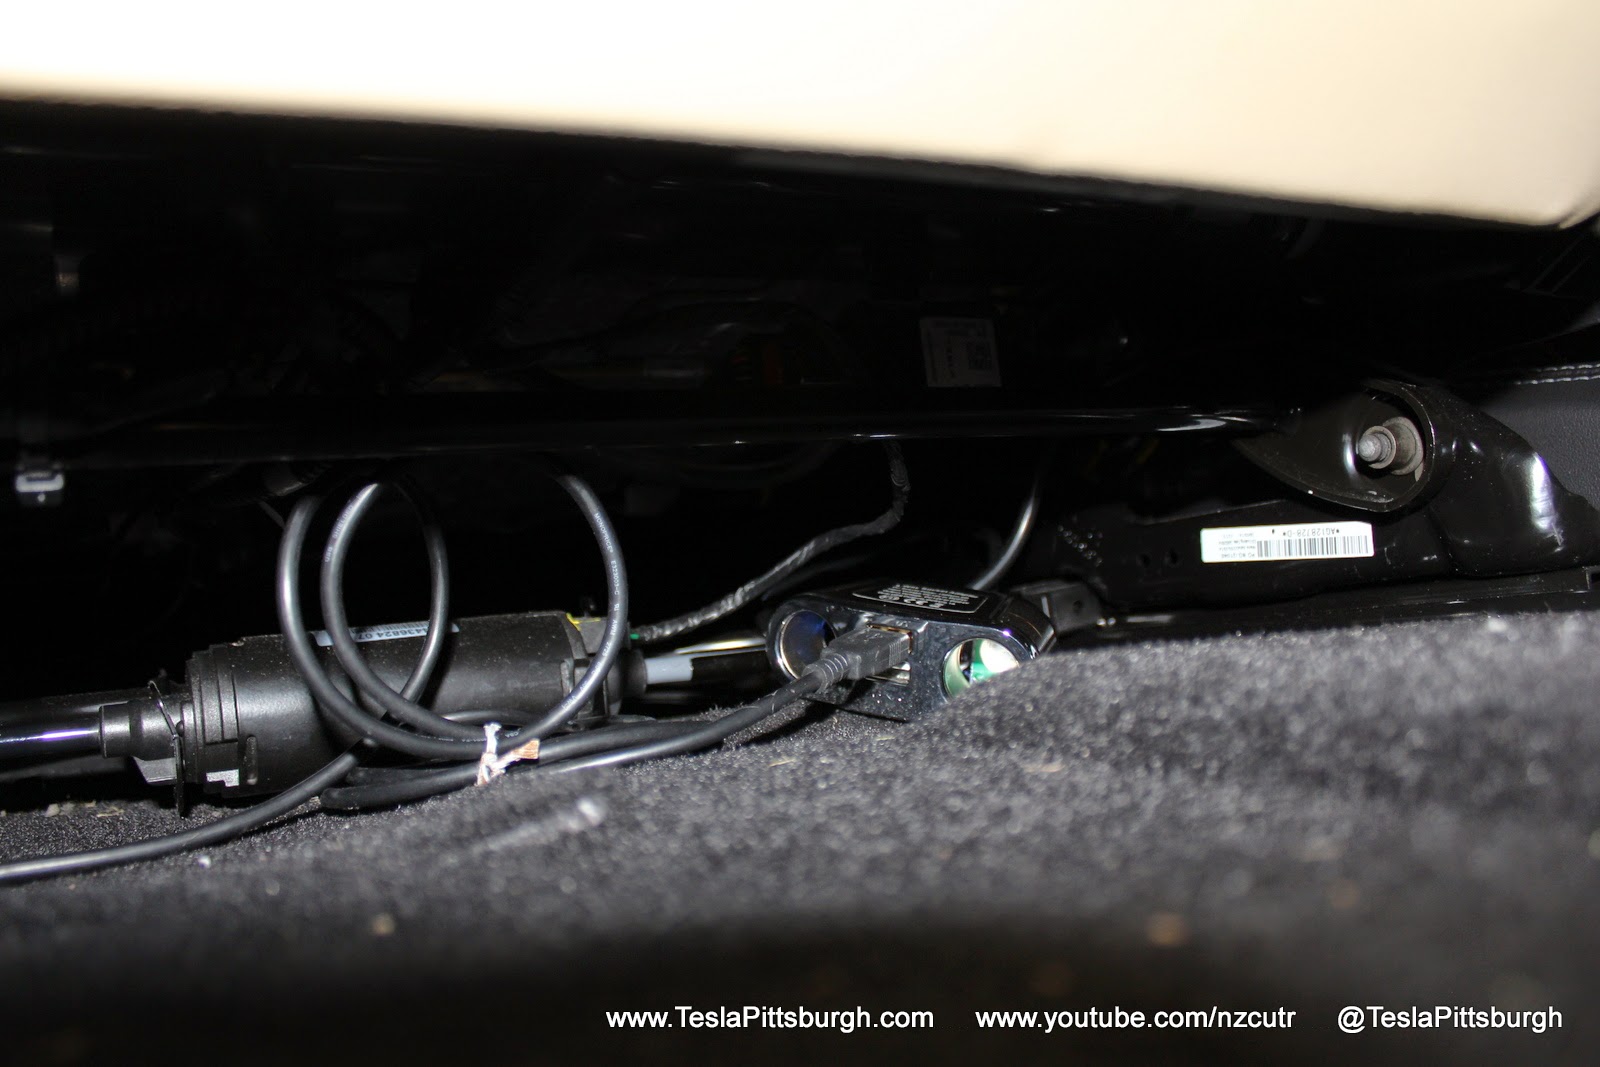
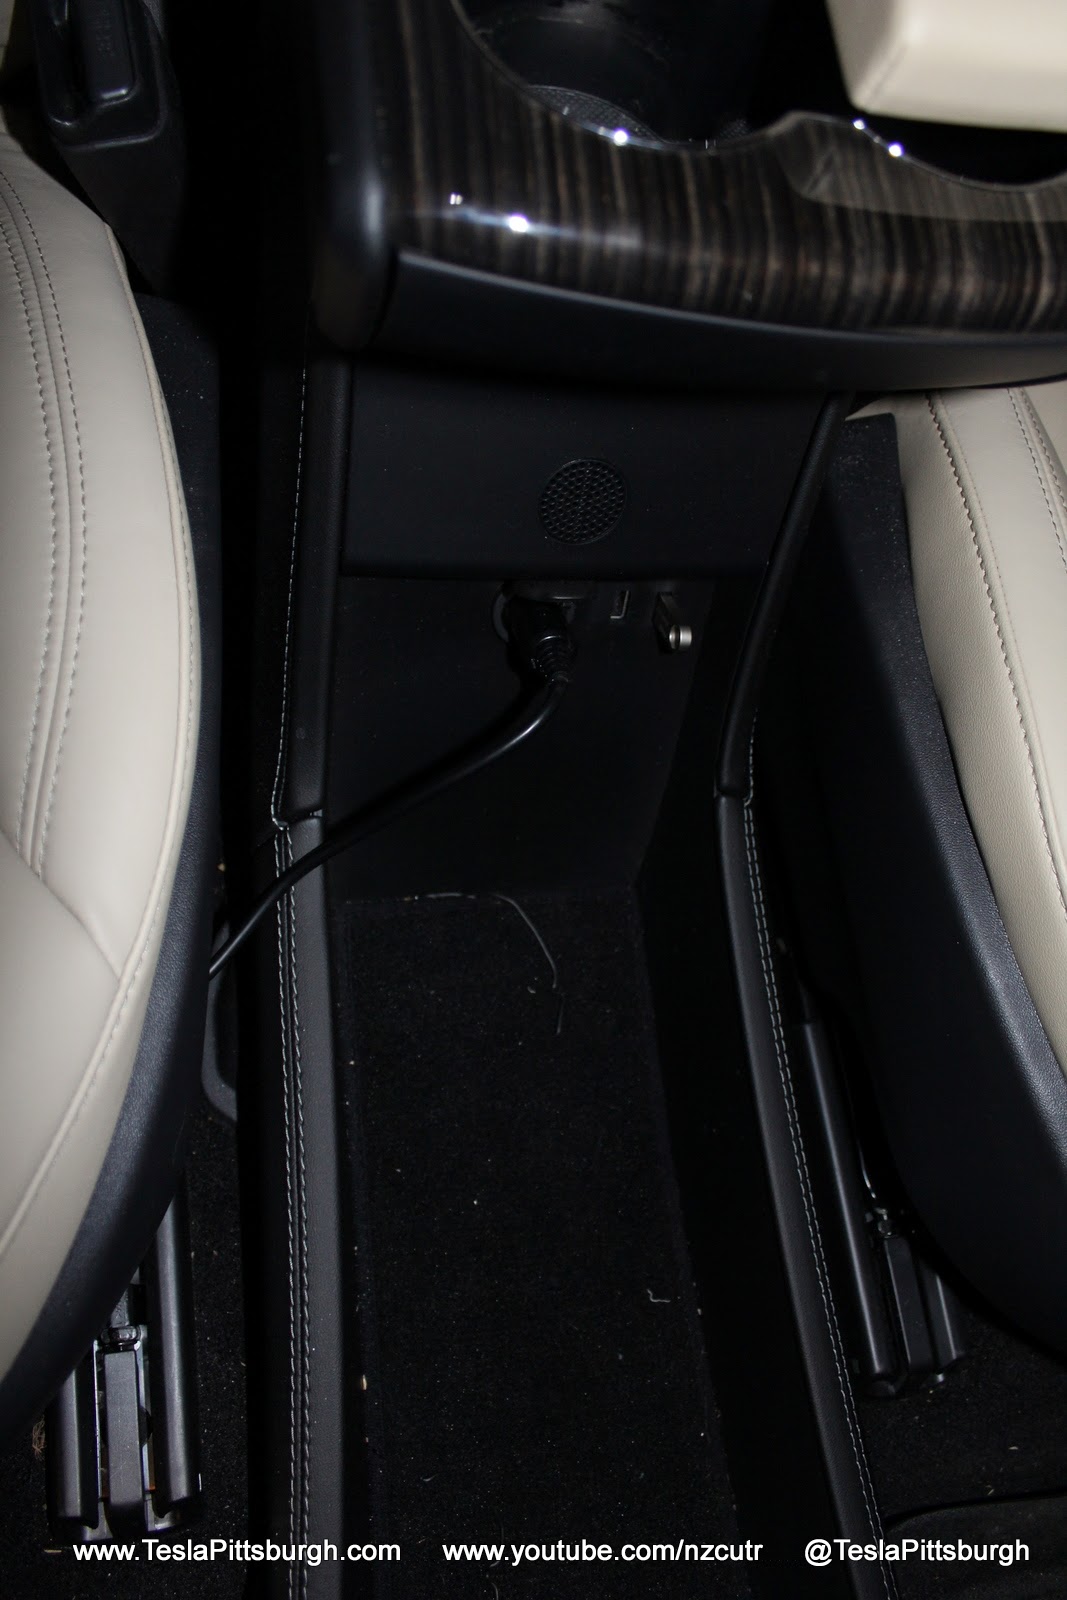
Using the USB/12v hub I described earlier, I looped the excess USB cable around the seat mechanism, secured it with twisty ties and plugged it in to the hub. The hub cable also runs under the seat track on the other side– and yes, I too, was surprised I could shove a 12v connector UNDER the seat tracks! Everything has enough slack in it to allow full movement and articulation of the seat mechanics without pinching or binding.
The 12v cable surfaces about the middle of the passenger seat and then into the 12v outlet. That gives the camera power whenever the car is turned on and fully automates the recordings. In the event of an accident, a quick yank here will safely power down the camera to preserve the evidence.
Editor’s Note: Please check with your local and government laws before recording someone.
In case any of the explanation wasn’t clear or you have a thing for hot young blonds, I’ve provided a video version of the installation below– but I am happily married and not interested in any alternative lifestyles. Word to the wise though: DON’T think you can selfie-shoot a video in a warm garage with the HVAC turned off (for noise purposes) without sweating and bordering on dehydration induced speech slurring. What did you think I meant by a hot blond?!
Installation Video
Summary
When you really think about how popular cameras have become everywhere– from security systems to GoPros– it’s kind of strange that car cameras aren’t more common, especially given how cheap they’ve become. And of all people to thank for making them so inexpensive… the RUSSIANS! Only a nation so full of insurance cheats and so devoid of ethics could produce such high demand for these cameras that they’d become cheap simply by volume.
Which begs the question: If Boris can afford a dashcam to protect his Lada from schysters, surely YOU can afford to protect your intergalactic spaceboat of light and wonder!
Thanks for visiting us here! CLICK to read more at www.TeslaPittsburgh.com, check out the videos on our YouTube channel at www.YouTube.com/NZCUTR and follow us on Twitter: https://twitter.com/TeslaPittsburgh.
Back in 2019, YouTuber Simone Giertz, the self-proclaimed “Queen of Sh*tty Robots,” created a one-off Tesla Model 3 build that took the automotive world by storm. Fondly dubbed as “Truckla,” Giertz noted that the vehicle was actually her dream car — as crazy as that may sound.
Now almost four years later, the YouTuber posted an update on Truckla. And just like every other big project that one probably started, Giertz stated that she actually stopped working on Truckla when the vehicle was about 80% complete. The car is driving though, but a lot of stuff was not really working very well.
Thus, for her Truckla update, Giertz shared how most of her Model 3 pickup truck conversion was essentially completed. Truckla got a lot of detailing done, she got a slight lift, and she now has a functional tailgate. One has to admit, Truckla’s tailgate is pretty darn cool.
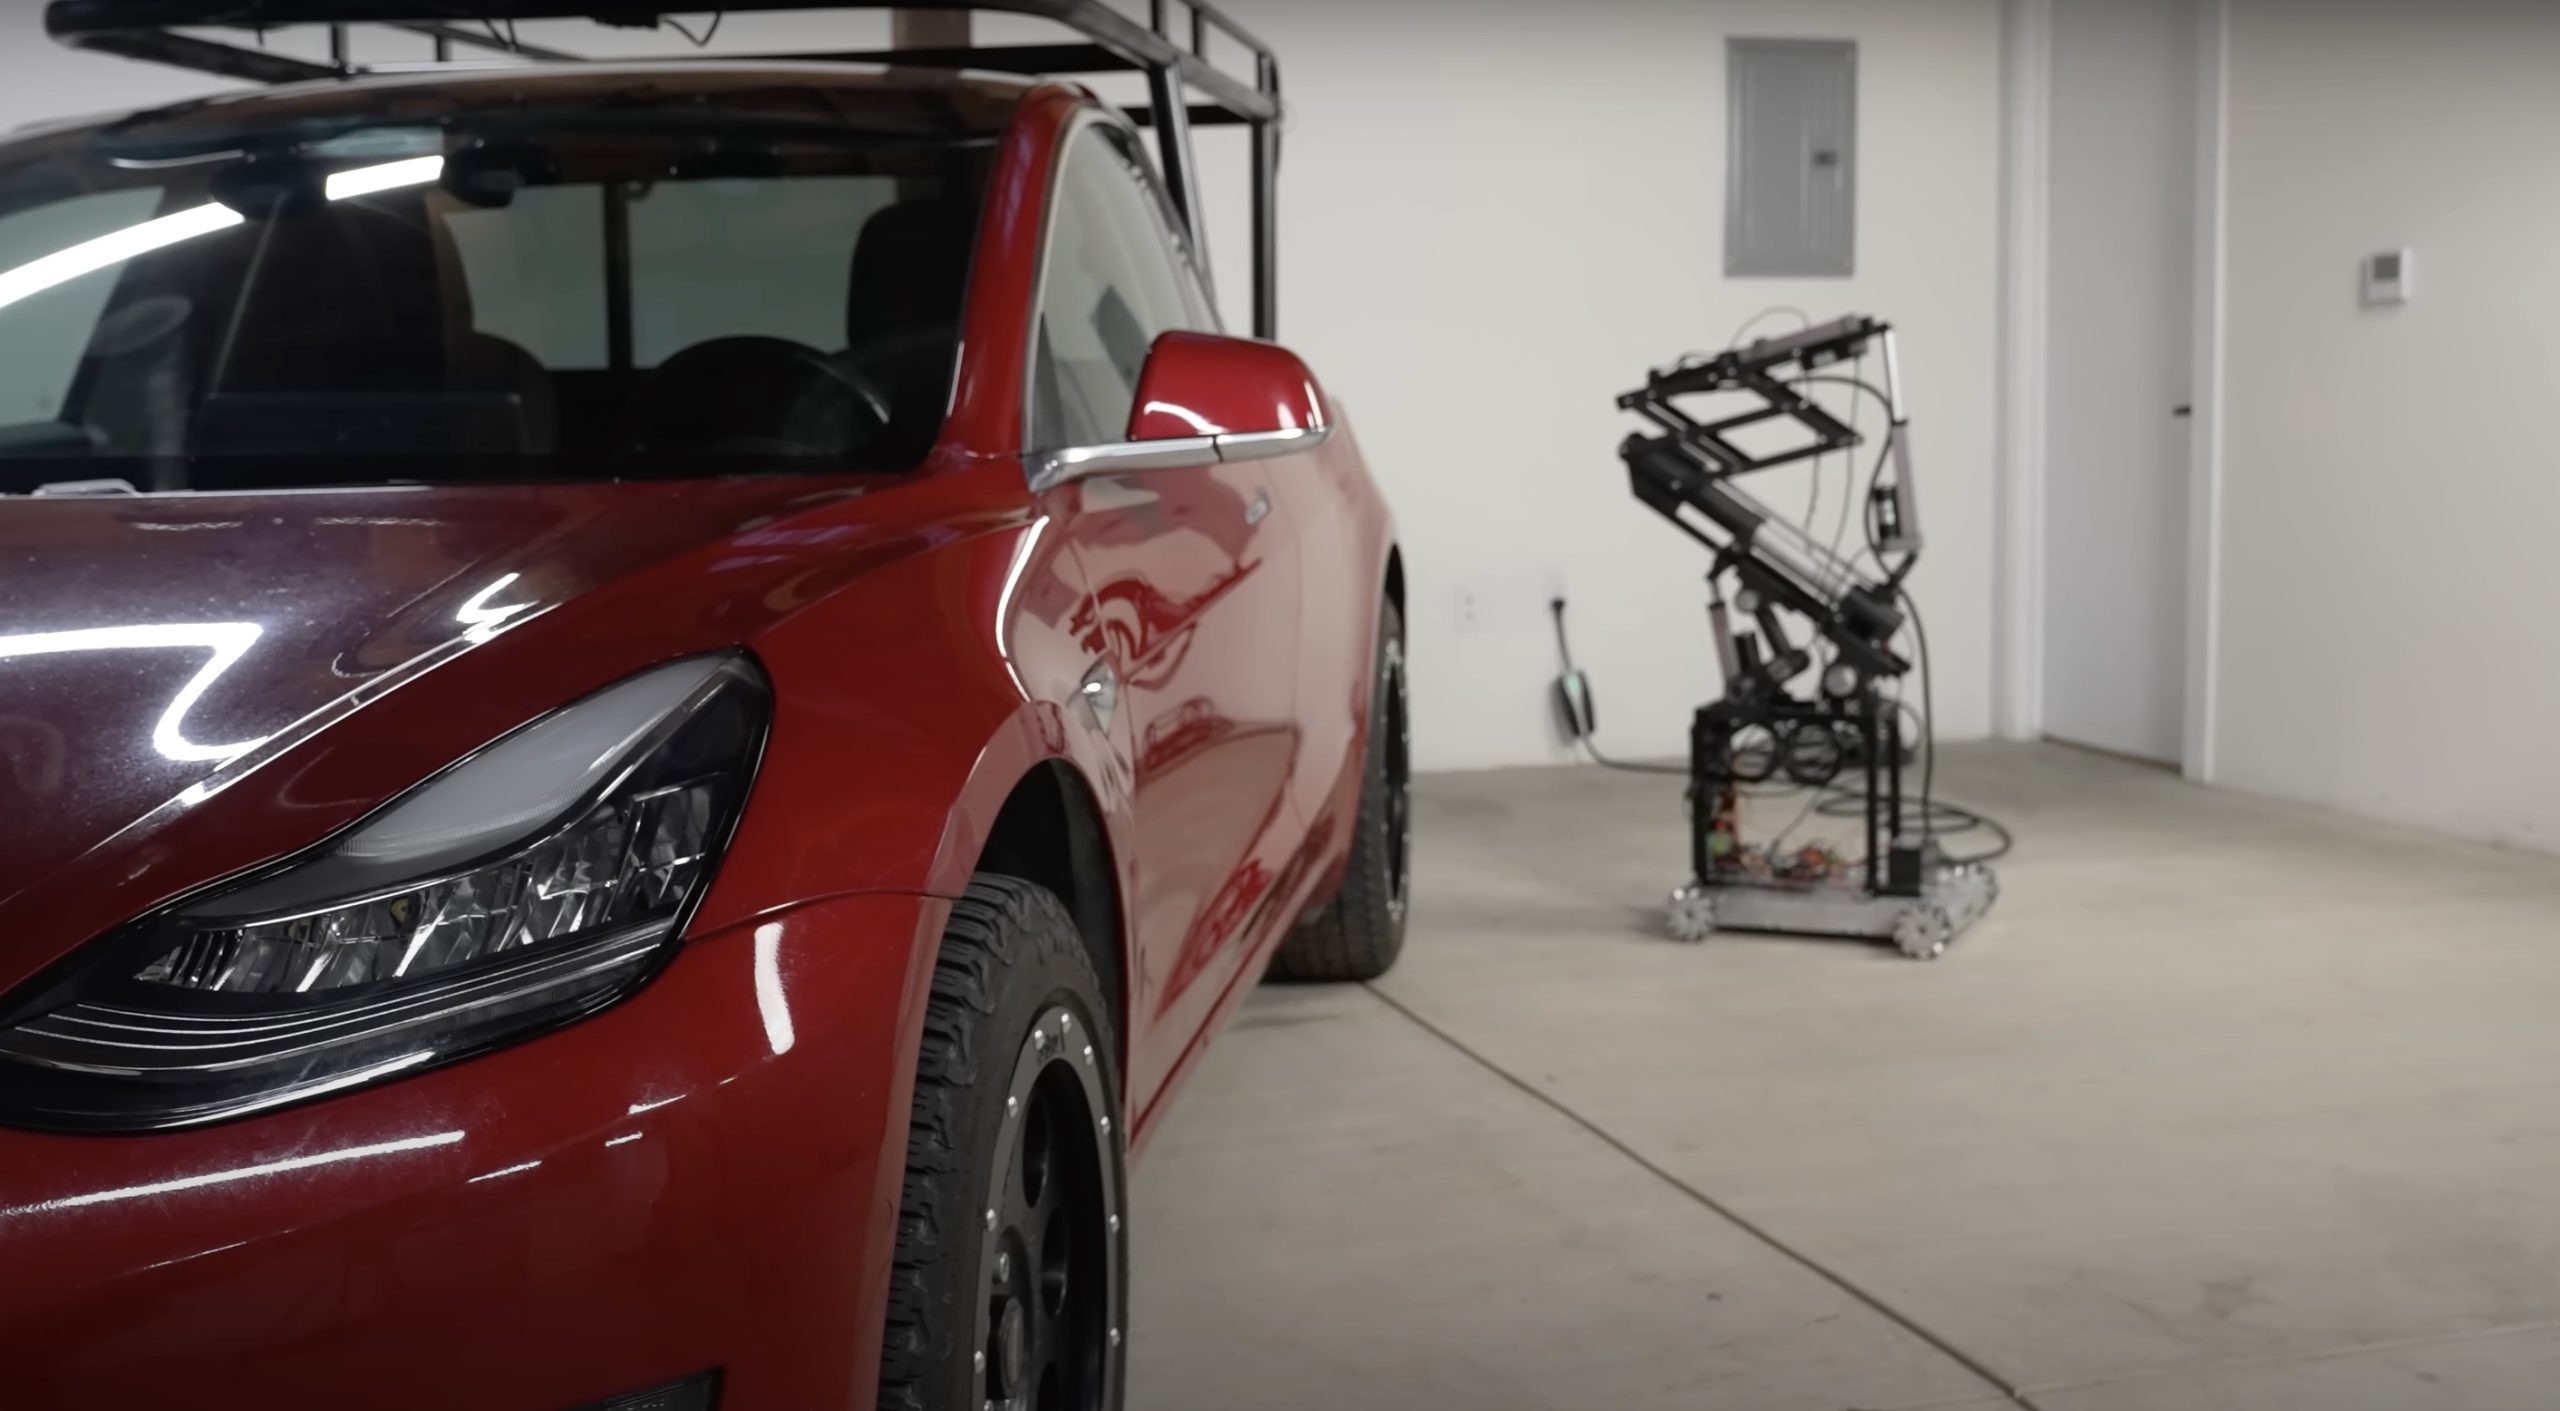
The “Queen of Sh*tty Robots” also opted to give Truckla a friend in the form of an automatic robot charger. Unlike Tesla’s rather interesting snake charger from years past, Truckla’s charger would come in the form of a rover, thanks to her friends at robotics platform Viam. Giertz aptly named Truckla’s robot charger friend “Chargela,” which is an appropriate name for such an invention.
Also true to form for Giertz, Chargela’s first encounter with Truckla was just a tiny bit awkward. One could say that Chargela may have just been a little bit nervous on his first try without human hands helping him. Most importantly, the system did work, so Giertz would likely keep using Chargela for her Model 3 pickup.
Teslas are very tech-heavy vehicles, so projects like Giertz’s Truckla are always remarkable. The fact that the Model 3 works perfectly fine despite having a good chunk of it cut off and turned into a pickup truck bed is mighty impressive any way one looks at it. Overall, Truckla will always be one of the coolest Tesla DIY projects to date, so any updates about the vehicle are always appreciated.
Truckla’s nearly four-year update can be viewed below.
Don’t hesitate to contact us with news tips. Just send a message to simon@teslarati.com to give us a heads up.
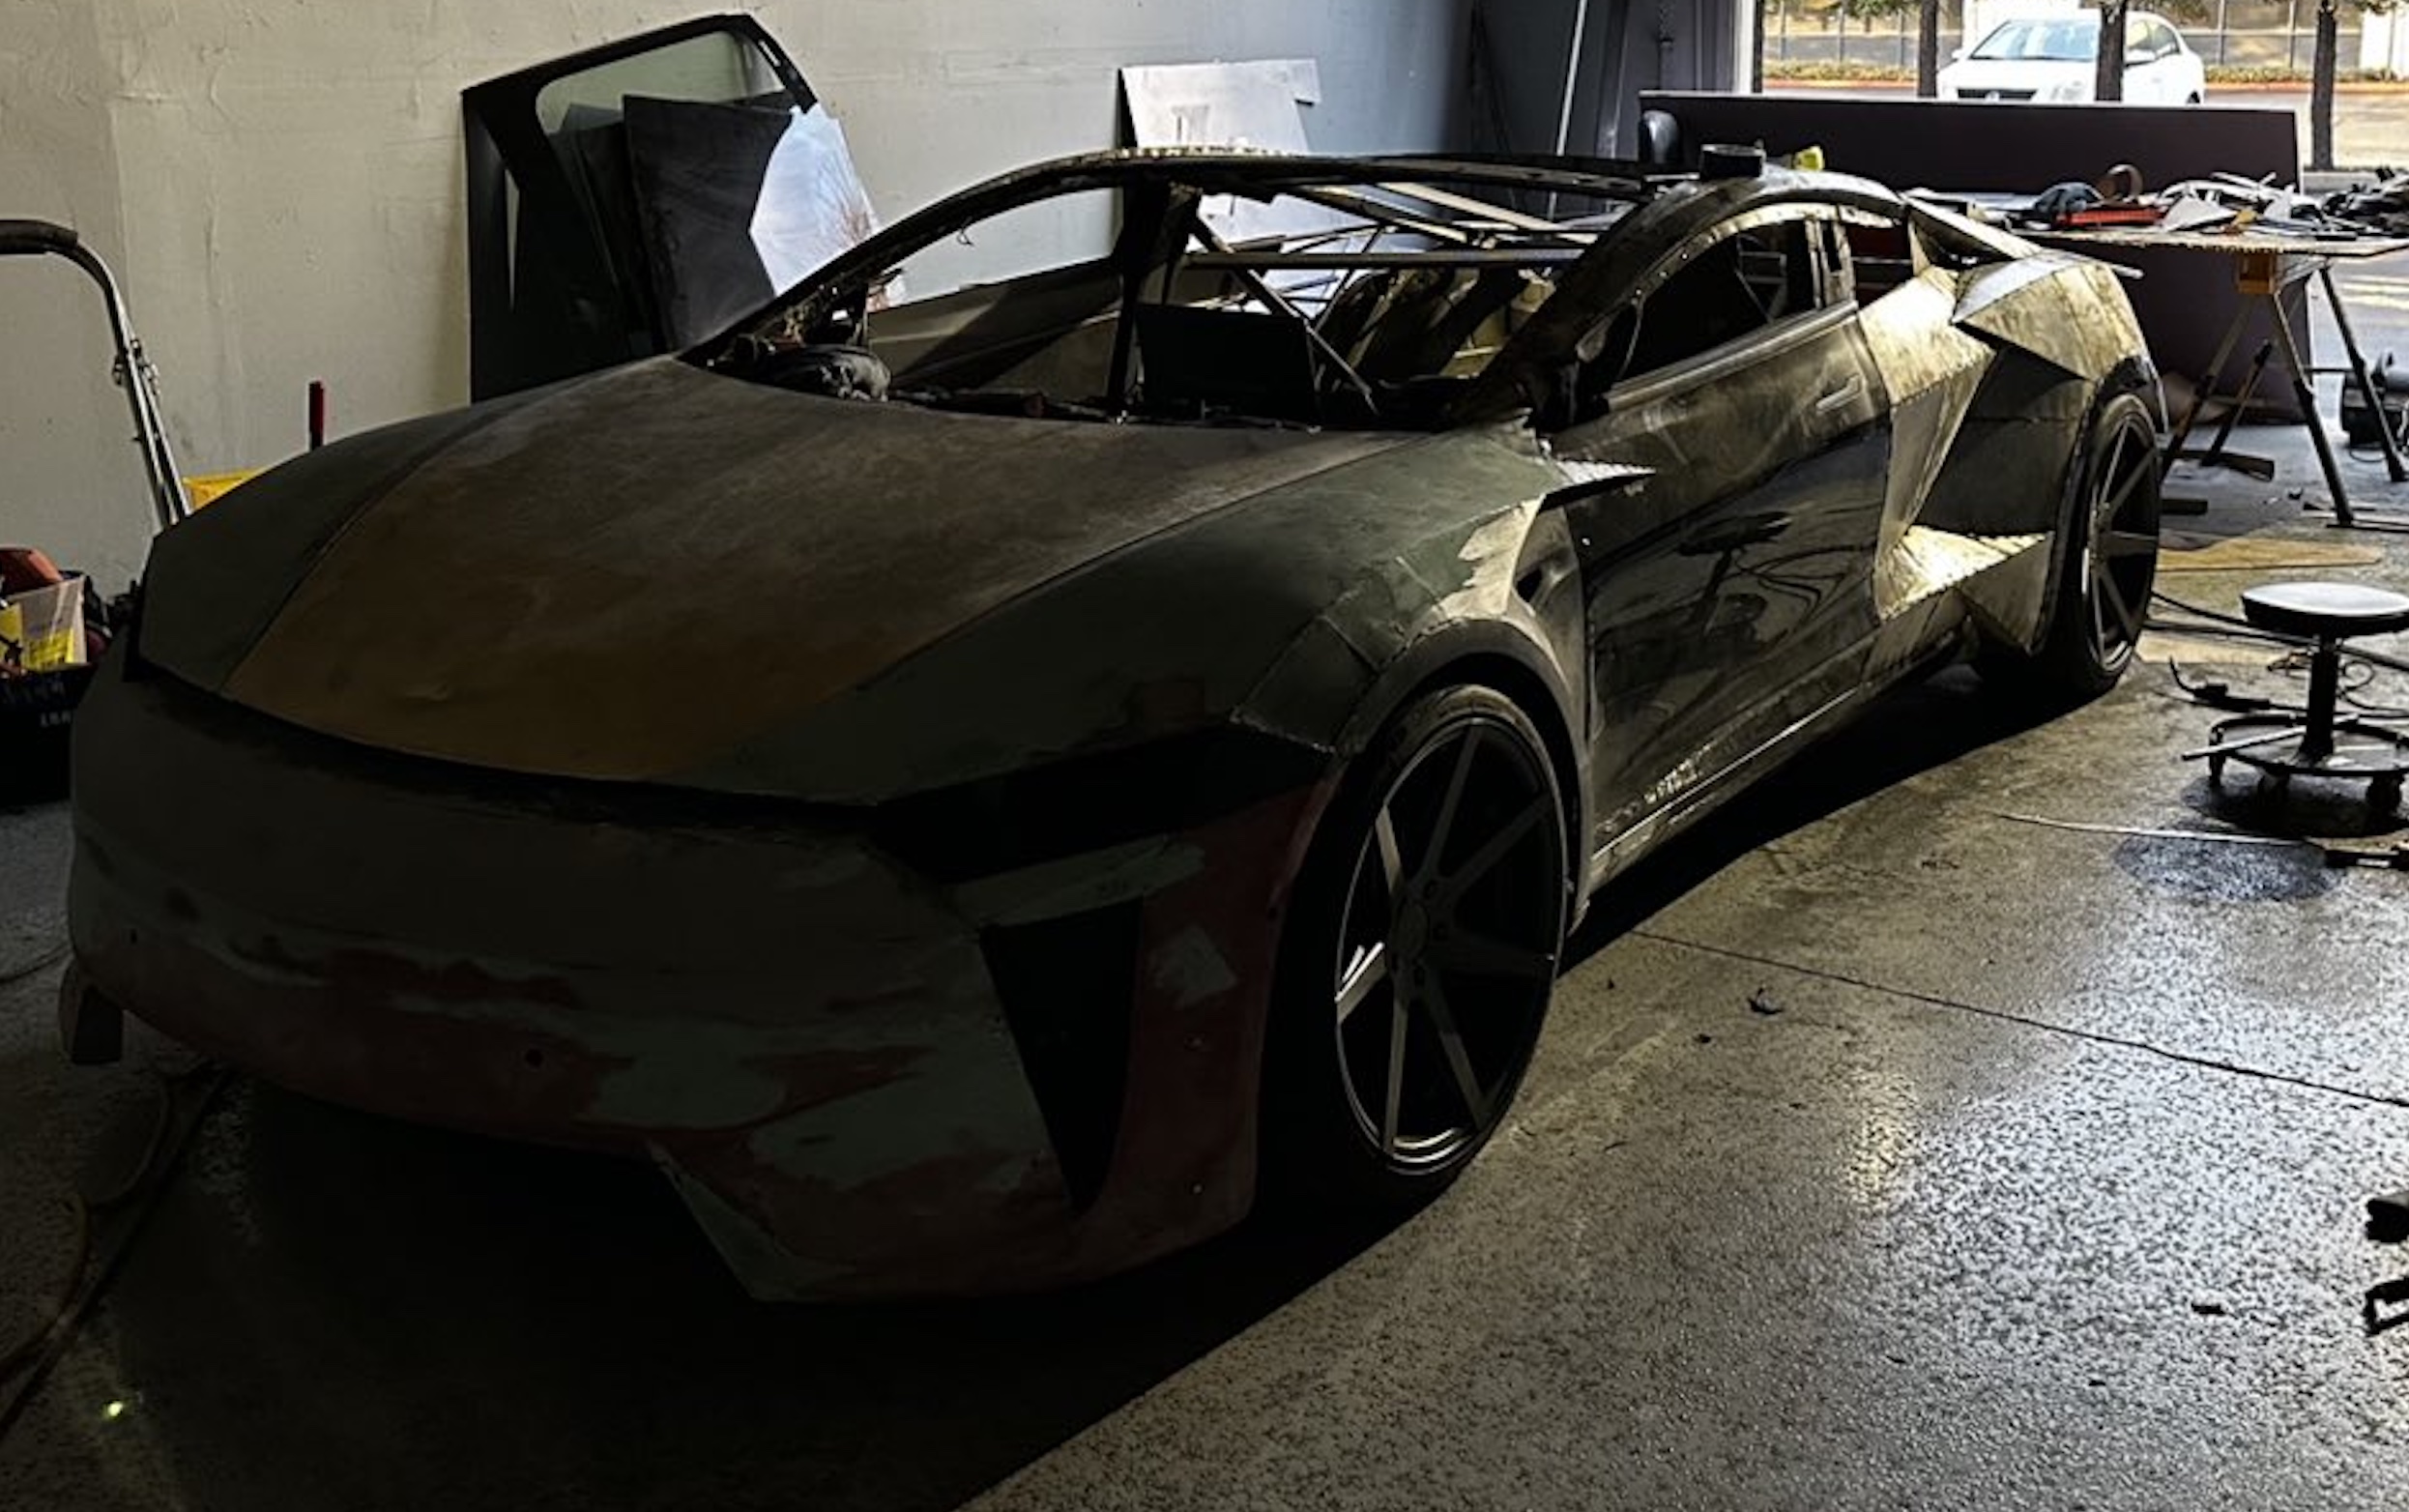
A Tesla owner is taking his hobby and love for electric vehicles to new levels by creating what could only be described as one of the coolest EV-related DIY projects to date. The idea for the project is simple: what happens when you cross a supercar with the Cybertruck? You end up with a two-seater CyberRoadster.
Tesla owner David Andreyev, who goes by the username @Cyber_Hooligan_ on Twitter, has spent the last few months creating a Cybertruck-inspired version of the next-generation Roadster made from a salvaged Model 3 Performance. Starting with a Model 3 Performance is an inspired choice, considering that it is Tesla’s first vehicle that has a dedicated Track Mode.
A look at Andreyev’s YouTube channel, which can be accessed here, shows the meticulous build that the Tesla owner has implemented on the project car. What’s particularly cool about the CyberRoadster is the fact that it’s being built with parts that are also from other Tesla vehicles, like its front bumper that came from a new Model S. Recent videos suggest that the project car’s rear bumper will be from a new Model S as well.
The journey is long for Andreyev, so the completion of the CyberRoadster will likely take some more time. Despite this, seeing the Tesla owner’s DIY journey on such an epic build is more than satisfying. And considering that the CyberRoadster is evidently a labor of love from the Tesla owner, the final results would likely be extremely worth it.
There’s a lot of crazy Tesla modifications that have been done as of late. But some, as it is with a lot of things on the internet these days, have become more silly gimmicks than serious automotive projects. Fortunately, car enthusiasts like Andreyev, who just happen to also love electric vehicles, are taking it upon themselves to create one-of-a-kind EVs that would surely capture the attention of anyone on the road.
Check out the latest video in the CyberRoadster’s creation below.
Don’t hesitate to contact us with news tips. Just send a message to simon@teslarati.com to give us a heads up.
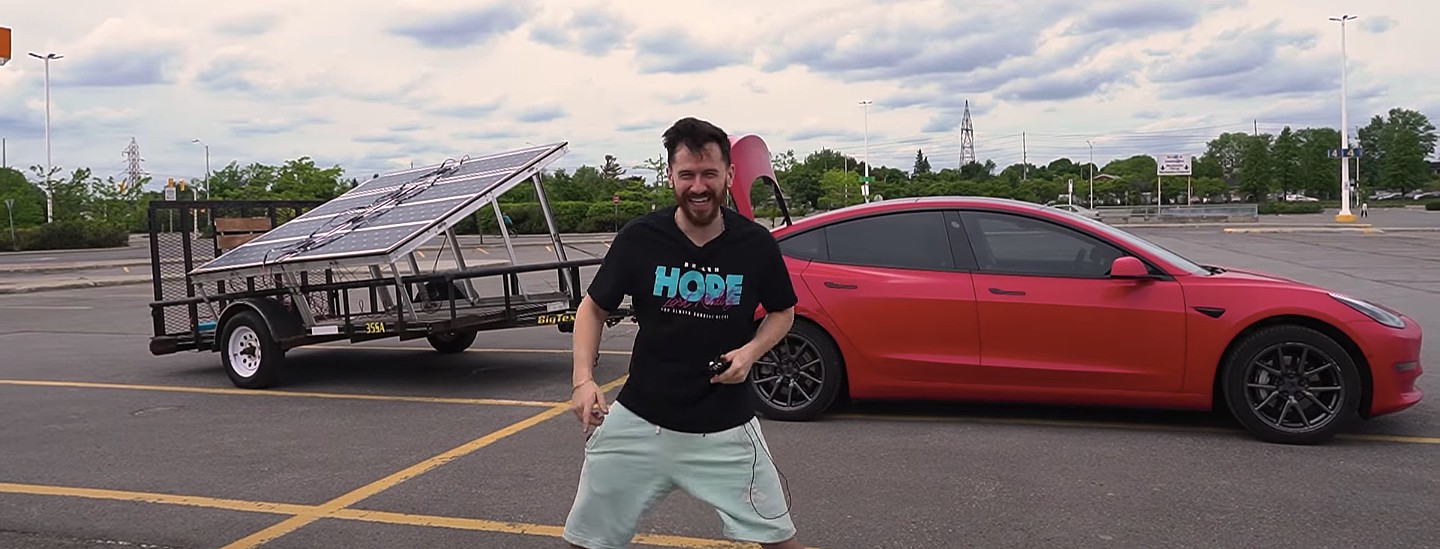
A Tesla owner has demonstrated a rather novel way to charge his Model 3. In a recent video, Sean Callaghan of the ItsYeBoi YouTube channel opted to use a series of off-the-shelf solar panel sheets onto a towable trailer to create a mobile charging unit for his all-electric sedan.
Callaghan planned to use only the sun and the solar sheets purchased from e-commerce platform Wish to charge his Model 3. The solar panel sheets would collect energy from the sun and transfer it to a control panel. The control panels were connected to batteries that would hold the energy—the batteries connected to an inverter, which would then charge the Tesla Model 3.
The entire assembly would provide the Model 3 with about 800 watts of energy on a completely sunny day. However, Callaghan shot the video when weather was overcast, so the entire solar panel trailer build only managed to provide around 300 watts throughout the YouTube host’s test.
To put this into perspective, a 100 volt home wall outlet provides 1.4 kilowatts of power, or 1,400 watts. Therefore, the 300-watt solar panel assembly built by Callaghan was producing less than 25% of the energy of a typical wall outlet. This is pretty marginal compared to Tesla’s 250-kilowatt V3 Superchargers, which provides 250,000 watts, or about 833 times as much power as the makeshift solar panel build.
However, Callaghan’s goal was not to charge the vehicle quickly. He explained the idea came from a previous video where he used a $5,000 Wish-purchased wind turbine to charge his Model 3. He wanted to test the effectiveness and efficiency of the system, which was questionable due to the time it would take to charge the battery fully.
The Model 3 battery pack is 78 kWh, and with Callaghan’s 300-watt system charging his electric vehicle, it would take 260 hours to supply the Tesla’s battery to full capacity.
In the past, electric vehicle enthusiasts have asked Tesla CEO Elon Musk why the company’s vehicles do not contain solar glass roofing, which would charge the car while the owner is driving. Musk has explained that the efficiency of this idea is challenging and likely would not provide an ample amount of range.
When asked about the idea of putting solar panels on the top of Tesla’s vehicles in 2017, Musk responded that the idea was “Not that helpful, because the actual surface of the car is not that much, and cars are often inside. The least efficient place to put solar is on the car.” It also would not be cost-effective for Tesla because “the cost of the panels and electronics, R&D and assembly would never pay for itself in the life of the vehicle, compared to charging from the wall in your garage,” Quartz noted.
That being said, Tesla plans to implement solar panels onto the motorized tonneau of the upcoming Cybertruck. The idea was discussed on Twitter when Musk stated that the optional feature would add “15 miles per day, possibly more” when parked in the sunlight. Also, fold-out solar wings could help capture enough solar energy for 30 to 40 miles a day.
Watch Sean Callaghan’s video of his makeshift solar panel trailer below.

Tesla contract with Baltimore paused after city ‘decided to go in a different direction’
Tesla at risk of 95% crash, claims billionaire hedge fund manager

Tesla store shooting incident under investigation


-
 News4 days ago
SpaceX announces Starship Flight 8’s new target date
-

 News2 days ago
Tesla at risk of 95% crash, claims billionaire hedge fund manager
-
 News5 days ago
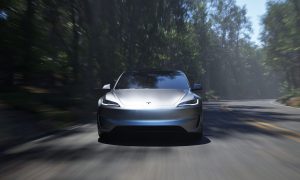
Tesla launches fresh U.S. promotions for the Model 3
-
 News2 days ago
Tesla contract with Baltimore paused after city ‘decided to go in a different direction’
-
 Elon Musk6 days ago
Tesla mulls adding a new feature to fight off vandals as anti-Musk protests increase
-
 Elon Musk3 days ago
Tesla UK sales up over 20% despite Elon Musk backlash
-
 News6 days ago
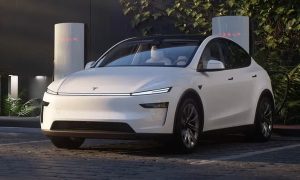
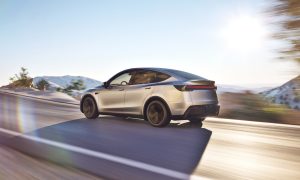
Tesla starts Model Y ‘Launch Edition’ deliveries in the U.S.
-
 News4 days ago
One dozen Teslas burn in arson attack in France, investigation underway