DIY
Repairing a Flat Tire on a Tesla Model S
I noticed a message appear in my Tesla P85+ stating that the tire pressure was low and to pull over. Since I was already at home, I rolled up to the garage and began inspecting my tire pressure only to find that one of the rear tires was at a mere 20 psi. The recommended tire pressure for my set up is 38 psi up front and 40 psi in the rear.
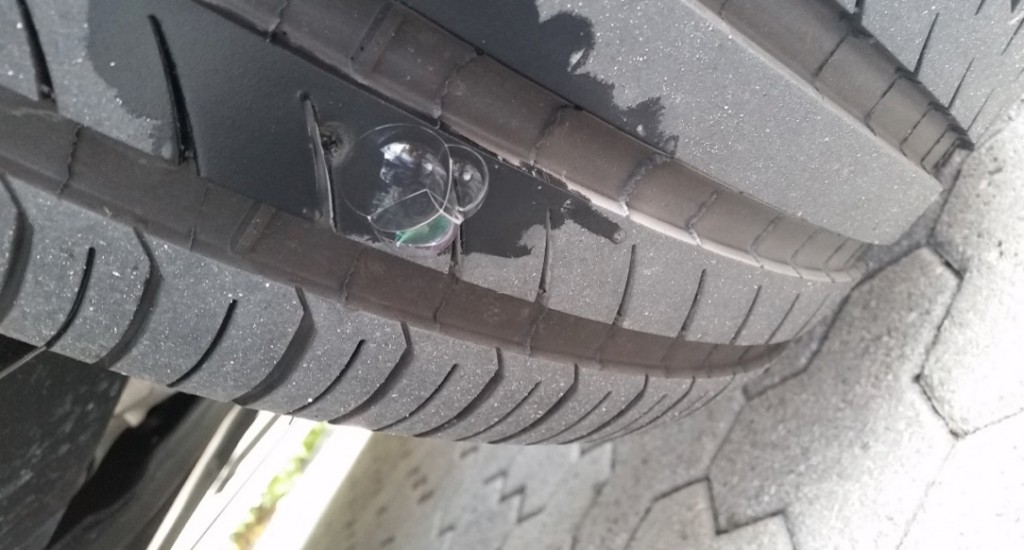
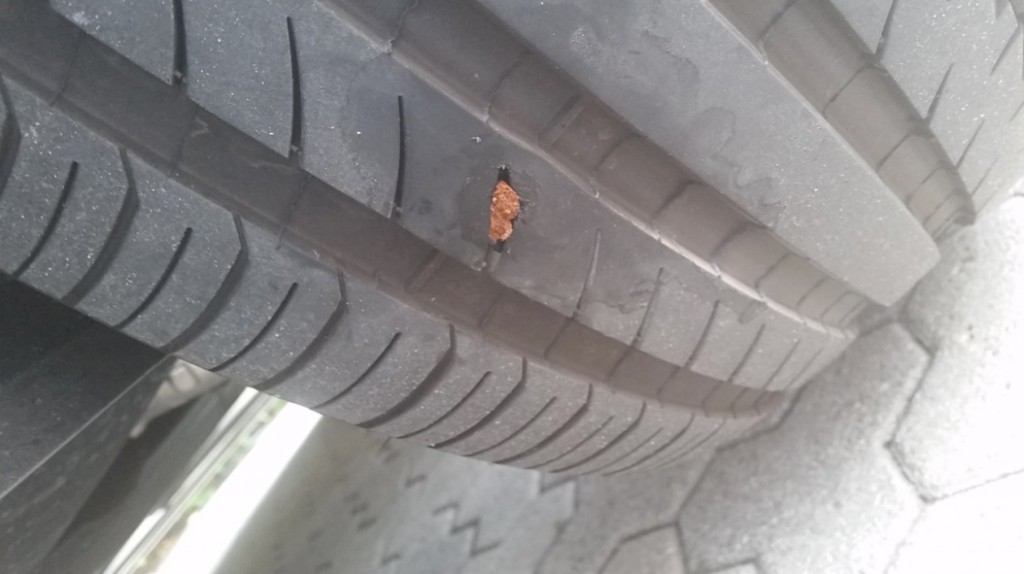
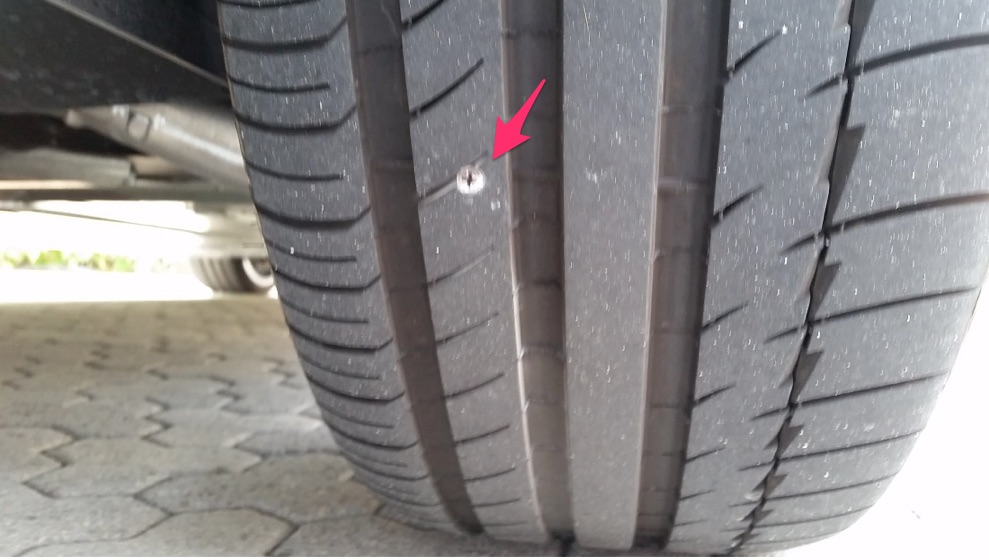
I ran my hand around the flat tire and felt something metal but it was in a location not easily seen. I marked the spot on the side wall with a pencil and backed up to the garage until I could clearly see the problem – a screw had lodged itself into the tire. Luckily it was inside the first thread which from my experience means that you CAN plug it. I did this another time on my Porsche Cayenne after the dealer told me that if it’s inside the first thread, even in racing situations, they plug them. I plugged my Porsche about a year ago and ironically it’s the most stable tire pressure of all my tires on that car so I was confident that I can do the same with my Model S.
Of course before lifting the car up I put it into jack mode and raised the air suspension to the highest position to enable ease of access. I also chocked the three other wheels with a couple of wooden and one metal chock so it wouldn’t go anywhere.
WHERE TO BUY: Wheel Chocks with Quick Release Tug Rope
The Tesla doesn’t have a jack or spare tire so I went to my Porsche and got out the hand crank jack which fit perfectly in the jack point for that wheel. I raised the car until the flat tire was off the ground.
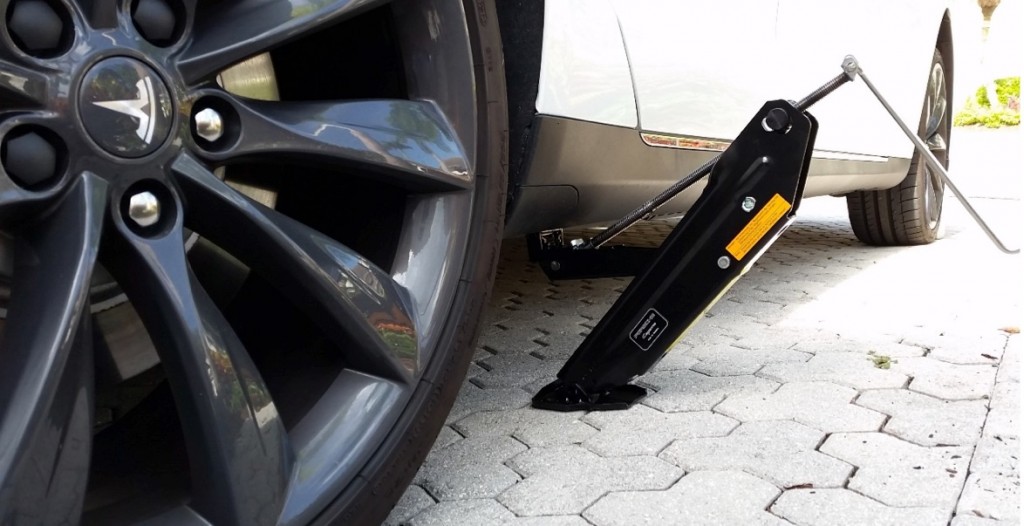
Jack from Porsche Cayenne (4,800 lbs vehicle) used in raising the Tesla Model S which shares a similar weight. Any 2 1/2 ton jack can be used.
After unscrewing the screw from the tire, I put some soapy water on the hole to make sure that this was in fact the culprit. Sure enough I saw bubbles and confirmed that this was the source of the tire leak.
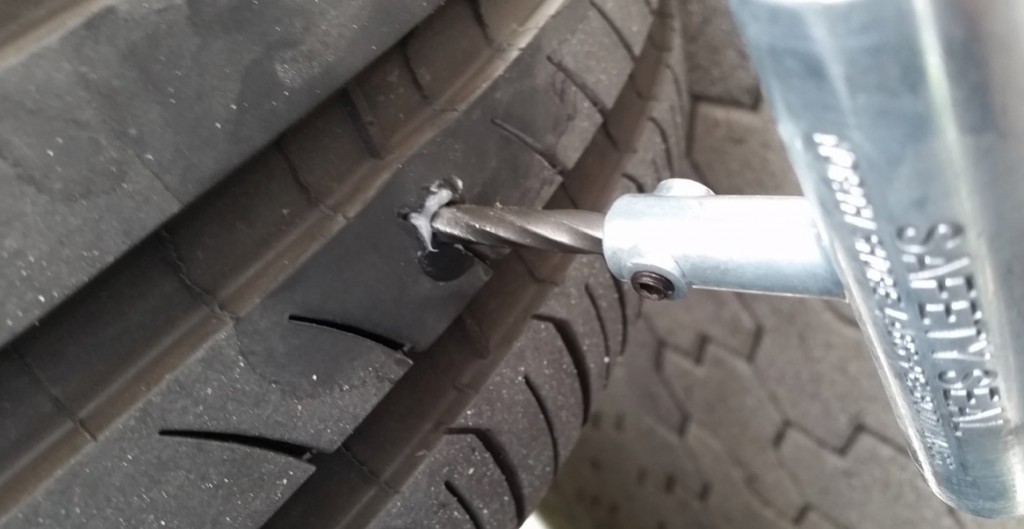
The next step involved getting out my tire plug kit. I have a quality tire plugging kit by Safety Seal which contains the plugging tool and a separate tool designed for steel belted radials. I put the separating tool in the hole and pushed it in to separate the steel but to also make room for the plug itself.
Editor’s note: Tire plugs will seal larger punctures where as smaller holes can be repaired through a spray sealant similar to what Tesla Motors offers through their tire repair kit.
Driving around after the tire’s repaired will allow the steel bands to come back together and compress the plug into place. Here we see the separating tool in the tire.
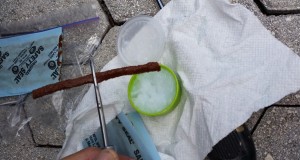
The next step involved taking out a stick plug and inserting it in the plug tool.
Instructions come with the Safety Seal on how to do this. A little grease on the tip to help it slide in. When you remove the separating tool, do it carefully and note the angle that it goes in. If you follow that with the inserting tool, it will go in relatively easily.
Plug inserted in insertion tool with both sides approximately equal.
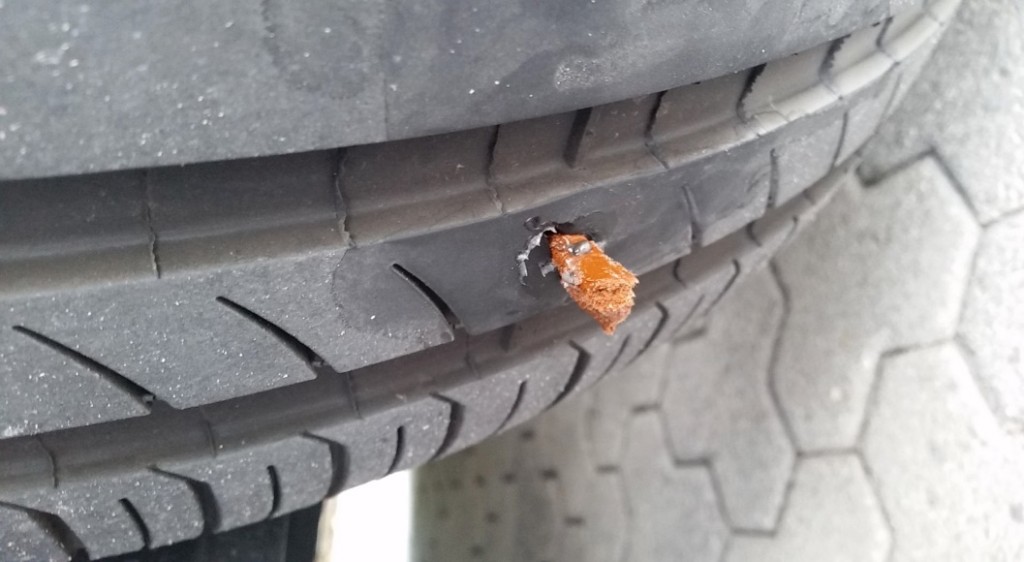
After you insert the plug into the tire, you press on a collar to old the plug from coming out and remove the insertion tool. The slit at the end of the insertion tool allows the plug to come out of the tool but remain in the tire. This is how it looks after you remove the insertion tool.
The kit comes with a single blade razor to cut off the excess. When you’re done it looks like so:
Final steps are to lower the car and remove the jack, then remove the blocks (might need to back up the car a few inches first to free them), and that’s it. So far so good with this tire. I don’t expect any problems.
Submitted by Norman Hirsch (P85+ owner)
- Reasons to Have a Tesla Tire Repair Kit and 2nd UMC
- A Guide to Planning a Tesla Road Trip
- Top 5 Lessons from a First Tesla Road Trip
- Tesla Road Trip Battery Range Planning

DIY
Tesla Model 3 pickup “Truckla” gets updates and a perfectly wholesome robot charger
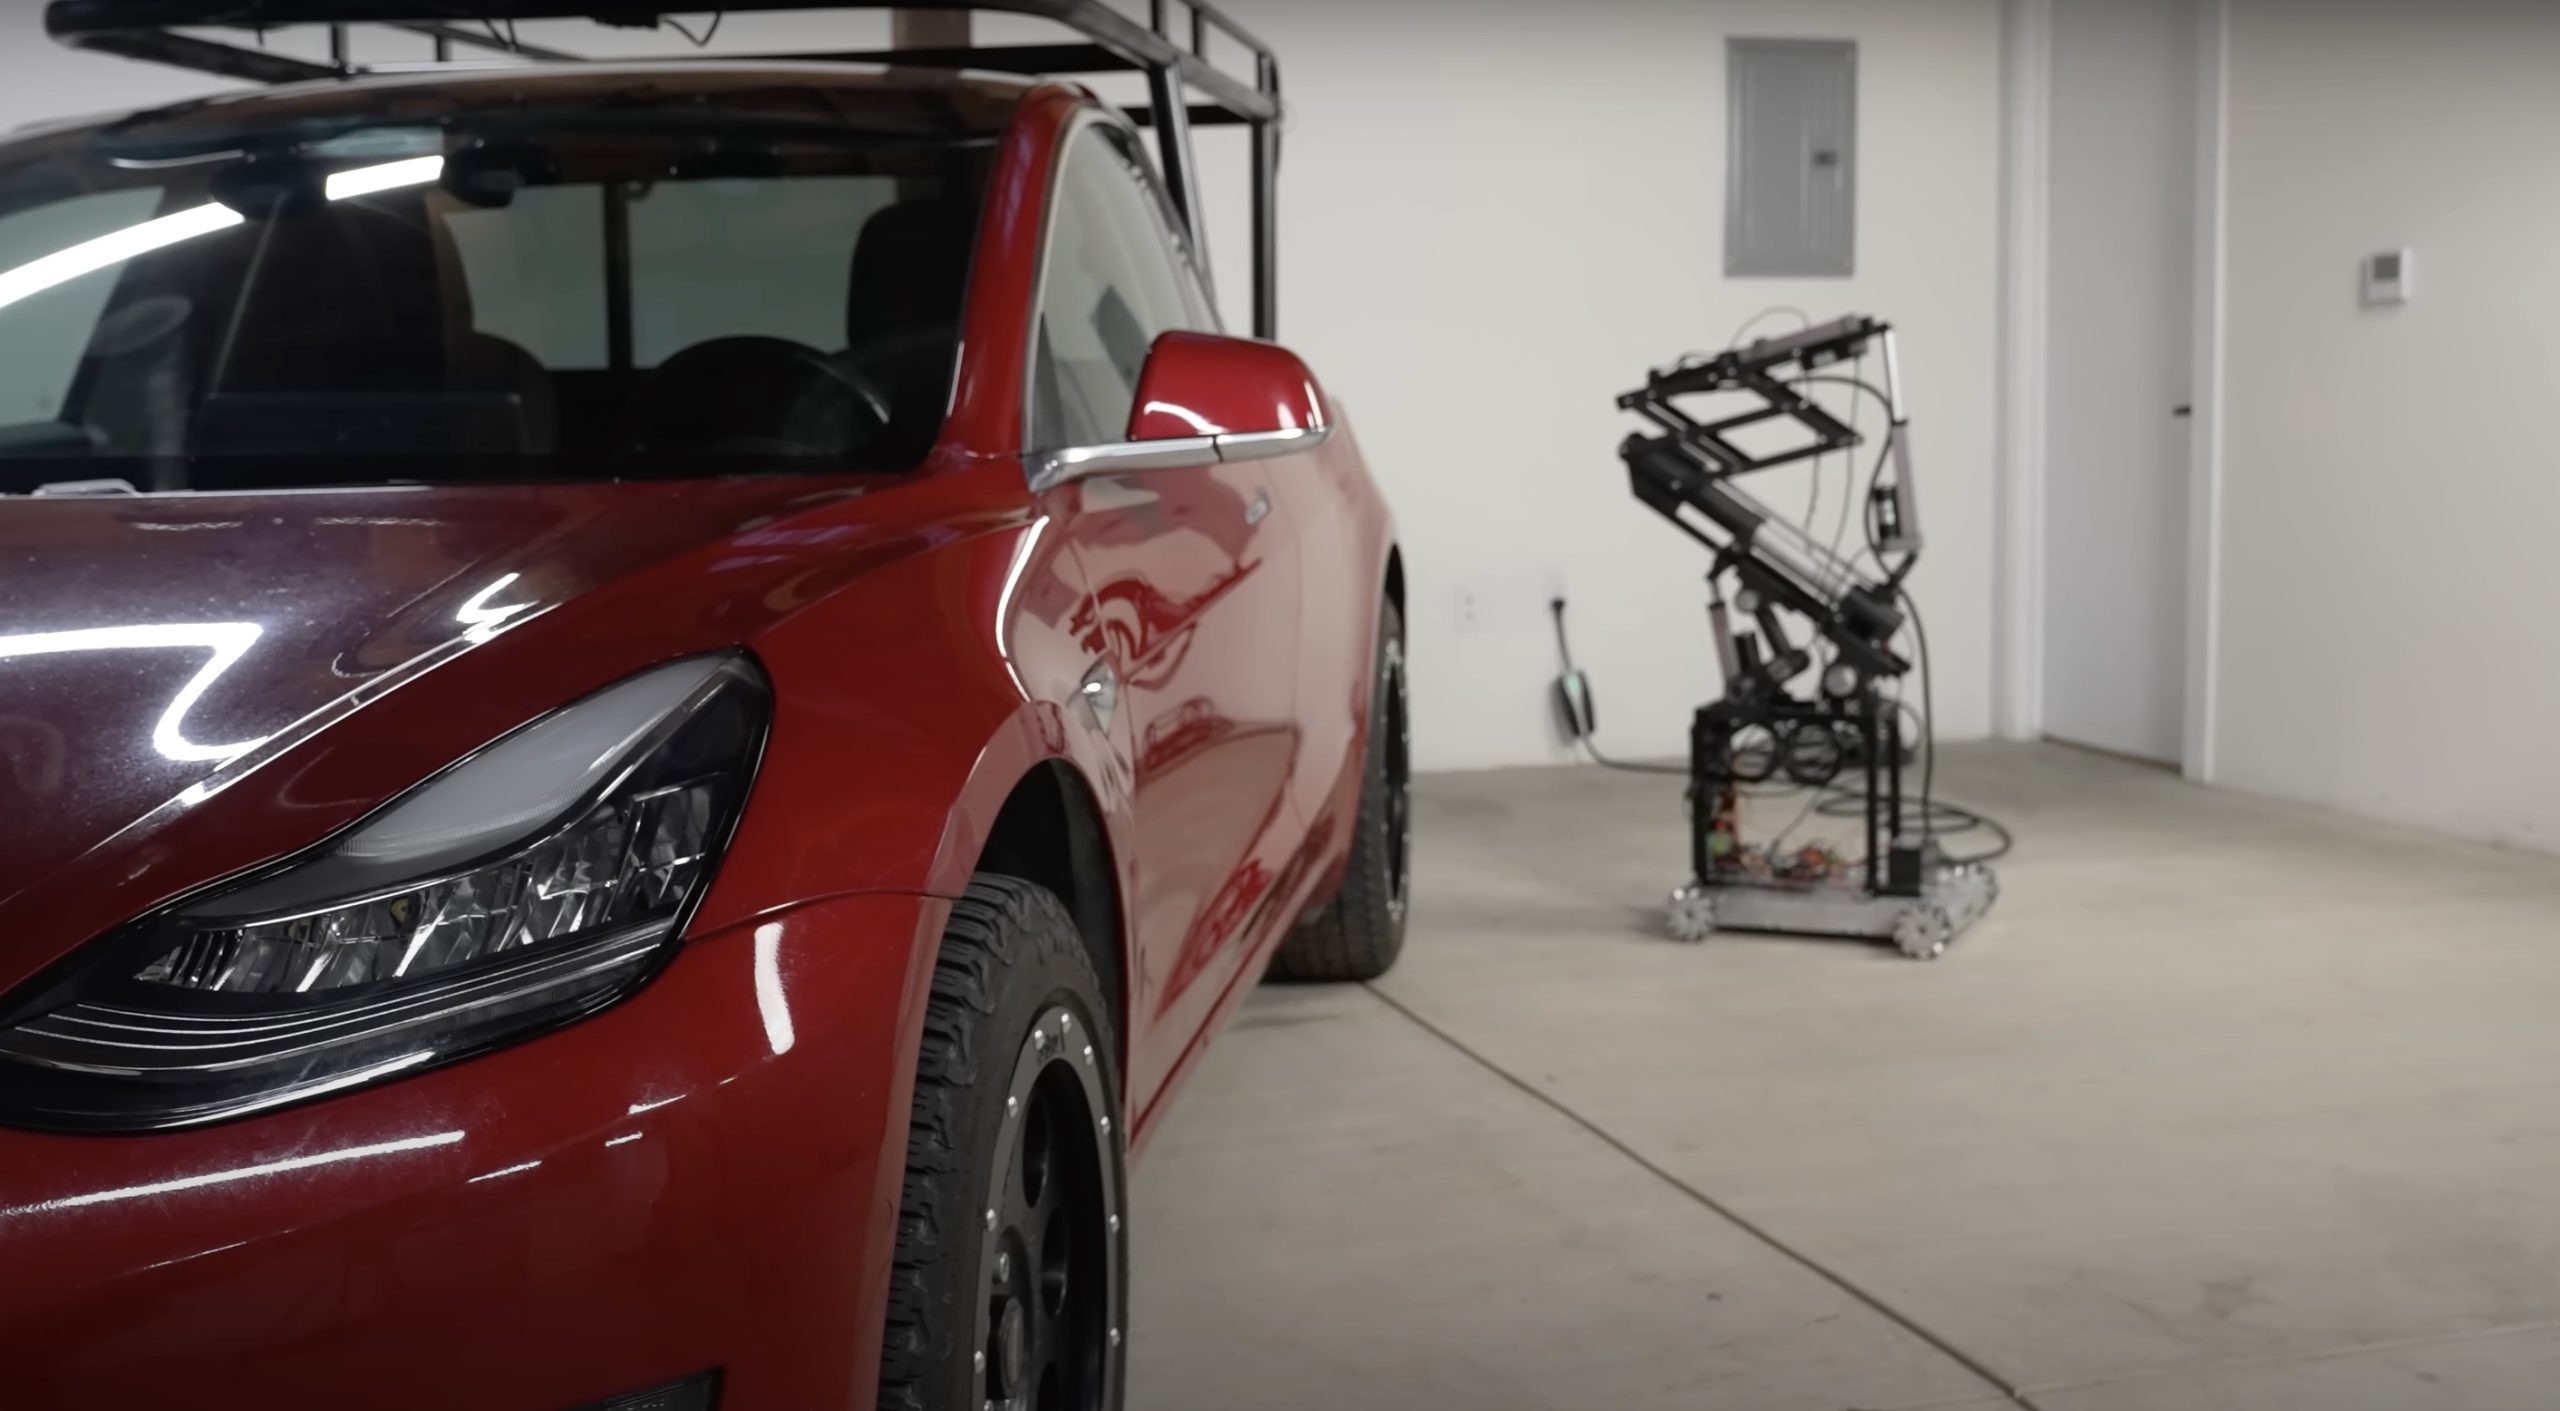
Back in 2019, YouTuber Simone Giertz, the self-proclaimed “Queen of Sh*tty Robots,” created a one-off Tesla Model 3 build that took the automotive world by storm. Fondly dubbed as “Truckla,” Giertz noted that the vehicle was actually her dream car — as crazy as that may sound.
Now almost four years later, the YouTuber posted an update on Truckla. And just like every other big project that one probably started, Giertz stated that she actually stopped working on Truckla when the vehicle was about 80% complete. The car is driving though, but a lot of stuff was not really working very well.
Thus, for her Truckla update, Giertz shared how most of her Model 3 pickup truck conversion was essentially completed. Truckla got a lot of detailing done, she got a slight lift, and she now has a functional tailgate. One has to admit, Truckla’s tailgate is pretty darn cool.
The “Queen of Sh*tty Robots” also opted to give Truckla a friend in the form of an automatic robot charger. Unlike Tesla’s rather interesting snake charger from years past, Truckla’s charger would come in the form of a rover, thanks to her friends at robotics platform Viam. Giertz aptly named Truckla’s robot charger friend “Chargela,” which is an appropriate name for such an invention.
Also true to form for Giertz, Chargela’s first encounter with Truckla was just a tiny bit awkward. One could say that Chargela may have just been a little bit nervous on his first try without human hands helping him. Most importantly, the system did work, so Giertz would likely keep using Chargela for her Model 3 pickup.
Teslas are very tech-heavy vehicles, so projects like Giertz’s Truckla are always remarkable. The fact that the Model 3 works perfectly fine despite having a good chunk of it cut off and turned into a pickup truck bed is mighty impressive any way one looks at it. Overall, Truckla will always be one of the coolest Tesla DIY projects to date, so any updates about the vehicle are always appreciated.
Truckla’s nearly four-year update can be viewed below.
Don’t hesitate to contact us with news tips. Just send a message to simon@teslarati.com to give us a heads up.
DIY
Tesla fan creating ‘CyberRoadster’ using Model 3 Performance parts in epic DIY build
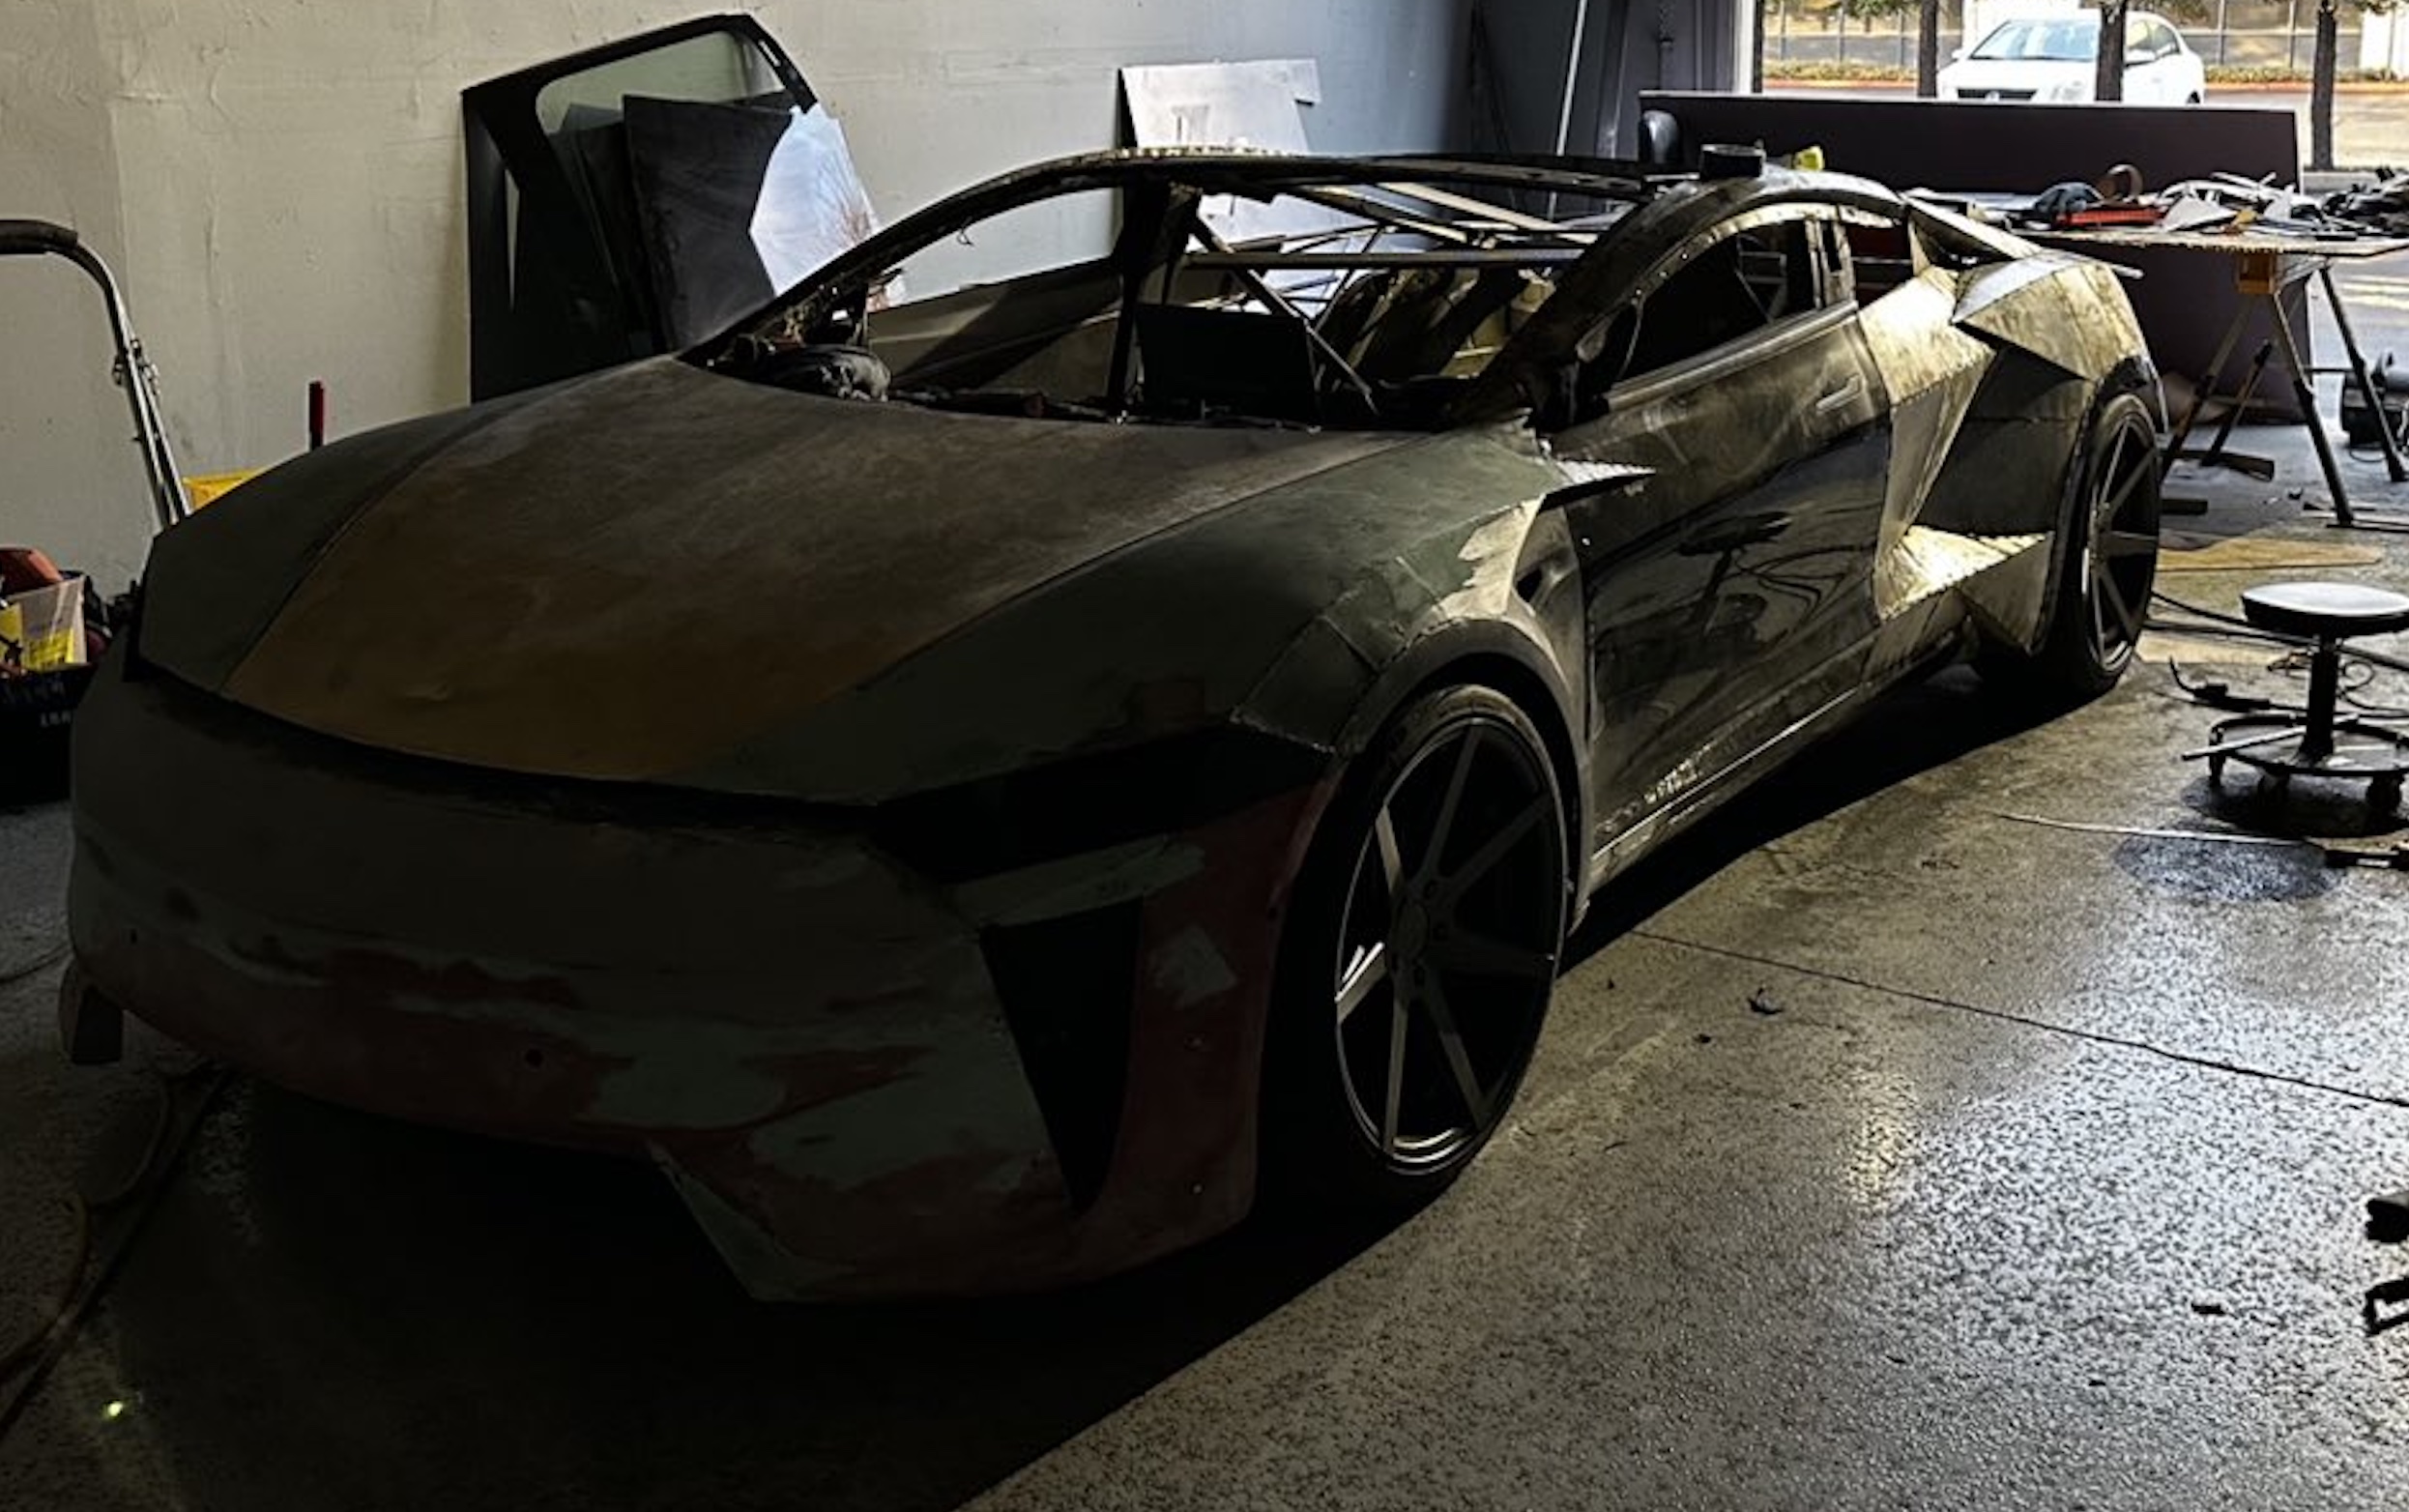
A Tesla owner is taking his hobby and love for electric vehicles to new levels by creating what could only be described as one of the coolest EV-related DIY projects to date. The idea for the project is simple: what happens when you cross a supercar with the Cybertruck? You end up with a two-seater CyberRoadster.
Tesla owner David Andreyev, who goes by the username @Cyber_Hooligan_ on Twitter, has spent the last few months creating a Cybertruck-inspired version of the next-generation Roadster made from a salvaged Model 3 Performance. Starting with a Model 3 Performance is an inspired choice, considering that it is Tesla’s first vehicle that has a dedicated Track Mode.
A look at Andreyev’s YouTube channel, which can be accessed here, shows the meticulous build that the Tesla owner has implemented on the project car. What’s particularly cool about the CyberRoadster is the fact that it’s being built with parts that are also from other Tesla vehicles, like its front bumper that came from a new Model S. Recent videos suggest that the project car’s rear bumper will be from a new Model S as well.
The journey is long for Andreyev, so the completion of the CyberRoadster will likely take some more time. Despite this, seeing the Tesla owner’s DIY journey on such an epic build is more than satisfying. And considering that the CyberRoadster is evidently a labor of love from the Tesla owner, the final results would likely be extremely worth it.
There’s a lot of crazy Tesla modifications that have been done as of late. But some, as it is with a lot of things on the internet these days, have become more silly gimmicks than serious automotive projects. Fortunately, car enthusiasts like Andreyev, who just happen to also love electric vehicles, are taking it upon themselves to create one-of-a-kind EVs that would surely capture the attention of anyone on the road.
Check out the latest video in the CyberRoadster’s creation below.
Don’t hesitate to contact us with news tips. Just send a message to simon@teslarati.com to give us a heads up.
DIY
Tesla owner ‘charges’ Model 3 with homemade solar panel trailer
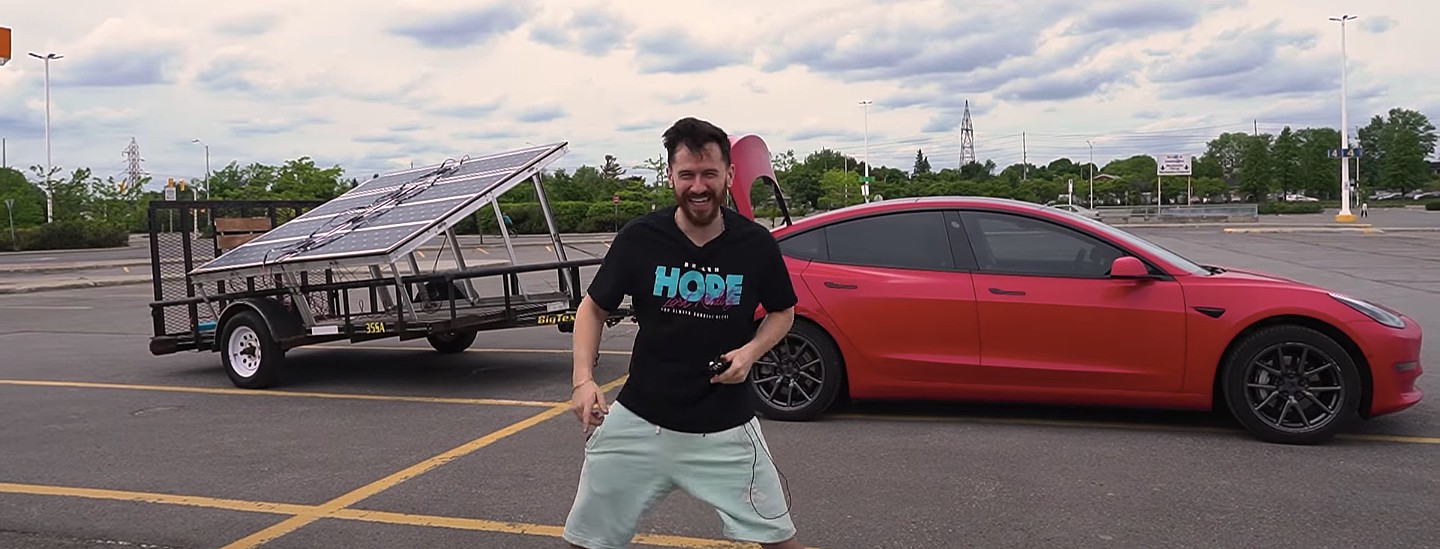
A Tesla owner has demonstrated a rather novel way to charge his Model 3. In a recent video, Sean Callaghan of the ItsYeBoi YouTube channel opted to use a series of off-the-shelf solar panel sheets onto a towable trailer to create a mobile charging unit for his all-electric sedan.
Callaghan planned to use only the sun and the solar sheets purchased from e-commerce platform Wish to charge his Model 3. The solar panel sheets would collect energy from the sun and transfer it to a control panel. The control panels were connected to batteries that would hold the energy—the batteries connected to an inverter, which would then charge the Tesla Model 3.
The entire assembly would provide the Model 3 with about 800 watts of energy on a completely sunny day. However, Callaghan shot the video when weather was overcast, so the entire solar panel trailer build only managed to provide around 300 watts throughout the YouTube host’s test.
To put this into perspective, a 100 volt home wall outlet provides 1.4 kilowatts of power, or 1,400 watts. Therefore, the 300-watt solar panel assembly built by Callaghan was producing less than 25% of the energy of a typical wall outlet. This is pretty marginal compared to Tesla’s 250-kilowatt V3 Superchargers, which provides 250,000 watts, or about 833 times as much power as the makeshift solar panel build.
However, Callaghan’s goal was not to charge the vehicle quickly. He explained the idea came from a previous video where he used a $5,000 Wish-purchased wind turbine to charge his Model 3. He wanted to test the effectiveness and efficiency of the system, which was questionable due to the time it would take to charge the battery fully.
The Model 3 battery pack is 78 kWh, and with Callaghan’s 300-watt system charging his electric vehicle, it would take 260 hours to supply the Tesla’s battery to full capacity.
In the past, electric vehicle enthusiasts have asked Tesla CEO Elon Musk why the company’s vehicles do not contain solar glass roofing, which would charge the car while the owner is driving. Musk has explained that the efficiency of this idea is challenging and likely would not provide an ample amount of range.
When asked about the idea of putting solar panels on the top of Tesla’s vehicles in 2017, Musk responded that the idea was “Not that helpful, because the actual surface of the car is not that much, and cars are often inside. The least efficient place to put solar is on the car.” It also would not be cost-effective for Tesla because “the cost of the panels and electronics, R&D and assembly would never pay for itself in the life of the vehicle, compared to charging from the wall in your garage,” Quartz noted.
That being said, Tesla plans to implement solar panels onto the motorized tonneau of the upcoming Cybertruck. The idea was discussed on Twitter when Musk stated that the optional feature would add “15 miles per day, possibly more” when parked in the sunlight. Also, fold-out solar wings could help capture enough solar energy for 30 to 40 miles a day.
Watch Sean Callaghan’s video of his makeshift solar panel trailer below.

